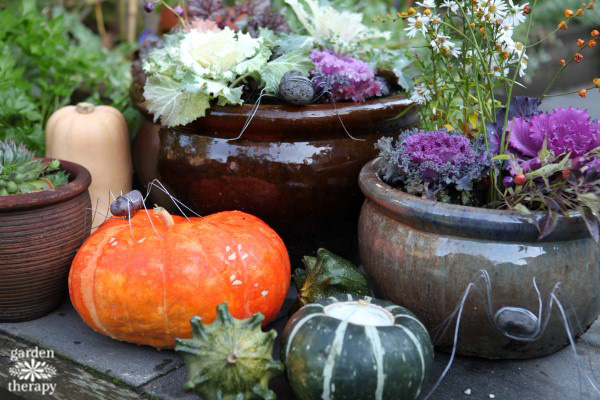
These airy little rock spider sculptures are simply made of stone and wire but they take on the feeling of movement by appearing to crawl, jump, hang, or run along like the real thing. In my garden, there are many of these little critters crawling around the pots and plants. Here’s how to make rock spider sculptures.
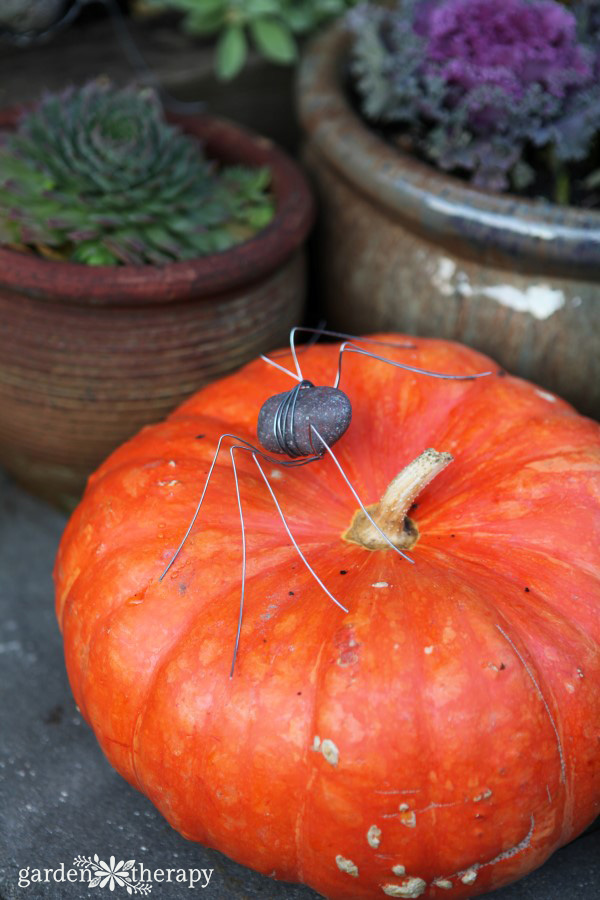
Rock Spider Sculptures as Garden Art
Materials
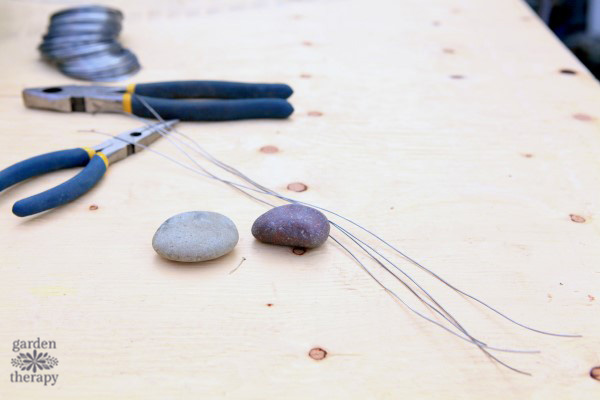
- Decorative rocks approximately 2″ in diameter
- Craft wire (choose a gauge that is pliable enough to bend around the rocks, but sturdy enough to hold them up)
- Needle-nose pliers
- Hot glue gun (optional)
.
Step 1:
Using the wire cutters, snip off 4 equal lengths of the wire 12″-20″ long. The longer the wire, the longer legs the spider will have.
.
Step 2:
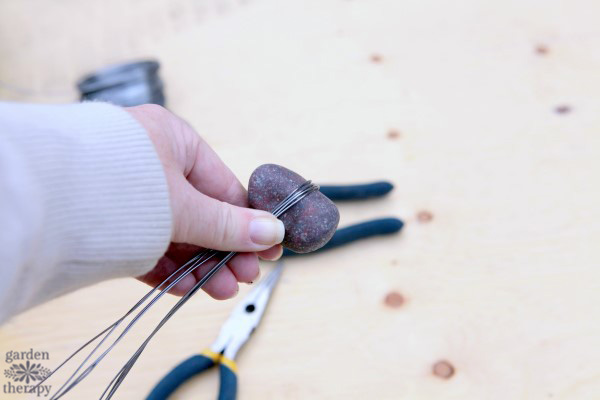
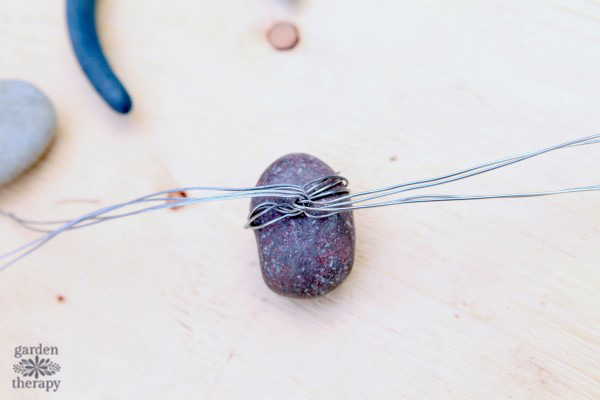
Holding all 4 wires together, place the rock about 1/3 of the length of wire, and wrap the long ends around the rock.
.
Step 3:
Fold the other set of wires around the rock and twist with the needle-nose pliers to secure. You may also use a dab of hot glue at this stage to secure the wire to the underside of the rock.
.
Step 4:
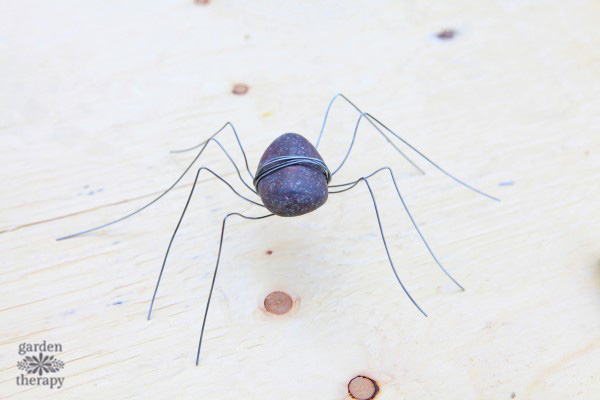
Flip the rock over and spread out the 8 ends of the wire. Use the pliers to create a bend in the legs so that the spider can stand on its own 8 legs. You could also create a bend at the end of each leg to create little feet.
.
Step 5:
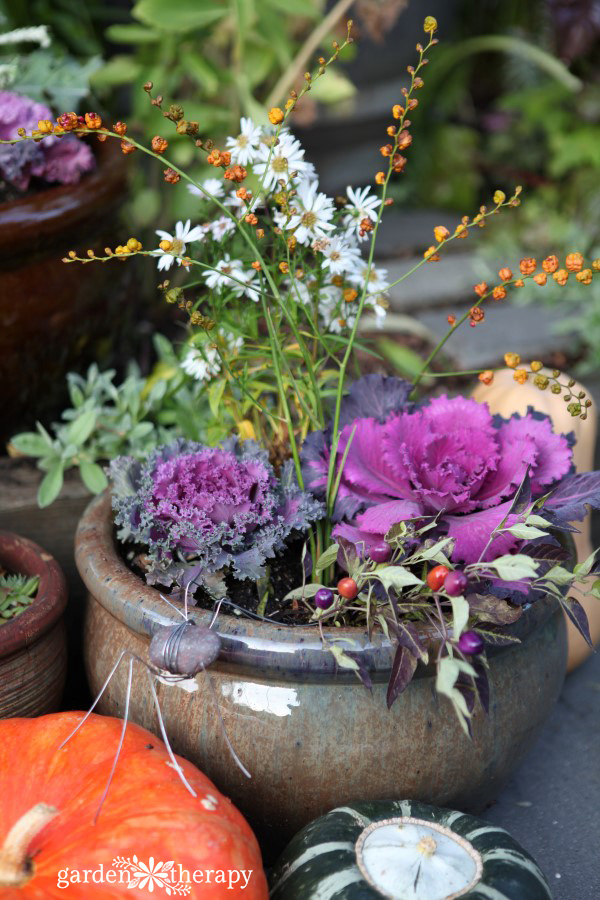
Place spiders around the garden but be careful they don’t scurry away.
Original article and pictures take gardentherapy.ca site
No comments:
Post a Comment