Cold-process soap is a beautiful looking soap that when scented with essential oils and colored with botanical elements, makes for a project you can make at home that looks like it came from an artist’s gallery. Cold-process soap has no additives that are bad for the earth and it is gentle on sensitive skin.
Many bath and body “soaps” that are commonly sold are not actually soap; you will notice that they are called a beauty bar or body wash. These are detergents, not soap. Soap goes through the saponification process, converting fats, oils, lye, and water into soap and glycerin. After the chemical process has completed, the soap is completely safe and gentle on skin. Even more, the glycerin coats skin and gives it a silky soft feeling.
There are many methods to making soap from scratch such as cold process, hot process, milk soap, and rebatching. You can also make melt and pour soap at home very easily and skip the lye, as well as the weighing and mixing of the ingredients. I have made soap all of these ways, and each produces a very different type of soap. I like the hot process method for making beer, wine, and tea soaps. I melt and pour for quickly making fun, decorative soaps which you can see some examples of in my melt and pour soap idea book, Good Clean Fun.
I like cold-process soap most as my everyday soap. I usually make soap in big batches every year so I have plenty to choose from throughout the year and plenty more to give away.
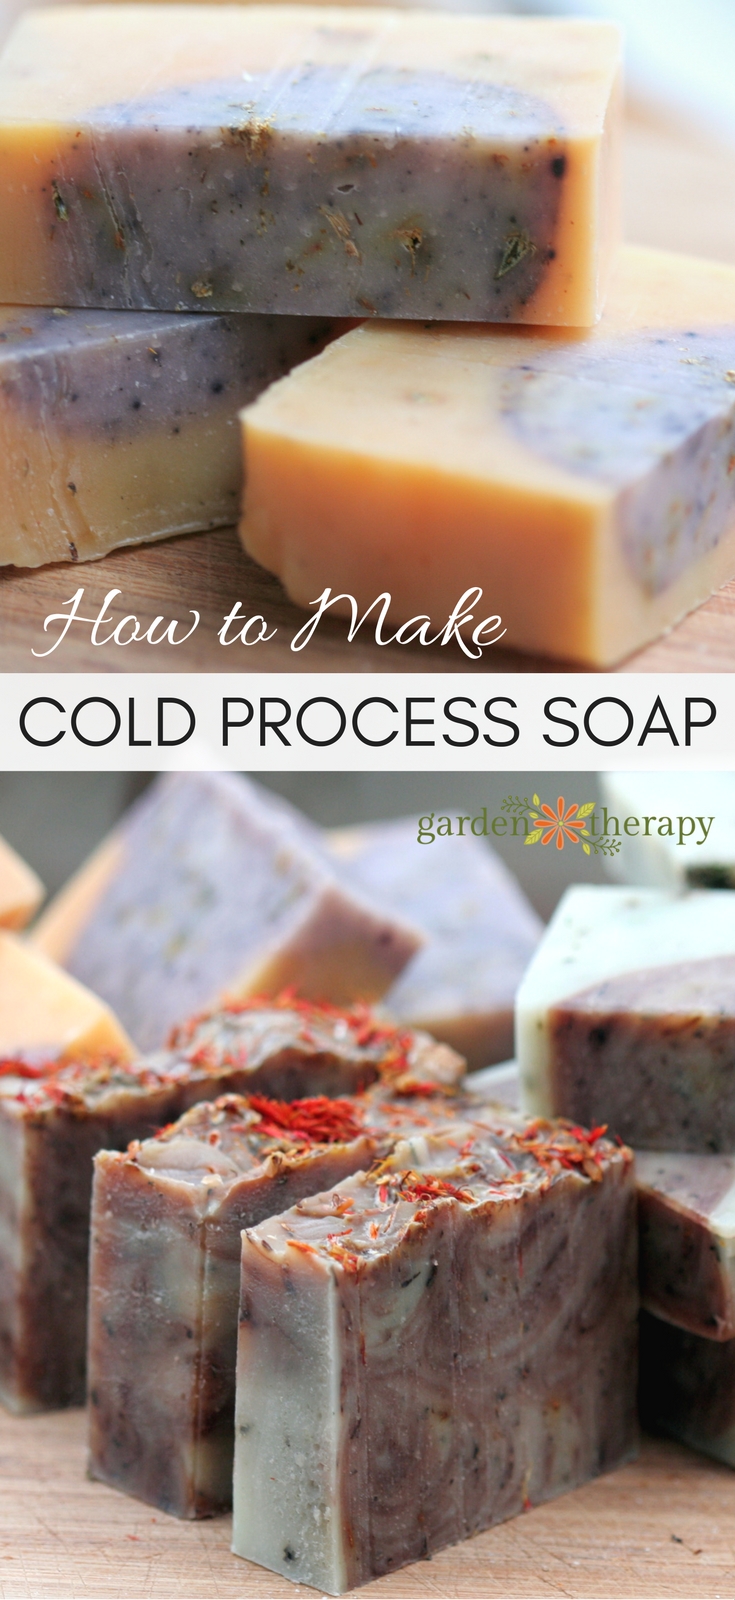
Cold-process soap makes a wonderful gift for yourself and others, but it does require following the instructions to the letter. If you are a first-time soap maker, partner with a friend and make soap together – it helps to have a buddy system and it’s a lot of fun! If you are are an experienced soaper, there are three recipes down at the end for the soap shown in this post:
- Lemongrass Ginger Coffee Kitchen Soap
- Rosemary Spearmint Energizing Shower Soap
- Orange Vanilla Cinnamon Soap
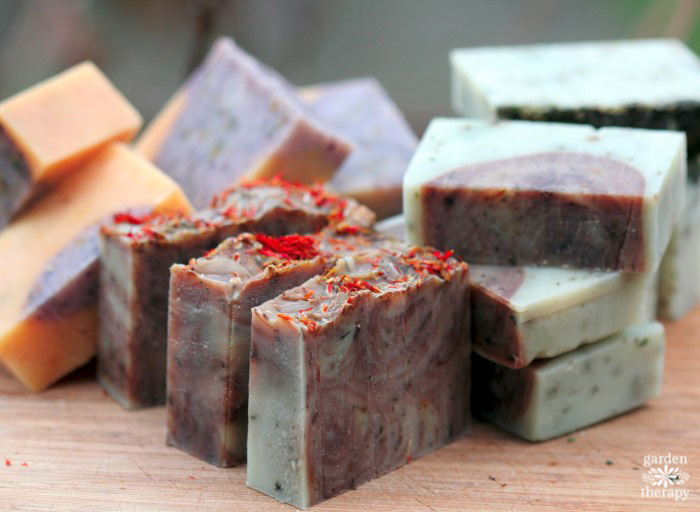
All are made with natural vegetable ingredients, pure essential oils, natural colors, and herbs from the garden. You can feel good about taking care of those who use your handmade soap.
Ingredients
Start with a basic soap-making recipe such as this moisturizing olive oil soap from the Pink Grapefruit Soap Recipe:
Mix temp 115°F
Oils
Lye mixture
- 215 grams filtered water
Want something even easier? Well, you can use a pre-weighed soap-making kit, like this Natural Soap-Making Kit or this Shea Butter Soap-Making Kit.
Perhaps there is another recipe you would like to try? There are a lot of great soap-making recipe books:
- Pure Soapmaking: How to Create Nourishing, Natural Skin Care Soaps has easy-to-follow instructions with photographs showing every step. Make recipes using tea, dandelion, almond milk, and other healing ingredients.
- The Natural Soap Chef is full of yummy soap recipes like Chai tea and almond cookie. Think of it as a collection of dessert recipes for your skin!
- Soap Maker’s Workshop: The Art and Craft of Natural Homemade Soap is a good basic manual for lots of different ways of making soap including hot process, liquid, and cold process.
- The Everything Soapmaking Book is a wonderful resource for beginner soap makers because it gives detailed advice on choosing equipment and ingredients and how to create your desired colors and scent blends.
And, of course, my own book on handmade soap the easy way (using the Melt and Pour Method): Good Clean Fun
Make it!
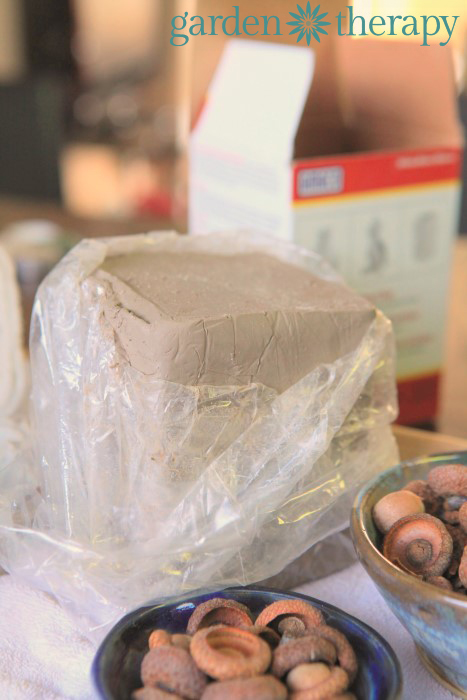
If you are not using a kit, the first and most crucial step in cold-process soap making is to weigh the raw ingredients (fats, lye, water) precisely. Prep everything that you will need and lay it out accessibly before you begin. Soapmaking measurements are done in weight, not volume, so be sure to get a good kitchen scale and weigh out the ingredients.
It’s best to wear protection when making soap as lye can burn your skin. Until the oils and lye have turned into soap (48 hours after making the recipe) it’s best to protect yourself. Always wear rubber gloves, safety goggles, and keep your work area free from kids and pets.
OILS: Gently (slowly) heat oils in a stainless steel pot on the stove. Alternatively, use a microwave and heat for two minutes on high, and then at shorter intervals until you reach the temperature listed in the recipe.
LYE: Using room-temperature distilled water, weigh the amount specified by the formula into a heat-resistant glass bowl or large Pyrex measuring cup. While stirring, slowly add the measured amount of lye. I repeat, SLOWLY. It’s important to note that you add the lye to the water, not the water to the lye. Stir until dissolved. This mixture will get super hot quickly so be mindful of that. Also, the fumes are terrible, so if you can stir from below the fumes (with lye on the counter and you crouching below as you stir) outdoors or at least with windows open, that would be best. Place glass container in an ice-water bath and cool to required temperature. Get accurate temperature readings with a candy thermometer in the middle of the solution.
When both oils and lye/water are at the required temperatures (as stated in your recipe), slowly pour lye/water into the oils while rapidly stirring in small circles. Always add lye/water to oil, not the other way around.

Continue to rapidly stir the mixture until it thickens to the consistency of pudding (called “tracing”). The mixture is ready to be molded when a drizzle mark from the spatula remains for a few seconds on the top of the mixture. Speed up the tracing process by using a hand blender to mix. Be careful not to over mix.
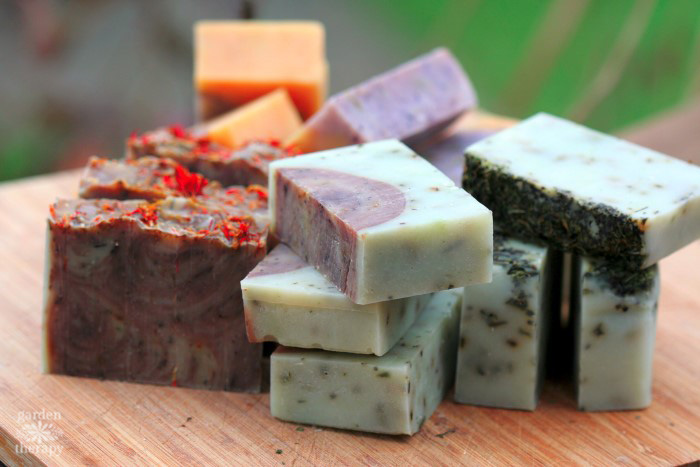
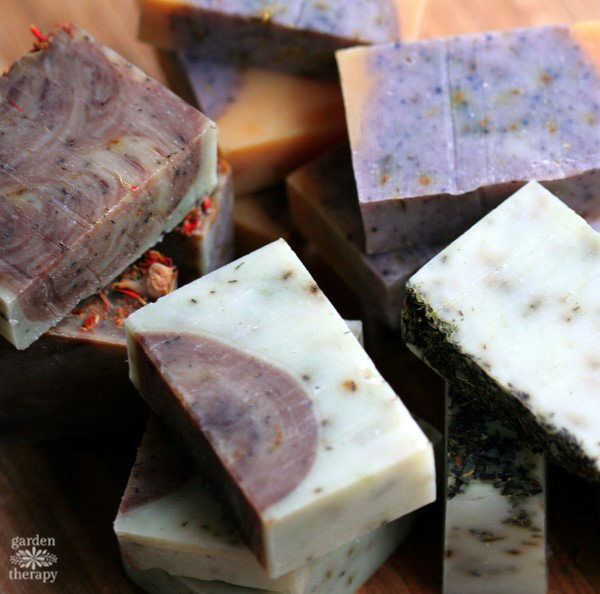
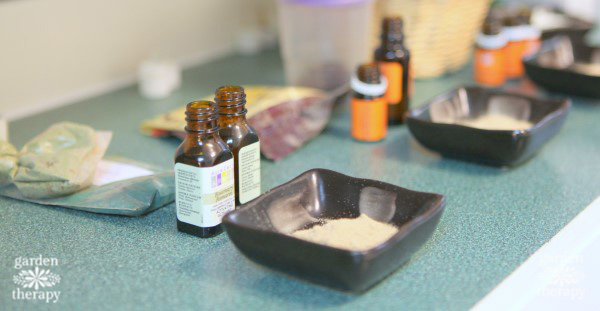
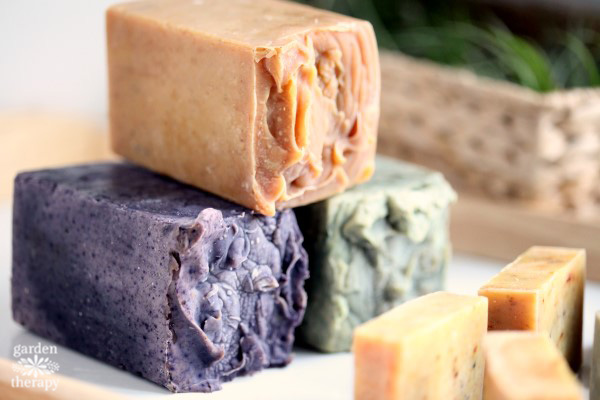
Add essential oils, natural colorants, and herbs or exfoliants at this stage (see recipes below). Work fast as the mixture will quickly start to thicken. There are many options for coloring and scenting soap but I avoid perfumes, fragrance, and artificial colors. I like handmade natural soap scented with pure essential oils and colored with natural dyes. As you can see by these three recipes, it looks beautiful and it smells even better!
Pour mixture into 1L milk cartons and staple the tops shut. Wrap the cartons in a large towel and set somewhere warm for 48 hours like the top of the fridge. The cartons will feel warm and will get hot as the mixture neutralizes and turns into soap.
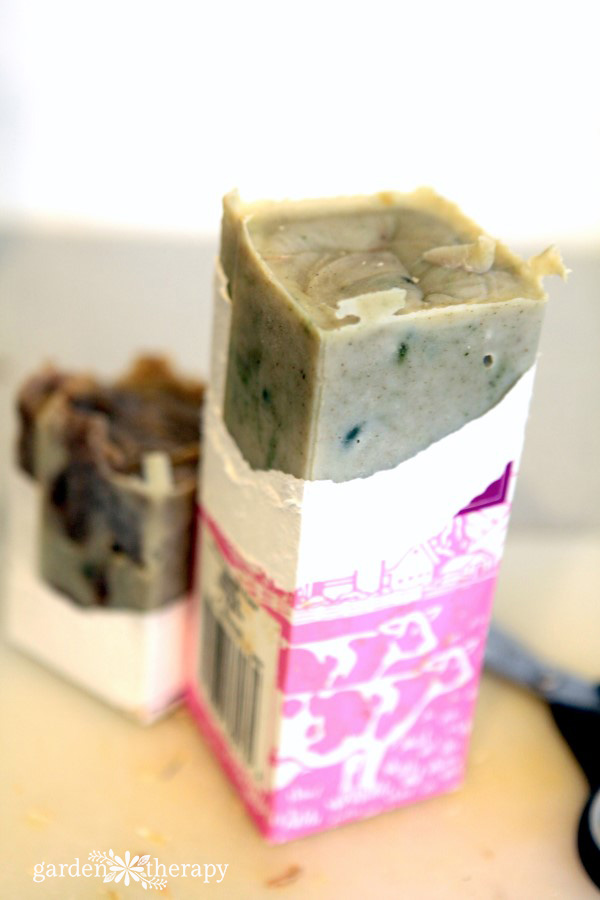
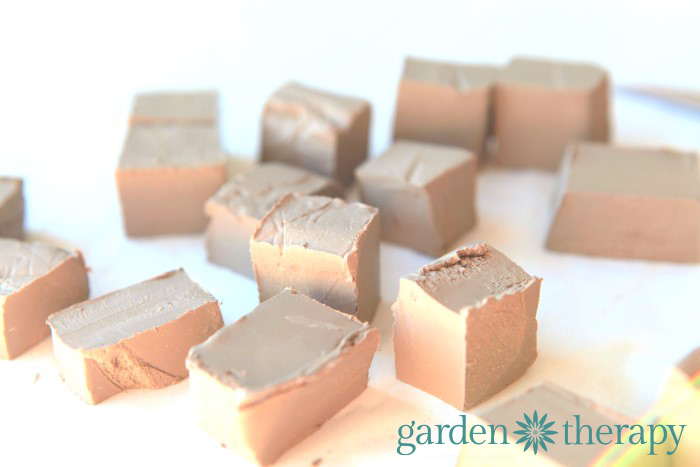
To unmold your soap, peel off the milk cartons and cut each full 1-liter carton lengthwise into 3 equal sections for shower soap, and 4 equal sections for hand soap. Flip each section so that it appears to be a square from the top, and cut into 3 equal sections.
Place each bar on a wire rack in a cool, dark place to cure for three weeks. After three weeks, soap can be buffed with a cotton cloth and wrapped for gifts.
Soap Recipes
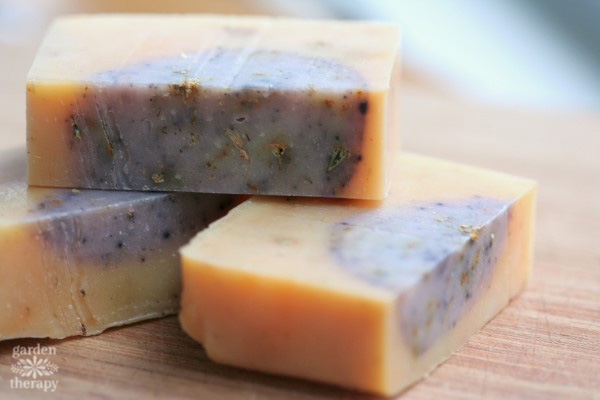
Lemongrass, Ginger, and Coffee Kitchen Soap
- Add 1 tablespoon dry, finely ground coffee at trace
- Color with turmeric
* to get the two-toned look in this soap, I filled half of the milk carton with one color and topped it with another. This makes each of the bars unique. The purple in the above soap was lavender-scented soap colored with ratanjot and mixed with dried lavender buds.
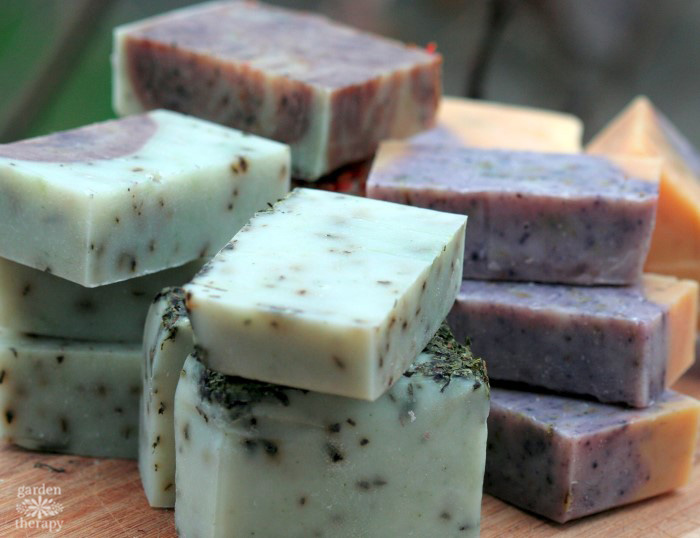
Rosemary and Spearmint Energizing Shower Soap
- Add in 1/4 tsp of finely chopped dried mint tea leaves
* to get the two-toned look in this soap, I filled half of the milk carton with one color and topped it with another. This makes each of the bars unique.
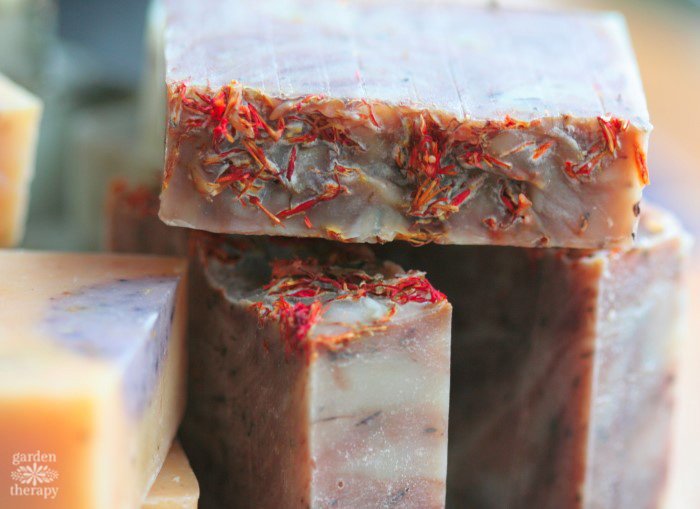
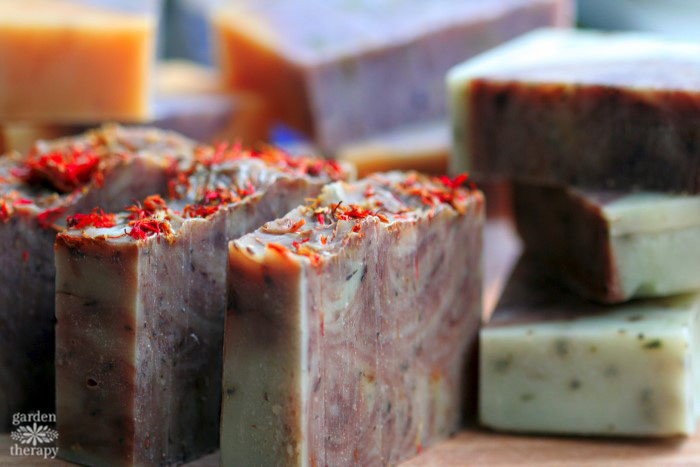
Orange Vanilla Cinnamon Soap
- Add 1 tablespoon dry, finely ground coffee at trace
- Scent with 7ml orange, 7ml cinnamon, and 7ml vanilla essential oils
- Top with dried saffron
Perhaps there is another recipe you would like to try? There are a lot of great soap-making recipe books:
And don’t forget my brand new book on super simple melt and pour soap making: Good Clean Fun: THE Idea Book for Creative Melt and Pour Soap Projects for only $5.99!
More DIY soap recipes to try:
Original article and pictures take gardentherapy.ca site