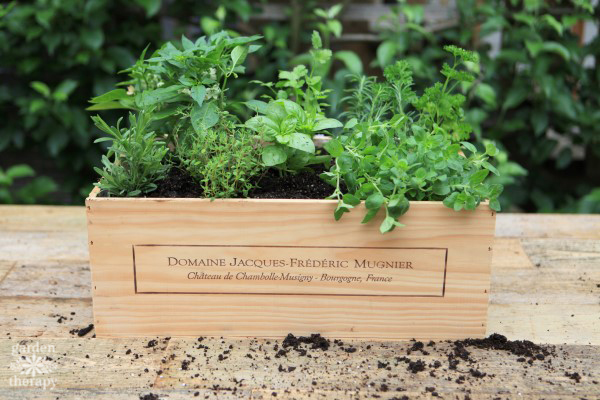
A beautiful mix of aromatic herbs planted in a wooden wine box makes for a perfect small-space kitchen garden for those who love to cook and entertain. A wood wine shipping crate is just the right shape and size to grow a culinary herb garden on a balcony, deck, patio, or even set right in the entertaining space. With a few structural modifications, this wine box herb garden will be set up to last the test of time and allow the plants within to thrive.
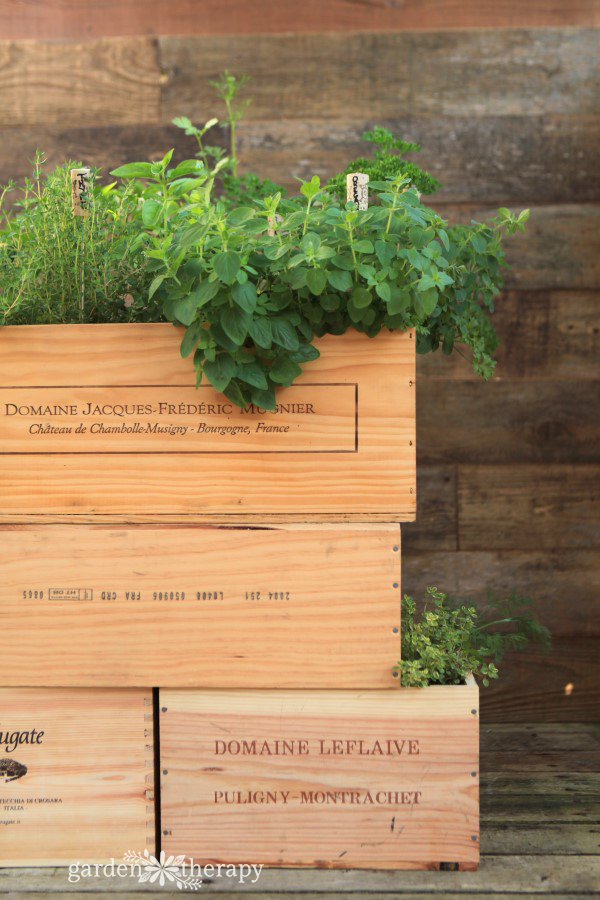
Plant a mix of herbs and vegetables that grow well together in the same conditions and that can be used to spice up a summer wine tasting.
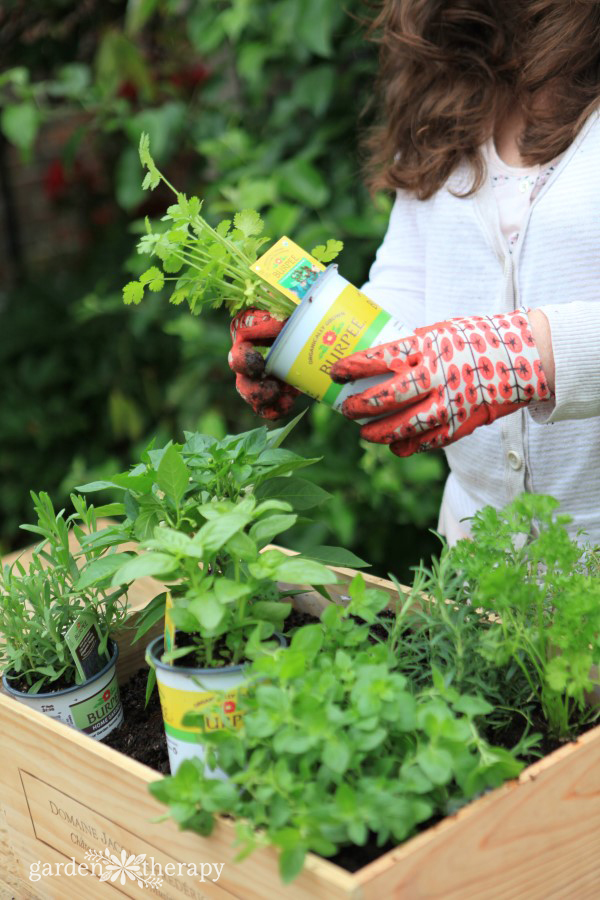
Disclosure: this project was sponsored by Burpee Home Gardens, who also provided me with the plants for this project. I used a combination of herbs and vegetables that do well in the hot sun so that I can leave the planter box on my sunny deck, where I often entertain (and drink wine). The project instructions and opinions are my own.
The plants I used in the project all came from Home Depot. They had many racks filled with lush herbs in both the Burpee Home Gardens Organics and Burpee Home Gardens lines. For this project, I chose lavender, thyme, basil, cilantro, rosemary, oregano, parsley, and ‘Lemon Dream’ peppers.
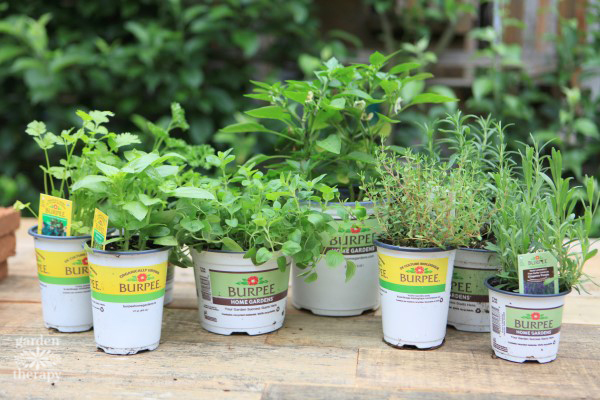
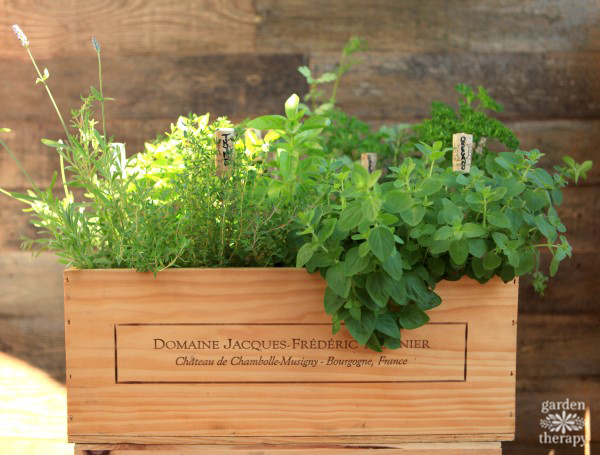
The container is packed tightly with a variety of different aromatic herbs so that I can harvest them frequently throughout the growing season. Different textures and heights add to the interest of the arrangement even though they are all the same shade of green. The flowering lavender and colorful yellow peppers add even more variation, making this planter as beautiful as it is tasty.
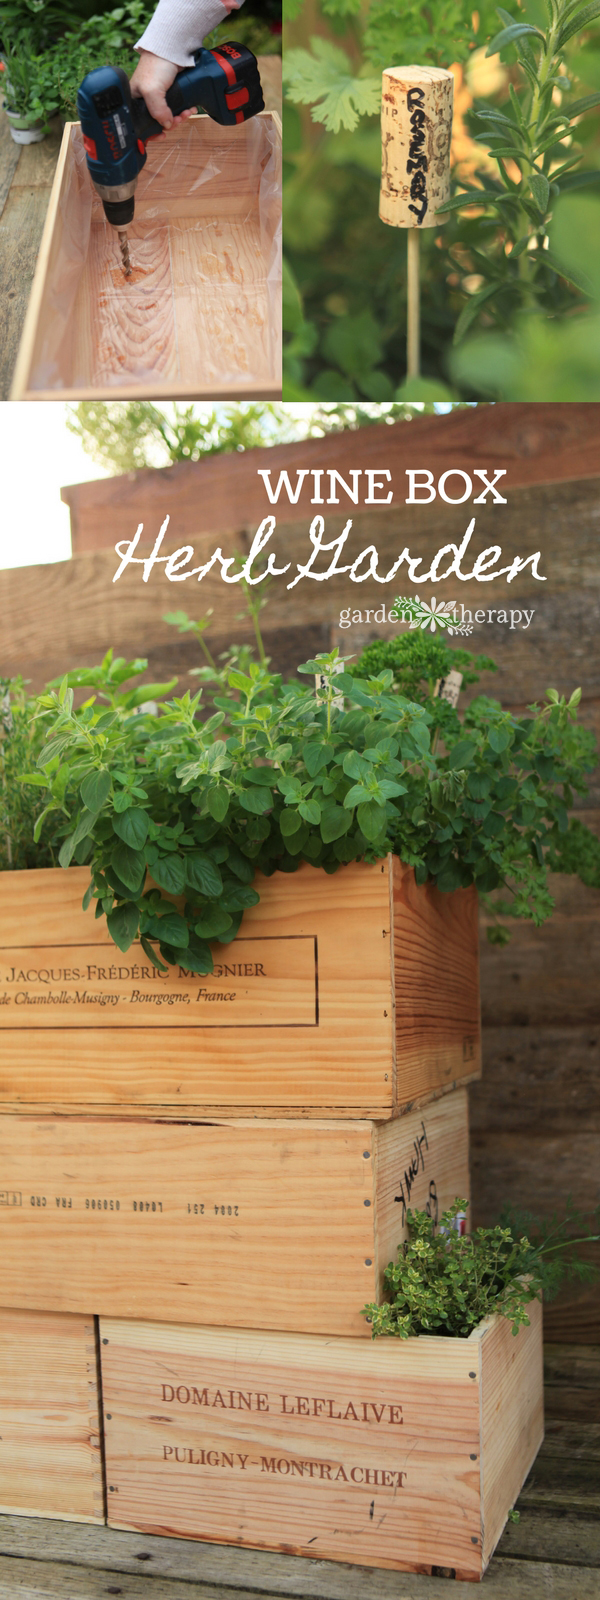
How to Make a Wine Box Herb Garden
I found a bunch of wine crates for sale on Craigslist, but you can also contact wine stores, wineries, and restaurants to find crates in your area. To make a wine crate suitable to last as a garden bed it needs a few adjustments.
Materials
- Large wine crate
- Hair dryer (if needed)
- Sandpaper
- Wood glue
- Screws
- Clear spar urethane
- Plastic sheet
- Outdoor silicone sealer
- Staple gun
- Container soil mix
- Burpee Home Gardens herbs and vegetables
Make it!
Prepare the outside of the wine box by removing any shipping stickers that might be attached. The easiest way to do this is to use a hair dryer to heat up and melt the glue before slowly peeling the sticker off. Any residue that cannot be removed can be sanded off.
Fill the joints and any cracks with wood glue to ensure that the structure holds together when it’s filled with heavy soil. If necessary, use a couple of screws to further secure the joints.
Sand the outside of the box to smooth the surface. Just be careful not to sand so much that you remove the lettering.
Use a clear sealer stain to protect the color of the outside of the box. Allow the sealer to dry for 24 hours before preparing the inside of the box.
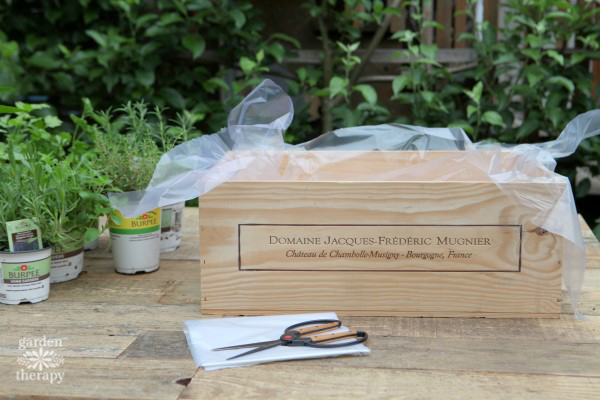
To create a waterproof planting bed, line the inside of the box with a sheet of plastic.
If you’re going to use the wine box outdoors you’ll need to add drainage holes through the plastic and wood, and silicone sealer to make them water tight.
Create a few circles of silicone sealer where you want your drainage holes in the bottom of the box. Place the sheet of plastic on top of the sealer before it dries and press the plastic onto the sealer so that it adheres together.

Using an electric drill, make holes in the center of the silicone circles, going through the plastic and the wood.
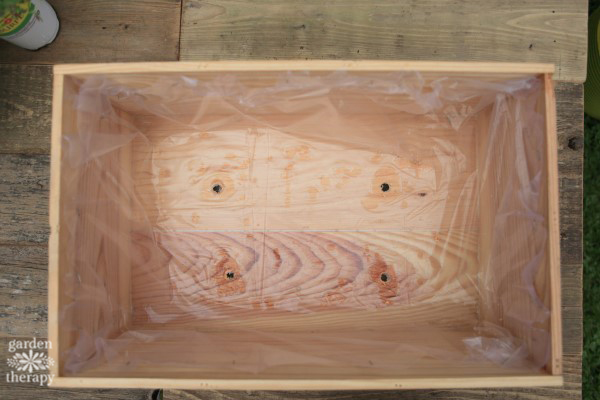
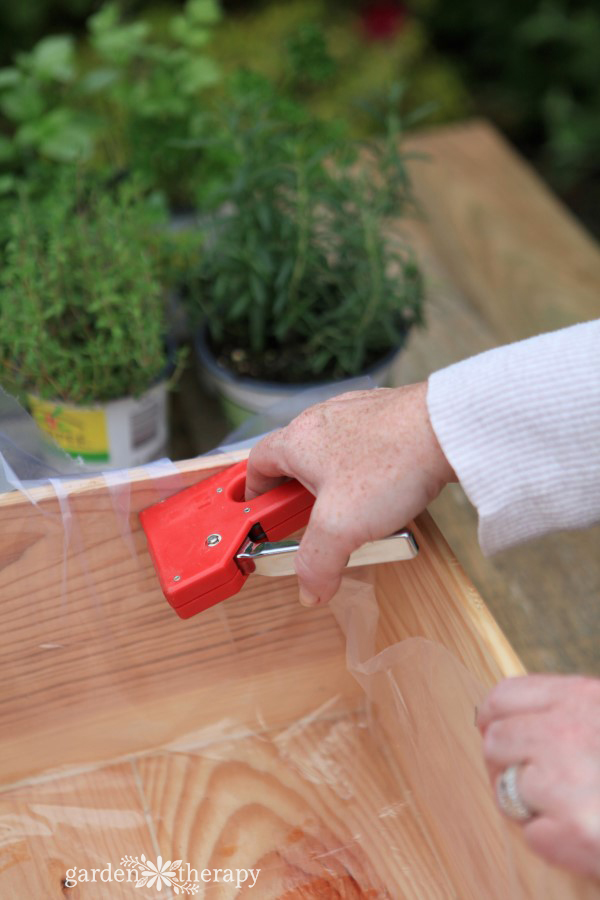
Use a staple gun to attach the rest of the plastic to the inside sides of the box about an inch down from the top.
Lay a piece of landscape fabric along the bottom to cover the drainage holes and prevent soil from coming through the holes when watered.
Fill the box with a good quality container garden soil and add the herbs.
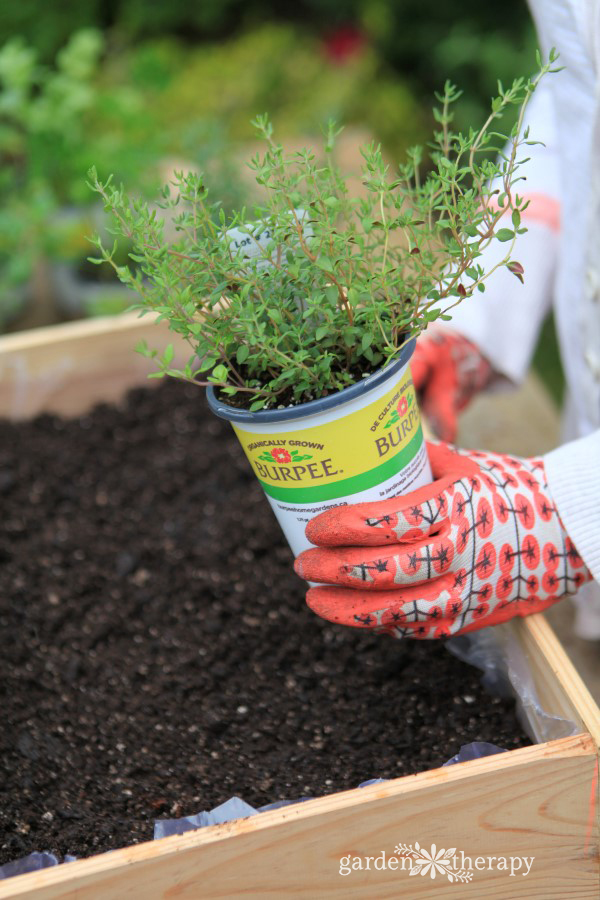
Water the garden well and set it in a sunny area to let the herbs grow and fill in.
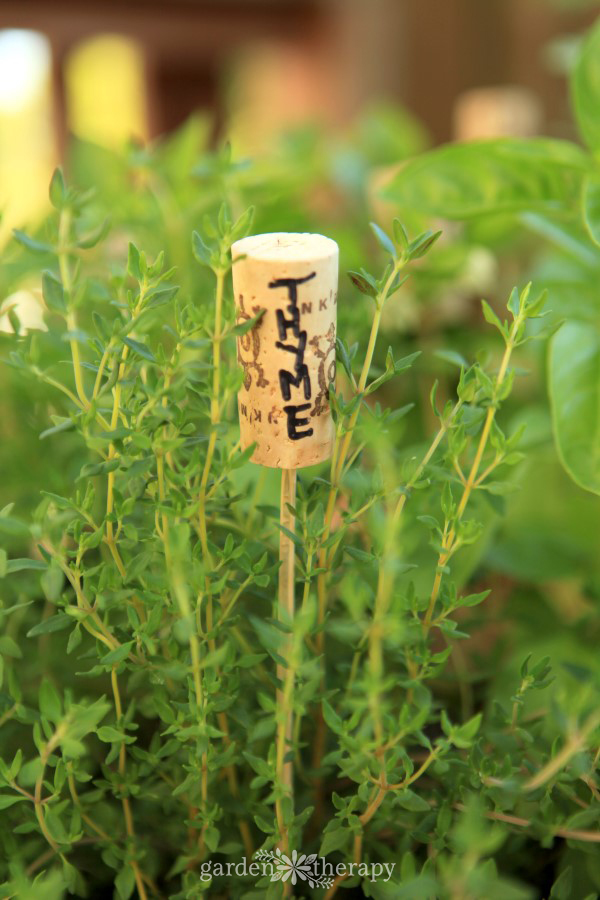
Add an extra special touch to this wine box garden by labeling each of the plants using a wine cork, permanent marker, and a bamboo skewer.
The wine box garden is now ready for some summer entertaining.
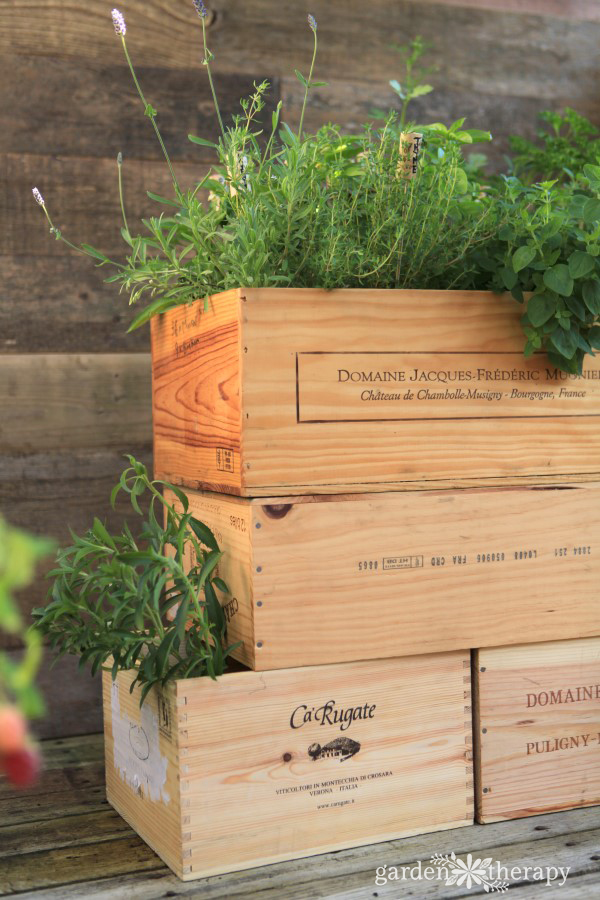
Why not throw an herb garden wine tasting party?
Save
Original article and pictures take gardentherapy.ca site
No comments:
Post a Comment