Pinecones are iconic natural items to use for seasonal decor. Instead of painting or bedazzling them with glitter this year, try giving them a softer, weathered look by bleaching them!
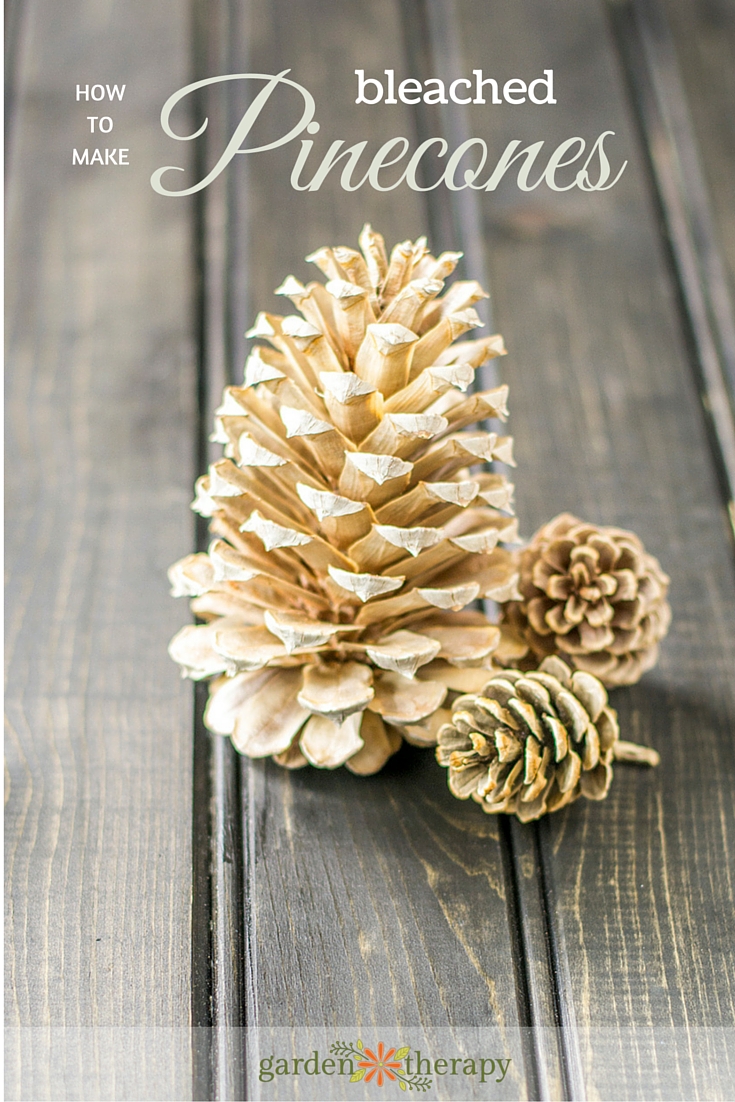
Bleaching pinecones requires very few supplies and is an easy project. Even so, it does take some time. When I started researching how I should tackle this process, I came across many people who said it didn’t work for them. Don’t worry, for the sake of crafting science, I will guide you on how to successfully bleach pinecones to use in your holiday decor!
Materials:
- Pinecones (various shapes and sizes)
- Large bucket
- Water
- Bricks or Large Rocks
Make it!
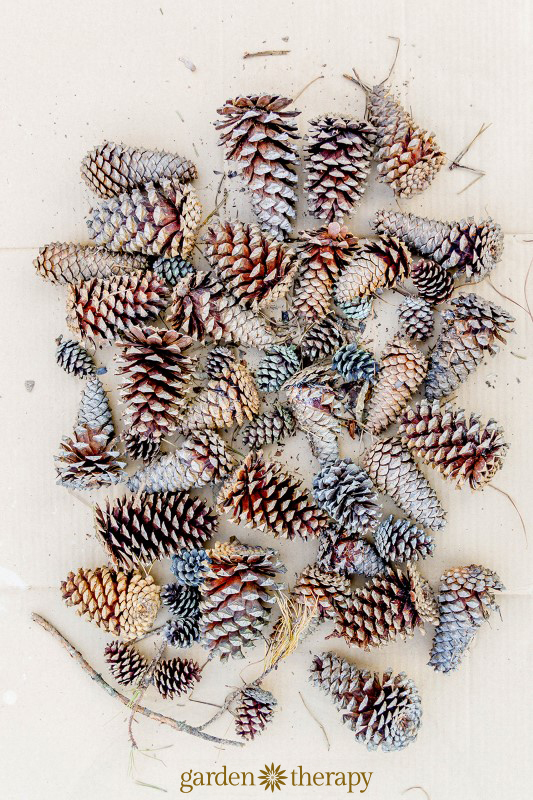
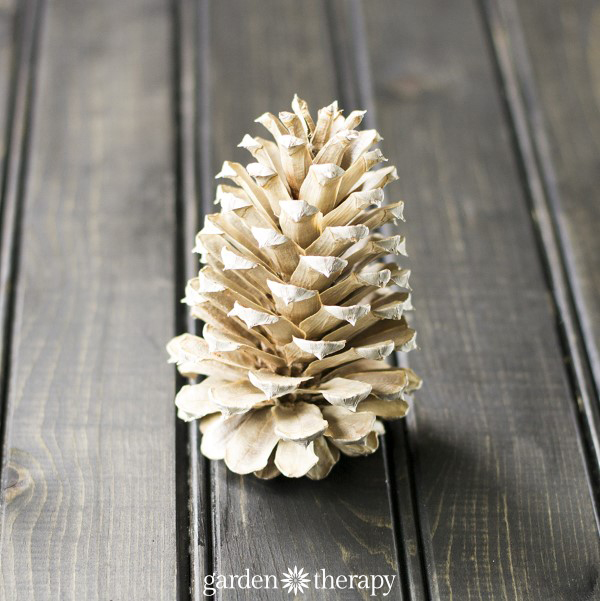
It doesn’t matter what type of pinecones you use. I gathered several different species and sizes. Each species of pinecone will bleach differently. Also, bleaching them will not turn them “white;” they will become lighter, but not pure white. It’s more of a patina or weathered look (kind of like driftwood).
I used two parts water to one part bleach. It’s best to do this part outside or in a well-ventilated area. Make sure you are wearing clothes that you don’t mind ruining just in case you splash yourself with bleach water, and wear rubber gloves to protect your hands. Put the pinecones in a large bucket (I used a 5 gallon utility bucket). Fill the bucket with water first and then add the bleach. The cones will float. Push them back down into the bleach water and lay the bricks or stones on top. You might have to add another rock or two and tuck any floaters back under the rocks.
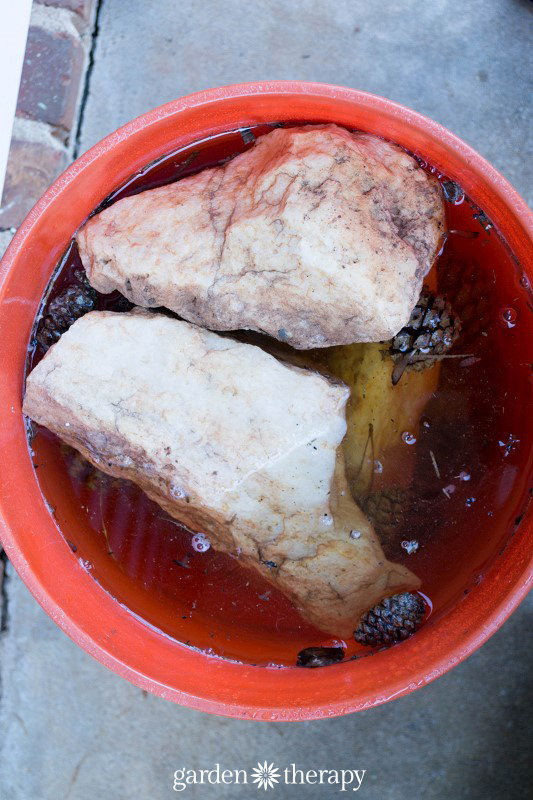
Let the pinecones sit in the bleach solution for 24 hours, but no more than that. I did a check after 12 hours or so and noticed some of my smaller pinecones were already whitish.
Pinecones close up when they are wet, so if you can’t see any change because they are closed, that doesn’t mean it’s not working. Let them sit submerged in the bleach water for a full 24 hours for the full effect. Any longer than that and the pinecones will start to deteriorate in some spots.
After 24 hours, put on your gloves and work/craft clothes and remove the pinecones. I laid them out on a large piece of paper outdoors so the fumes would dissipate. To dispose of the bleach water, I poured mine in a bathtub slowly, being careful not to let any twigs or dirt go down the drain.
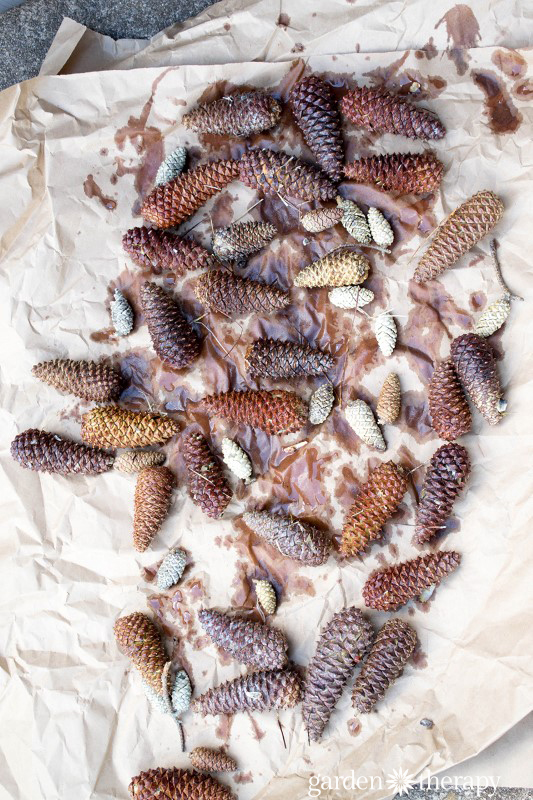
As they dry, they will start to open up again. If it’s a sunny day, perfect! Leave them outside to completely dry. It can take a few days for them to fully open. If you are in a hurry or have a stretch of wet weather, you can dry them in your oven. Set your oven to the lowest setting (it’s usually 170-200 F) and let the pinecones dry for a couple of hours. As soon as they are open, remove them.
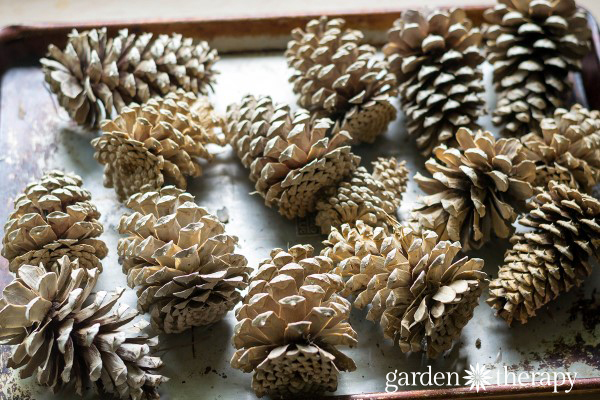
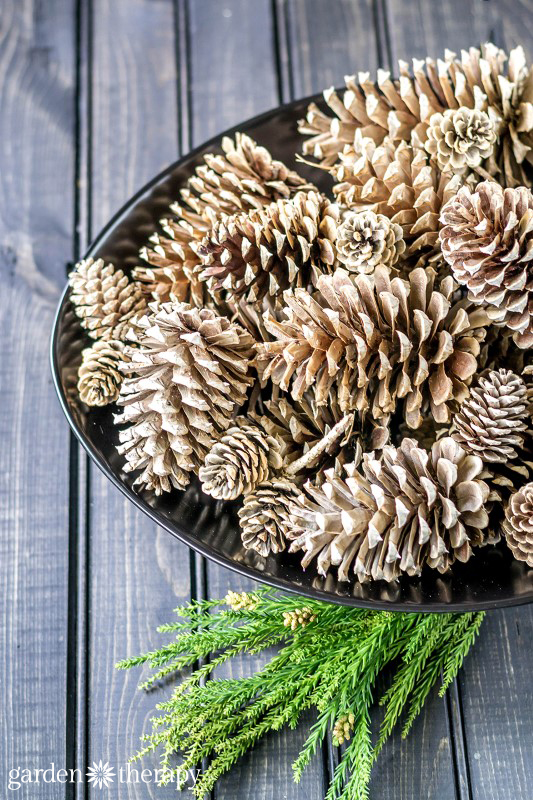
As they dry, you will be amazed at the transformation! They get a silvery sheen to them that will make them perfect for any type of holiday crafting. They are even pretty on their own displayed in a tall vase or bowl. However you decide to use them, making bleached pinecones is a simple project that yields beautiful results.
And just look at what you can do with them!
Make an outdoor decoration like this Simple & Elegant Natural Pinecone Swag
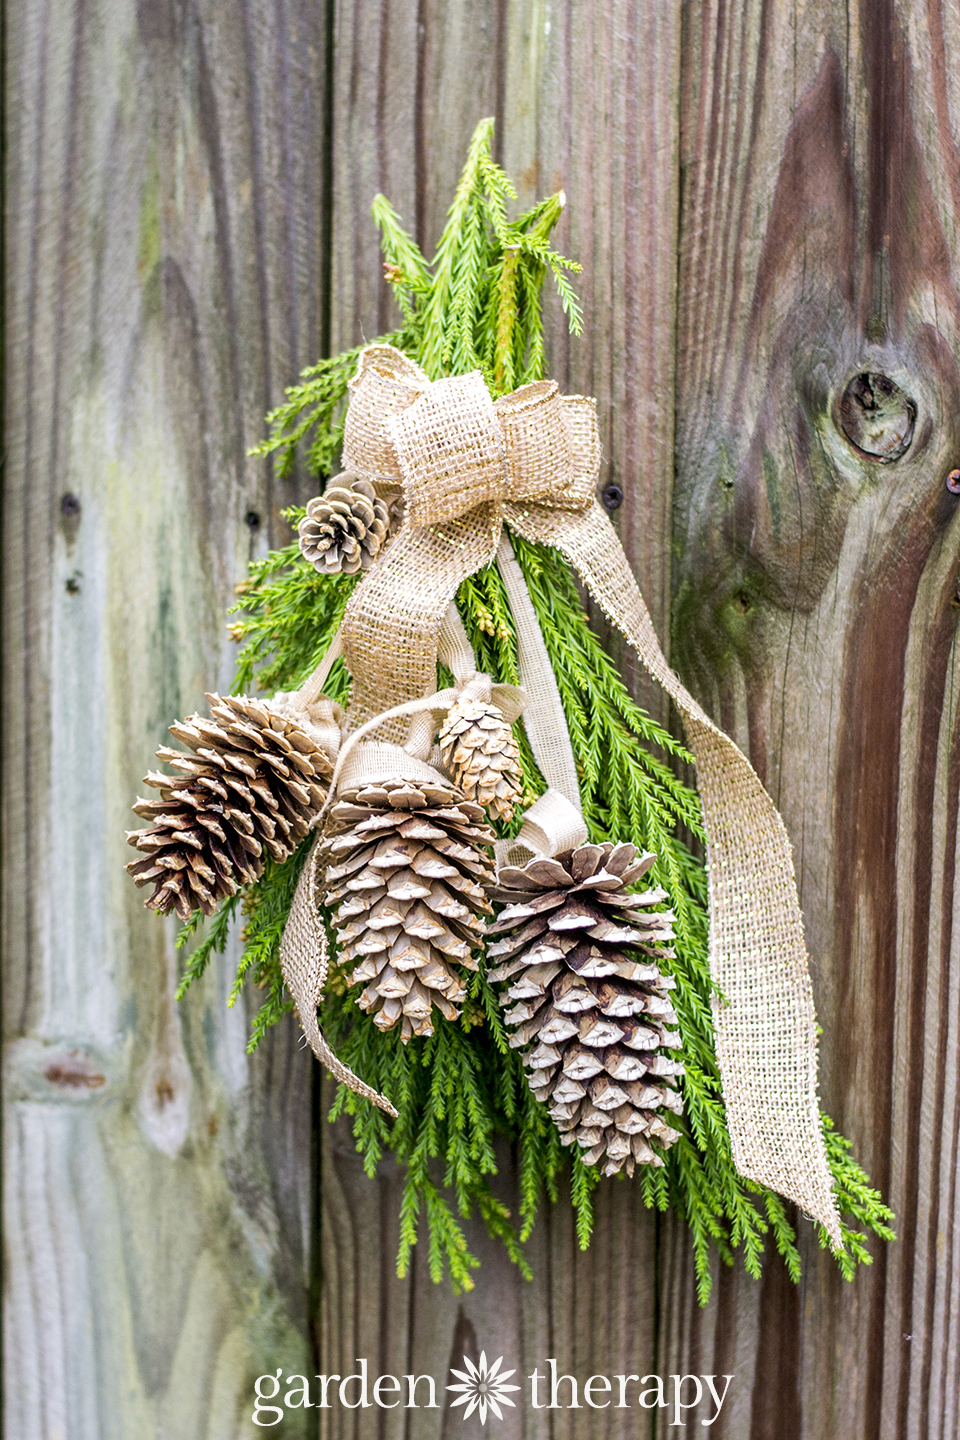
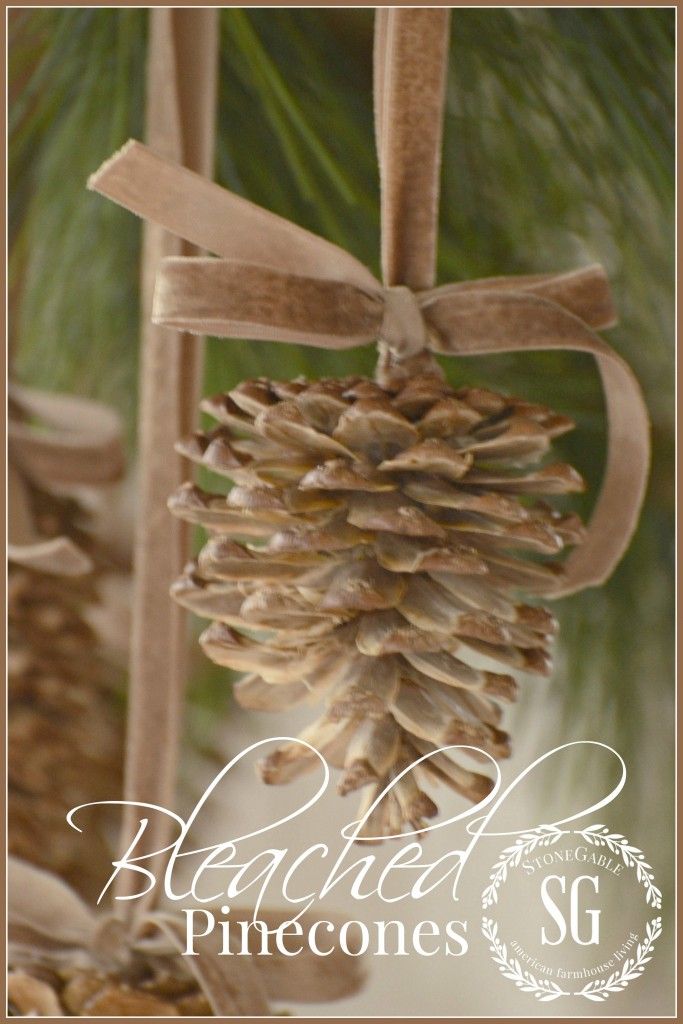
I love these bleached pinecone ornaments from Stone Gable:
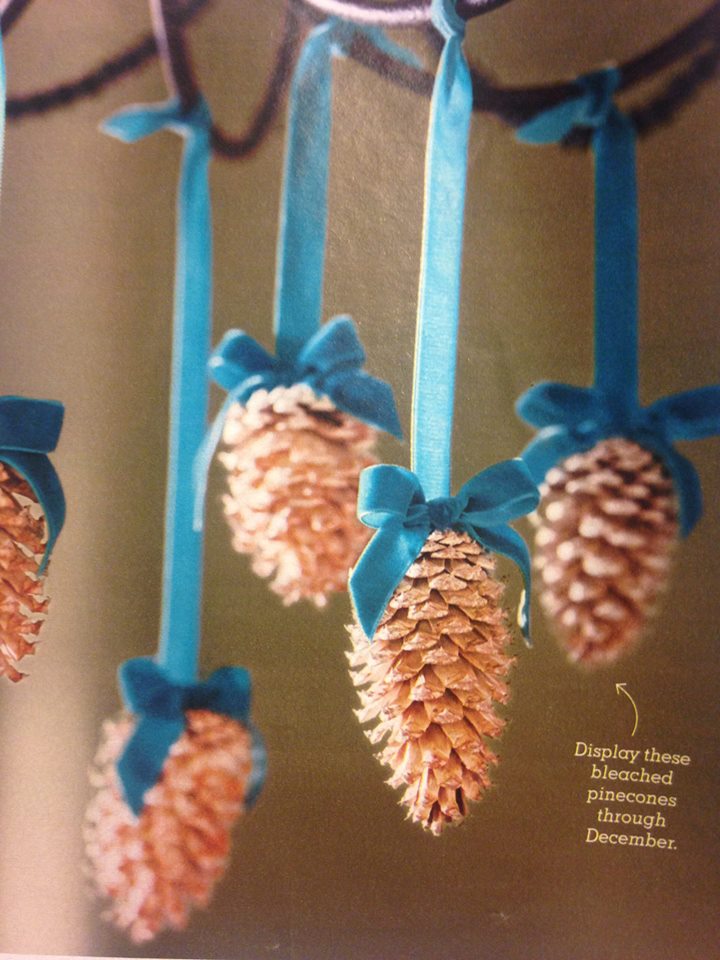
And here is another version from the pages of Country Living. They bought these beauties from the Etsy shop Ashworth’s Art.
Original article and pictures take gardentherapy.ca site
No comments:
Post a Comment