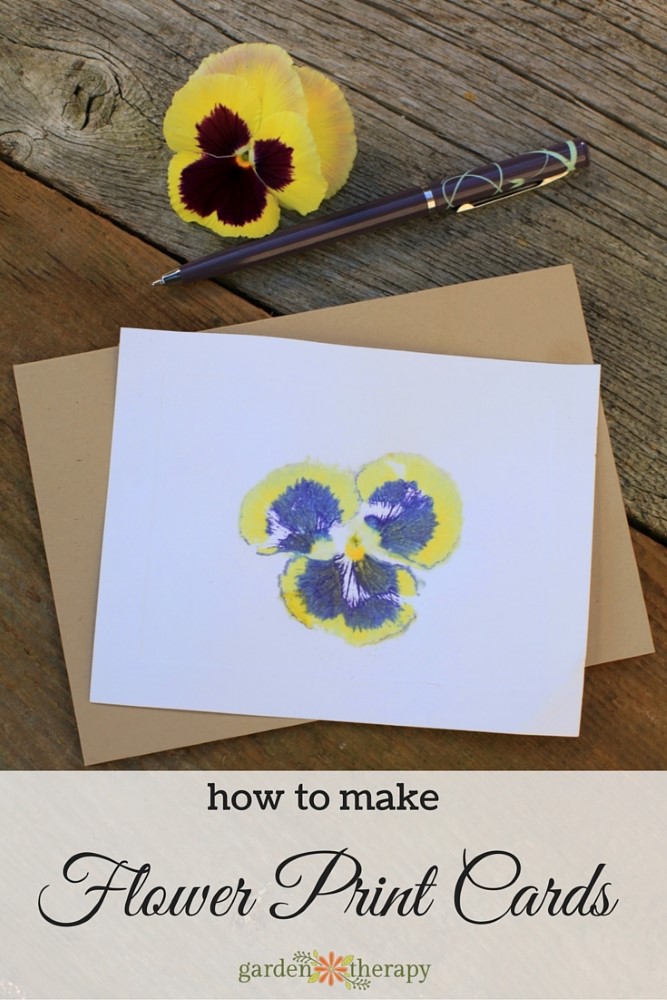
I love to send a little bit of my garden when sending a thank-you note. It’s not always practical for flowers or preserves to be sent across the country or even to a different country, but a flower print will do! Printing cards using garden leaves and flowers is a simple and personal way to send a sentiment to someone special.

Materials
- Hammer or mallet
- Pansy or other flower head
- Parchment paper or craft paper
- Hard surface

Make it!
Start with some plain card stock. I like to use plain white to see the all of the color detail in the flower print, but you can experiment with different colors as backgrounds for the print.

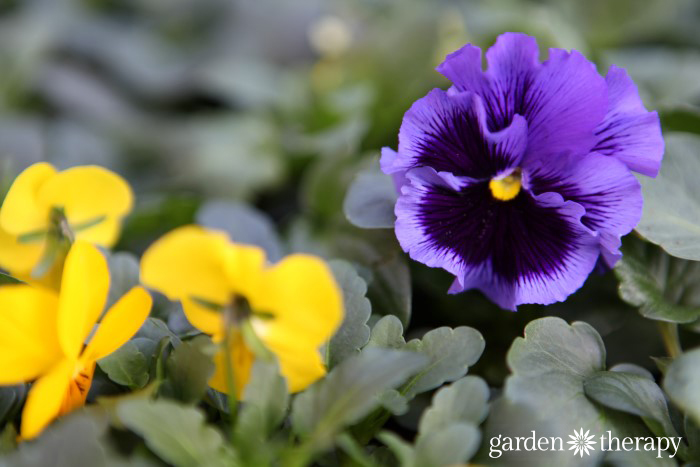
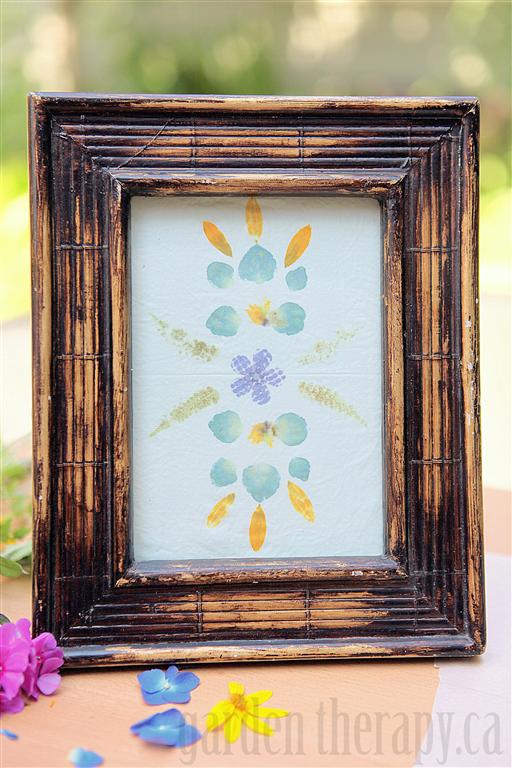
Pick a flower from the garden. I like pansies or violas for this project, because the size works well for cards and the colors transfer really nicely. You can certainly play with the various shapes, sizes, and colors of your garden flowers, keeping in mind that larger petals, such as those from roses or poppies, will need a lot of even hammering to transfer the whole petal. Leaves will work as well. Red maple leaves and fern leaves are very easy to print and transfer the pigment well and hold their shape. Test a few different leaves from your garden and see what you like best.

Use a hard surface like a piece of plywood as your work table. You don’t want to dent up a counter or nice table with this project, so choose a surface that you won’t mind a few hammer marks on.
Position the flower on the card where you want the print, top facing down. Each pansy has five petals. I separate them and place three on the card. The leftover petals can be printed on a separate card, or added to this design. I like the look of just three petals for a large pansy, though.

Place the parchment or craft paper over the petals and hold it in place under the paper.
Hammer the flower, covering the entire surface area. Be careful not to slide the petals around, but also be mindful of your fingers! I used a mallet for this project because it is heavy and has a smooth head to print the flower evenly. I didn’t use my hammer because it has a stippled head, but you can see the effect that gives here.

Carefully remove the paper and peel off the petals. Brush away any leftover plant materials. Cut the card stock to size and attach it to a blank card. These would make fitting cards for your home stash or thank-you cards for weddings and showers. A set of these cards (six maybe?) would also make a great gift.
Read more on Flower Pounding and see how to do it on fabric here:

Save
Original article and pictures take gardentherapy.ca site
No comments:
Post a Comment