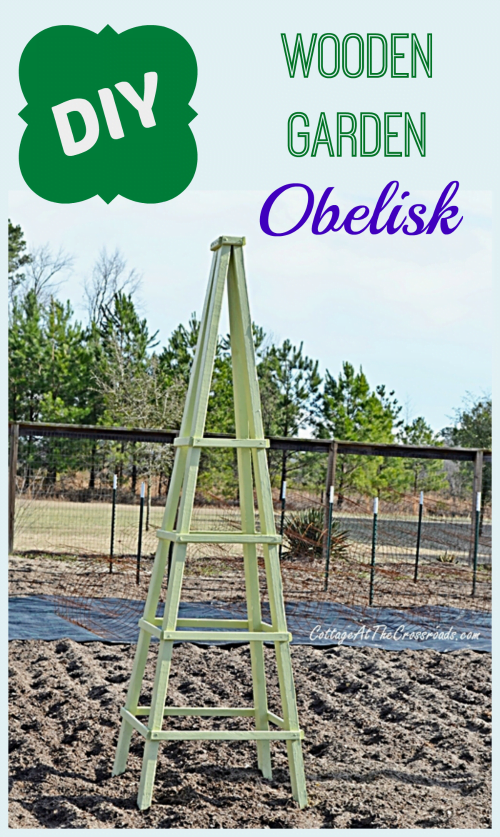
This easy-to-make wooden obelisk will look really nice in your garden. First of all, I must tell you that I am by no means a professional carpenter or woodworker. So if I can build this, you can too. I’m including step-by-step directions and a diagram so that you can make one too at very little cost.
Back in January, I was browsing through the How-To books in Lowe’s and spotted an obelisk. I had seen these around but had no idea it had such a fancy name. By definition, an obelisk is a tall, 4 sided, narrow, tapering structure which ends in a pyramid-like shape at the top. I’m just going to call it a wooden trellis that you can grow things on in the garden.
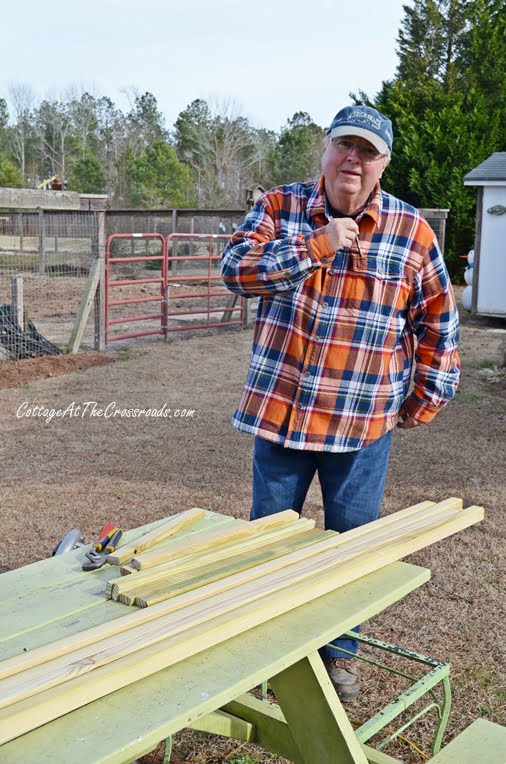
four 2″x 2″x 8′ pieces of treated wood
two 2″x 1″x 8′ treated wood
1 small box of 2″ coated deck screws
drill and bit
power or hand saw
tape measure
pencil
a long work bench or 2 sawbucks
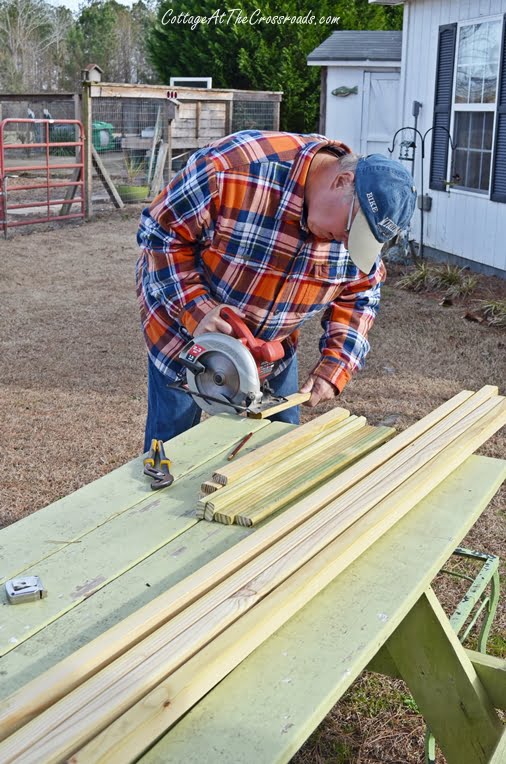
Cut the 2″x 1″ slats into the following lengths:
four 22″ pieces
four 18 1/2″ pieces
four 14 1/2″ pieces
four 11″ pieces
Next, drill a small hole 1/2 inch from both ends of each piece. This will keep the wood from splitting when you insert the screws later. Lay down two of the 2″x 2″x 8′ pieces on your work space, placing them into a pyramid shape. Next, screw a 22″slat 12 inches up from the bottom on both sides. Then, screw a 18 1/2″ slat up 15 inches up from where you put the first slat. The 14 1/2″ will go up 15 inches from that one, and the 11″ slat will go up 15 inches also.
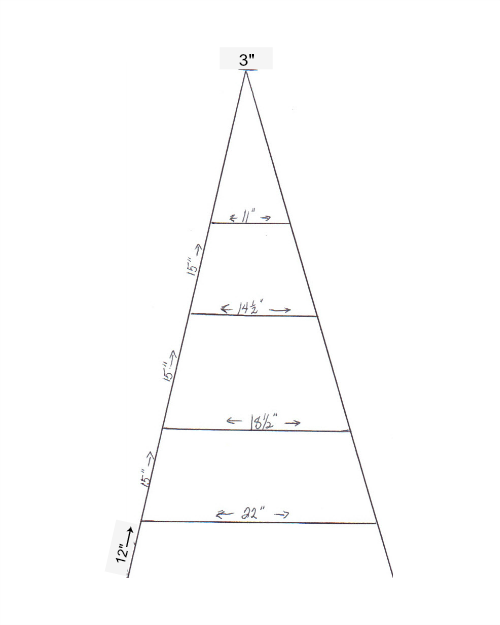
Click HERE to download and print the diagram.
While you’re screwing in these side slats, it’s important to have someone hold the top of the pyramid together. When you have this completed, you have one side of your obelisk built. Set it aside and build one more just like it.
After you have two sides, stand them up,have someone hold the tops together, and screw in the remaining slats. You will now have a 4 sided structure.
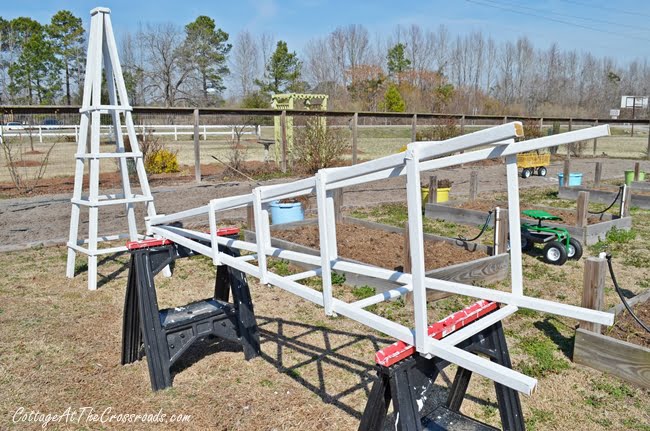
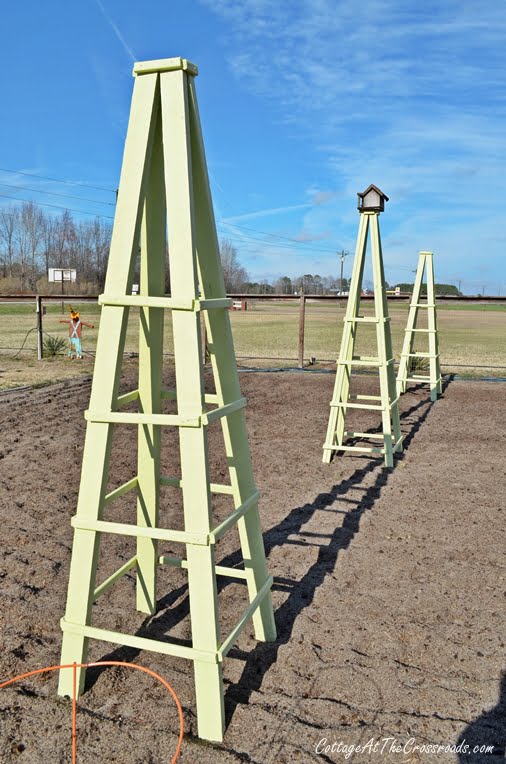
As you can see in this photo, I experimented with different ways to make the obelisk more sturdy. I doubled the 2″x 2″s and later I built another one using 2″ x4″s. But really the 2″x 2″s work just fine.
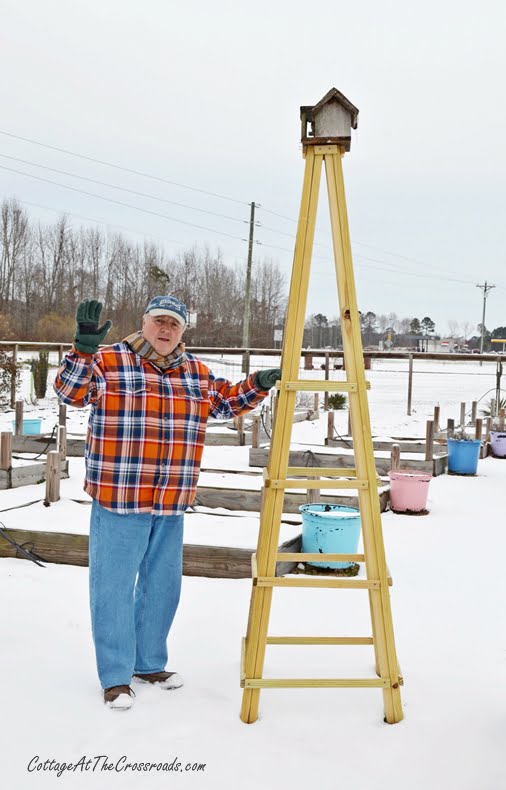
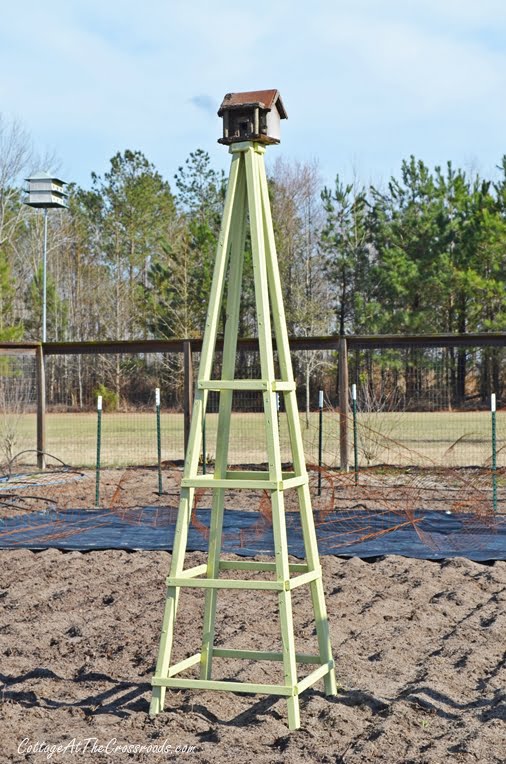
To finish off the top, I chose to just trim it out with four small pieces of the 2″x 1″ slats. I put this old birdhouse on the top just to get an idea of what I wanted to do. You may want to put a decorative finial on the to,p but we’re going to put birdhouses on the top of ours.
You may choose to leave them a natural wood color, but we decided to paint ours to add some more color to the garden.
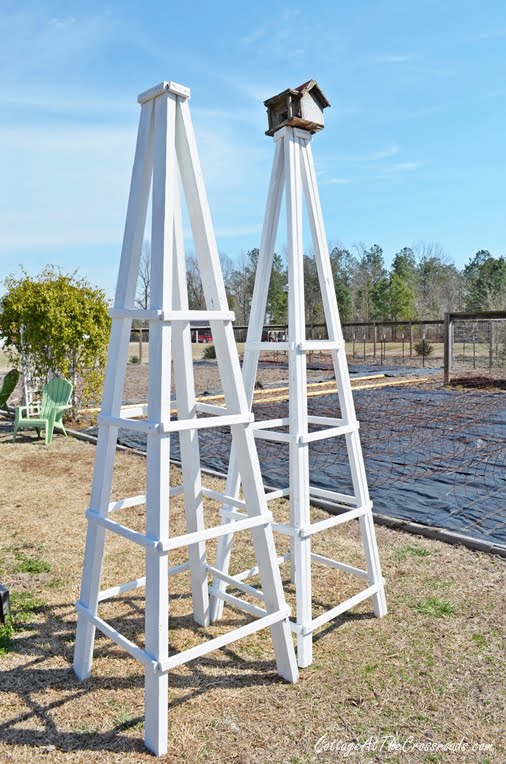
First, we put a coat of a good quality exterior latex primer on them. After all, I don’t want to have to be painting these things every year since painting is one of my least favorite things.
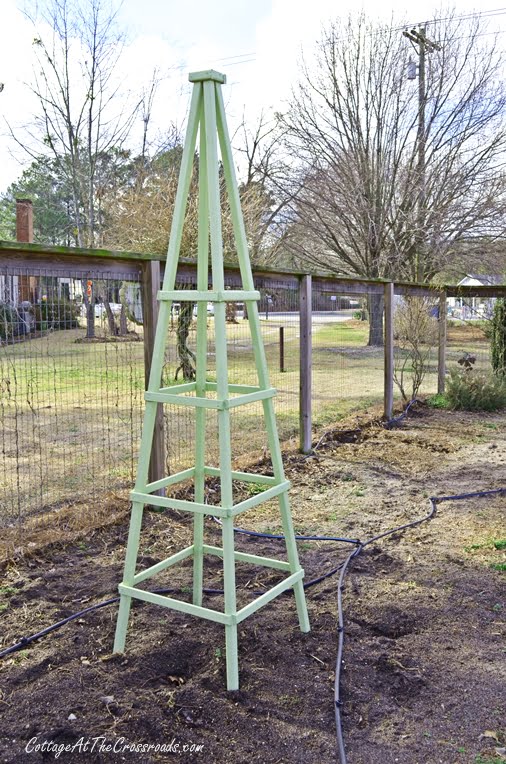
We chose to paint them what has become Cottage at the Crossroads signature shade of green. We’ve painted our Adirondack chairs, an arbor, picnic table, and some exterior doors this same shade of green. I’m planning on planting an indeterminate cherry tomato under this one because they can get very tall.
I got a little carried away and built four of them and had to decide where to place them in the garden. I think we’ll plant some pole beans under two of them and perhaps a flowering vine under one. I’ll leave that monumental decision up to my full time decorator, Jane!
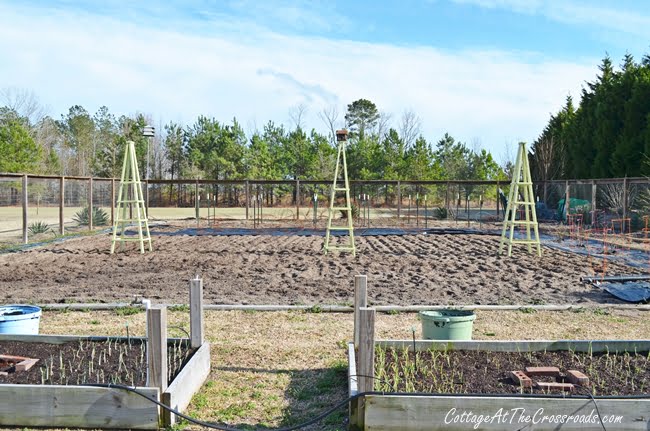
This year, we’re concentrating on not only having a fully productive vegetable garden but an attractive sanctuary as well. You know, a place to enjoy the great outdoors with a glass of wine.
You may want to choose how you’re going to anchor the obelisk. I bought some stakes at Lowe’s. Jane and I are now shopping for some attractive birdhouses. Stay tuned to this blog to see the finished product which will include the birdhouses and the climbing plants.
If you decide to build an obelisk, let me know how it turns out.
Sharing at:
Wow Us Wednesday@Savvy Southern Style
Live from Windhams’ Crossroads,
Original article and pictures take cottageatthecrossroads.com site
No comments:
Post a Comment