I have a big empty space on my kitchen wall, just above our antique stove.
I don’t do empty spaces. I’ve never been a minimalist.
I haven’t left the space empty intentionally, but every time I make something and hang it there, then list it in my shop – it has sold quickly. It makes for great sales, but not for a pretty kitchen.
I didn’t want to spend much money, so I designed a farmhouse style rustic wooden frame chalkboard.
It’s an easy project that requires very basic woodworking skills, so anyone can make it.

Supplies needed
1 x 4 x 8″ furring strip (cost about $3)
3/16″ x 24″ x 24″ lauan plywood (cost about $4)
miter saw (or regular saw with miter box)
wood stain (we used this color)
white paint (we used leftover paint from our kitchen walls)
nail gun (we love this one)
sandpaper and sander
paintbrush & paint roller
Instructions
Step 1 – cut furring strip and lauan.
The overall size of my frame is 28″ x 21, so my wood cuts were:
2x – 28″ length
2x – 21″ wide
lauan – 24″ x 17″
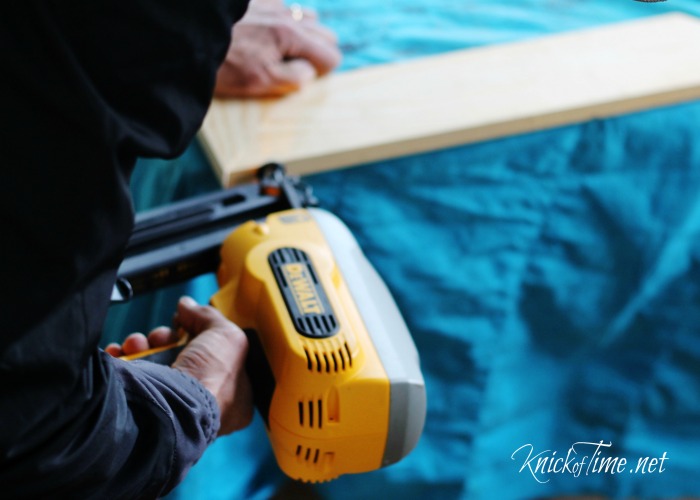
We used a miter saw to miter the angles at the corners, but straight edges would work fine too. You could have them cut for you at most home improvement stores, and get the lauan cut at the same time, which would save you this step.

Step 2 – Nail or screw furring strip pieces together at the corners.
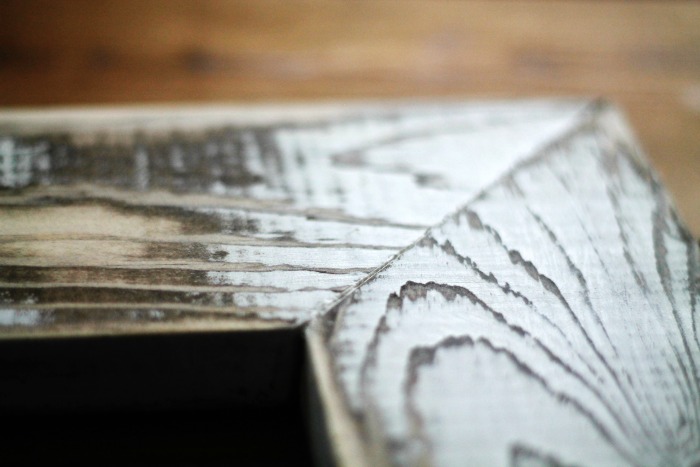
Step 3 – Stain the wood for the frame.
While the stain is drying, use a paint roller to apply chalkboard paint to the lauan plywood sheet, and set it aside to dry. I applied 2 coats to mine.
Step 4 – By the time I had finished painting with chalkboard paint, the stain was dry enough to paint the frame white. Allow paint to dry thoroughly.

Step 5 – Sand the frame to distress it. I heavily distressed mine, but you could also do very minimal distressing if that’s your preference.
Step 6 – Drill pilot holes through the back of the chalkboard into the wood frame, then screw both pieces together.
DONE!

I am the WORST chalkboard artist, so I’ll probably never use mine as a chalkboard. Instead, I’m using it as a display for flowers. I used a staple gun to attach cotton twill tape to the back side, and hung an old lightning canning jar to hold the flowers.

This rustic wooden frame is the perfect style for my farmhouse kitchen and it gives me a great excuse to treat myself to fresh flowers every so often!

See more easy DIY Projects HERE.

Original article and pictures take knickoftime.net site
No comments:
Post a Comment