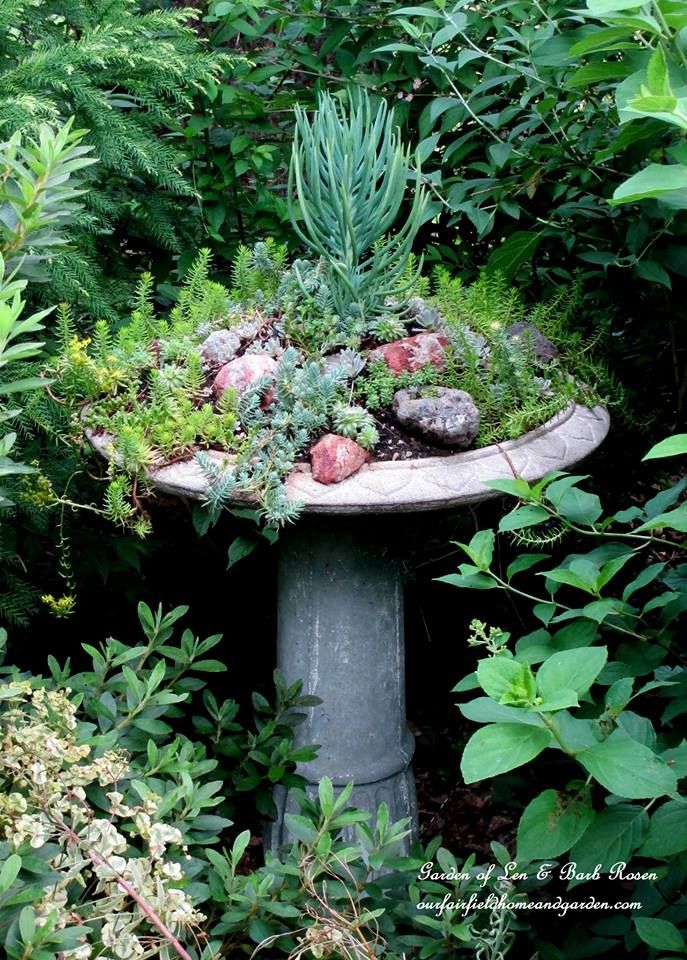
There was an old, leaky concrete birdbath left on the property by our home’s former owners and, today, I decided to make it into something beautiful! Lately, I have seen many ideas in gardening magazines and on Pinterest showing an an old birdbath converted into a succulent garden. I already had the birdbath, so I set about gathering the other necessary materials.
A trip to a nearby nursery yielded the tall “Blue Chalk Finger” (Senecio vitalis), the “Chocolate Ball” Sedum, “Chinese Dunce Cap” (Orostachys) and a couple of annual purslanes. While choosing the plants, I kept in mind the gray of the birdbath and the sedum colors that I already had available in my garden. It took great restraint, but I got the succulents I came for and kept moving, even though the nursery grounds were an explosion of color and scent!
Home again, I rooted around in the garden shed and pulled out some builder’s sand, my own compost (you could use potting soil) and the wheelbarrow, plus a pot full of small stones gathered from our yard. My cost for this project came to only $20 because I was mostly using materials and plants I already had. By the way, at the nursery, a small planted pot of four succulents mulched with pebbles cost $39! My project is about five times that size!
First, I rolled the base of the birdbath across the yard – it weighs about 150 pounds – and I’ll tell you, this was the hardest part of the whole project! Once I got the base to the flower bed where I wanted it, I had to flip it end over end into place and wrestle it around until it was level. Probably I should have waited for some help, but I was on a mission and it was getting hot! After a rest, I lugged the concrete basin (only about 40 pounds) and put it in place.
In the wheelbarrow, I made a mix of roughly 2 parts compost to 1 part sand and mixed it well. A bucket full of this mix was smoothed into the basin. Small rocks and stones were added. I tried to build it up in the middle so there would be some height and the plants would cascade.
Now the fun part: adding the plants! The tall Senecio took its spot on the top and the rest I tucked in and around the rocks, with some of the longer sedums draped a bit over the side to add interest. A trip down the street to my neighbor’s yard yielded some more good “filler” sedums and the rest I dug up from our front flower bed. Of course, I had bought a “Chocolate Ball” Sedum at the nursery for my neighbor as a thanks for sharing her different varieties with me, so I stopped to chat a while with her.
Back to our garden and putting on the finishing touches of tiny sedums. A light watering followed for the completed succulent garden and a cold drink for me, too! The entire project took about two hours, including the nursery trip and neighborly chat! Time well spent in my book!

Original article and pictures take ourfairfieldhomeandgarden.com site
No comments:
Post a Comment