Wednesday, December 7, 2016

My Periwinkle Blue Beehive

My Periwinkle Blue Beehive
Painted Beehives: Introduction to my Periwinkle Blue Hive

Have you ever realised just how much more colour people add to their own homes in foreign countries? Outside of the ‘West’ you’ll find houses in all the colours of the rainbow but the greyer the weather, the more dull both building and clothing colours seem to be. It’s the same for beehives and up until last year I’d only seen them painted in white or in neutral colours.


Then a friend shared a photo of rows of colourful beehives that she’d spotted on a trip to Poland and I saw them adorned in pink, blue, yellow, and bright green! I decided then that I’d eventually follow suit transform my hives into a row of little Mexican houses, a splash of colour tucked away in the grey-green gorse.


This post may contain affiliate links. Thank you for your continued support of this site!


As of today I have my first brightly coloured hive – painted with two coats Periwinkle Blue exterior paint. Truthfully I chose the blue for one main reason – it was free! I picked up the can at the local recycle centre last year and have been waiting to use it in a project. I have to point out though that bees are also apparently attracted to the colour blue too. Or at least that’s what I was taught in my beginners beekeeping course.


It also hasn’t escaped me that the hive is the same colour as my VW Camper, Daisy Blue!


The hives I use are Nationals which are the most commonly used in the United Kingdom. I currently have two spare in my garage so painted one of them up in the blue leaving the other for a different colour. I also had the stand from the white hive that I brought home after my last visit to that colony. It’s old and battered and had a landing stage that is too big really. I made the stand by myself back in 2012.


To revamp it I literally cut off the old landing board with a jigsaw and mounted a small piece of pallet wood on the front for a more simple landing pad. A little diy work and a lick of paint can do wonders in giving a piece of rubbish new life.


The plan is that I’ll take the blue hive up to Laxey tomorrow and prepare my Onchan hive to be moved early on Sunday morning. That means a bright and early start to that day! I’ll be tying the hive up in one piece with the honeybees inside and transporting them in my car for the twenty minute drive in to Laxey. It’s a stressful thing to move a hive and you can bet I’ll be driving with my bee suit zipped up and tucked in. More on how that goes in my next beekeeping post and video.


I’m really looking forward to having a bright and vibrant apiary and am even considering planting some flowers around the hives as well. Who says that beehives can’t be as pretty as other parts of the home and garden?


Original article and pictures take lovelygreens.com site

Monday, December 5, 2016

My Flea Market Garden play kitchen

My Flea Market Garden play kitchen

…and my best garden treasure…


Finding my ‘find’


Some time ago, I went to my local nursery and was stopped in my tracks by what was standing by their dumpster! This old galvanized utility sink was a bit rusted, but definitely worth asking about. This nursery was always a favorite of mine because they had had the junk gardening vibe, but sadly, it was going to close down soon.


Sadly, this sink stayed here for two years!

To me, Flea Market Gardening is a bit of taking materials that would otherwise be wasted and giving them a new sense of value by turning them into something beautiful and useful.


Before- My old galvanized sink
Before- My old galvanized sink,…pretty sad…

I tentatively asked about the sink and wouldn’t you know,…they were surprised ANYONE wanted it! What? They said they’d let it go for twenty bucks! Ha! Luckily, I could take it right then and there. Score! It sat for awhile,…and eventually we moved to the mountains where we had plenty of room to stash it. One day, I finally was able to set it up to be my work area.


Once moved to its new spot, the old sink was ready to play with

Galvanized sink into a functional garden potting sink


Tractor Man and I took some old wood and some iron brackets I had found at a yard sale and put up the sturdy shelves. I had a rake head and hung that for hand tools,…everyone has seen that idea, right?


I arranged all my extra clay pots on the shelf, then added two more treasures, a wrought iron twine holder and an old Boraxo dispenser.


What is it that I like about vintage dispensers? This Boraxo dispenser would remind me of my Dad, who always had Boraxo on the garage sink when I was a child. I can still feel the grittiness of it when my child sized hands were washed after a day of playing out doors.


After- My play kitchen and potting sink

An old crock for more hand tools, a woven cloth basket and two small pictures completed my kitchen. Next project will be to attach some faucets and hook up a hose to make it even more functional,…my play kitchen! I’m so happy with it and work there a lot.


Have you noticed a LOT of kitchen themed garden vignettes lately? What’s your best garden treasure? ~~ Sue


See the whole story of how I spiffed up my messy potting area. Yikes!


Original article and pictures take www.fleamarketgardening.org site

Friday, December 2, 2016

My Container and Greenhouse Garden

My Container and Greenhouse Garden
A tour of my garden after a 5-week vacation: succulent and carrot planter

A Tour of my Garden after a long Vacation


After being away on a five week trip I’m just now settling back into routine. Making handmade soap, giving soapmaking classes, catching up with customers, and also tidying the garden. We had house-sitters while we were away and fortunately they took care of my plants both in and out of the house. Still, there was a lot of weeding to do and preparation for the winter. I also thought it would be the perfect time to test out my new GoPro HERO Session and take you on a little tour!


This post may contain affiliate links. Thank you for your continued support of this site!


The flower patch needed weeding and clearing


One of the biggest jobs for me since I’ve been home is cleaning out the ‘Wildflower Patch‘. Planted up with perennials like lavender and rose bushes, I’ve sown the rest of the area with wildflower mixtures. Two years in a row I’ve done this and I’ve decided that I’d like a change for 2017. I’ll be having a think about what I’d like to see here.


In the meantime, I’ve cleared all of the weeds including digging up a lot of Creeping Buttercup. It’s one of the worst weeds I have to deal with. I’ve also taken down a lot of the Crocosmia foliage and taken away anything that will encourage slugs to hang around.


A quick look around the greenhouse


In my greenhouse I have a lot of potted plants, herbs, and cuttings I’ve propagated. There are also still loads of tiny ‘Yellow Currant Tomatoes’ to pick but the ‘Red Currant Tomatoes’ have seen better days. I’ll cut down all of the tomatoes soon and tidy up the trough planter they’re currently in.


The plastic GreenStalk planter that I have in one corner of the greenhouse is still looking great. I’ve had to trim back the sage but the strawberries, thyme, and oregano are going strong. If you’re interested in the planter it really is great but so is the pricetag. If you don’t mind buying something cheaper, I’ve found this one for a fraction of the price.


I really need to think of a shelving idea too – there are loads of plants just sitting on the paving stones inside the greenhouse. It makes it a bit difficult to move around when you’re inside.


I’ve been working on a new planter idea


Though I don’t think I’ve shown it on my blog before, I’m working on a new ‘Pallet Planter’ idea. This one has areas on the sides where succulents can grow and an open area on top. This year I’ve used it as a carrot planter since the planter has depth and is raised off the ground.


In Britain, carrots suffer from the pest called ‘Carrot Root Fly’. They fly within a couple feet of the ground and will lay their eggs on members of the carrot family. The maggots turn your lovely root veg into an inedible mess! The carrots I’ve pulled up from this planter are perfect though so no flies have been at them. Success!


I transformed an old olive oil tin into a planter


Earlier this year I took an old tin, banged some holes into it and then planted it up with succulents. It’s been a lovely little feature near the kitchen door ever since. Some of the succulents have had to be replanted in that time but others have thrived. Every month or so I’ll trim the vigorous ones and have a poke around the ones that are struggling.


The Sempervivums (Hen & Chicks) like the planter the most after the silvery-blue variety and the green one that trails from the top. I’m terrible at remembering the names for all of these succulents in case you haven’t remarked on that yet. What I do know is that all of them are pretty easy to take cuttings from and to propagate at home. That’s where most of my succulents have actually come from.


Strawberry Pallet Planters


Way back in 2012 I came up with the idea of transforming a single wooden pallet into a strawberry planter. My video tutorial for it has almost a million views now! The original still sits on the patio humbly unaware of it’s star status.


I built a second one and now the two sit side by side. This year they both got new coats of paint on the outside part of the slats and I’ve replanted them with new strawberry plants. Strawberries need refreshing every three years or so to keep up productivity.


Now on to the Allotment…


I haven’t been to my allotment garden since mid-August – literally the day before I went on holiday. At that time it needed some weeding and maintenance so I’m afraid to see in what state it’s in now. Tomorrow morning I’ll be heading up to look at the state of it and to see if there’s anything edible to take home. No doubt it’s going to take some time to get it all in tip top condition but I look forward to some hard work on the plot. I’ve missed spending time up there.


Original article and pictures take lovelygreens.com site

Wednesday, November 30, 2016

muchpics.com

muchpics.com

2017 Copyright. All Rights Reserved.


The Sponsored Listings displayed above are served automatically by a third party. Neither the service provider nor the domain owner maintain any relationship with the advertisers. In case of trademark issues please contact the domain owner directly (contact information can be found in whois).


Privacy Policy


Original article and pictures take muchpics.com site

Tuesday, November 29, 2016

Mosaic Bowling Ball Yard Art

Mosaic Bowling Ball Yard Art

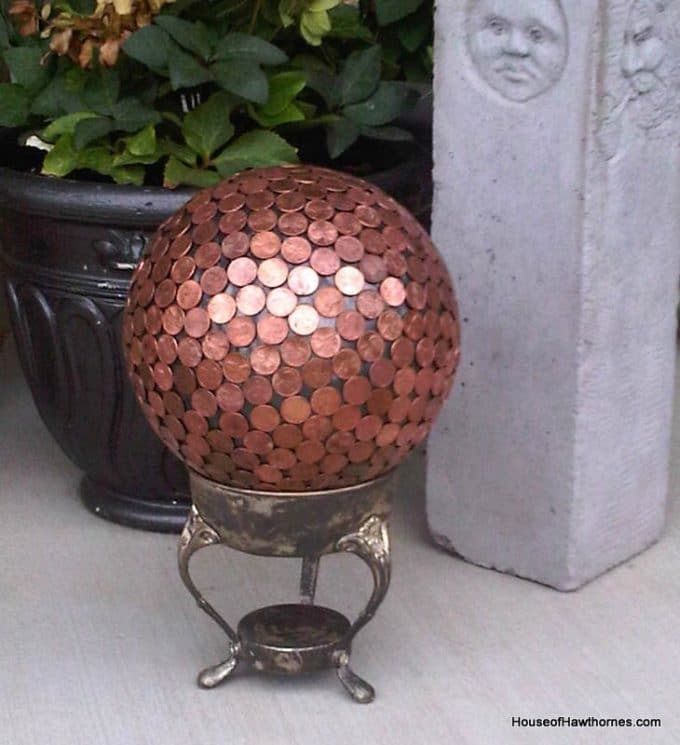
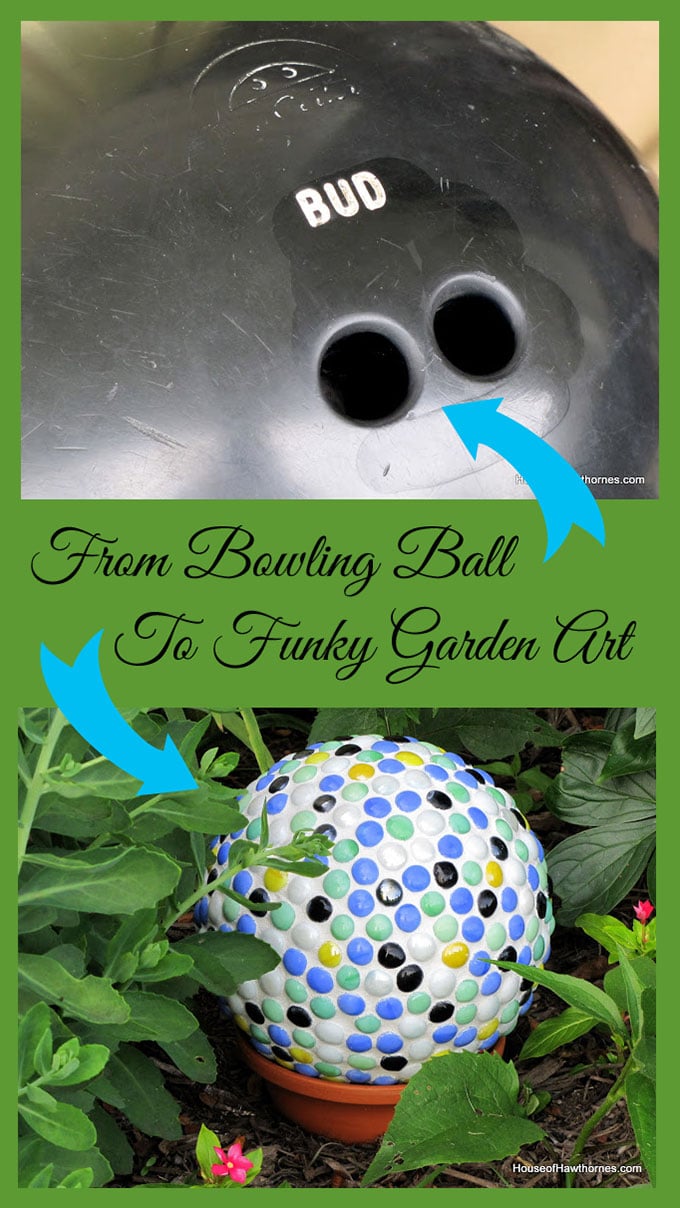
Way back when I first started blogging, I showed you how to turn a garage sale bowling ball into a piece of yard art. In that case, a penny bowling ball.


Penny bowling ball yard art - Place in the garden for repelling slugs and making hydrangeas blue - plus it's just cool looking! via houseofhawthornes.com

I think bowling ball yard art has a sort of cult following, because that post is by far the most Googled of my posts and brings quite a few people to my blog.


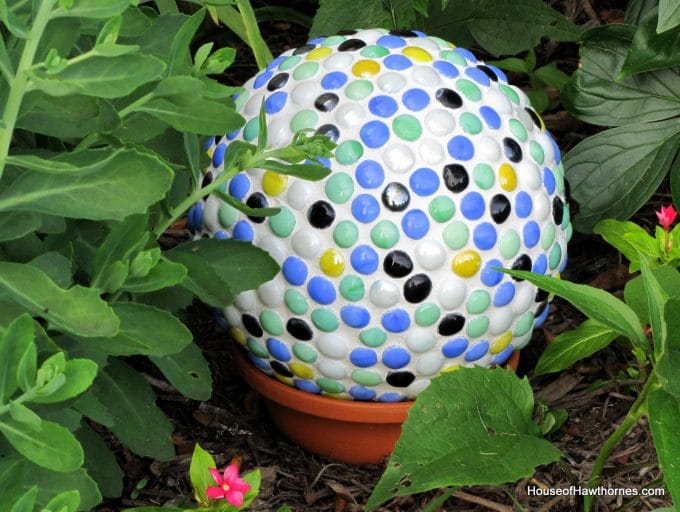
This summer I decided to make a slightly different version of bowling ball yard art.


MOSAIC GARDEN BALL SUPPLY LIST:


(This post does contain some affiliate links. You can read my full disclosure policy here.)


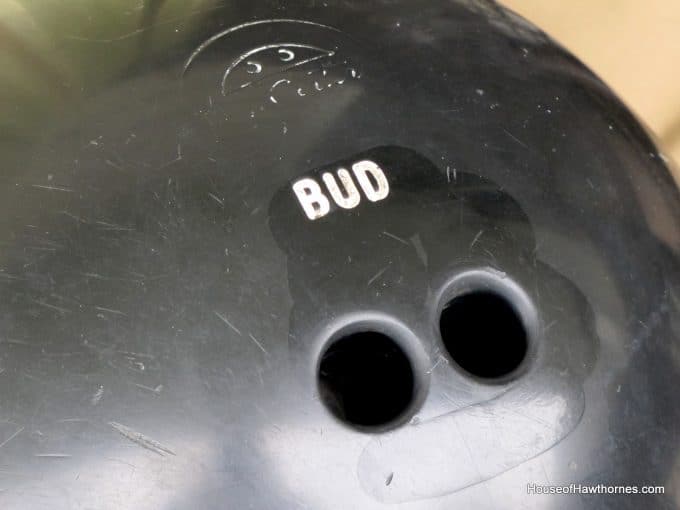
I picked up a bowling ball at my local thrift store. Bud’s ball, to be exact.


DIY fun yard art for your garden made from a bowling ball from houseofhawthornes.com

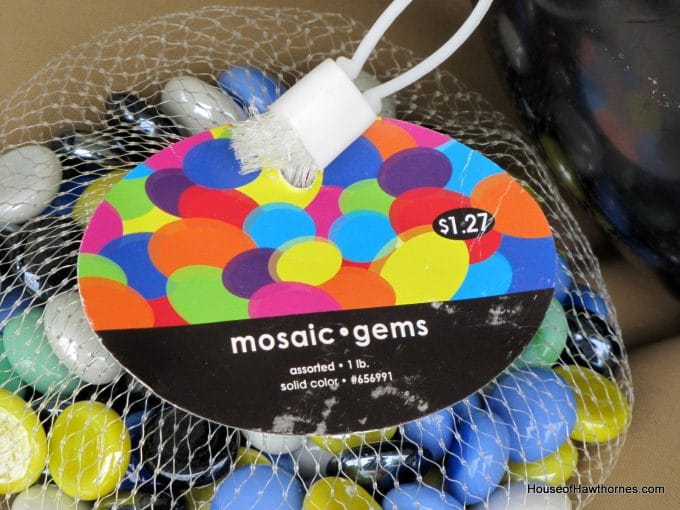
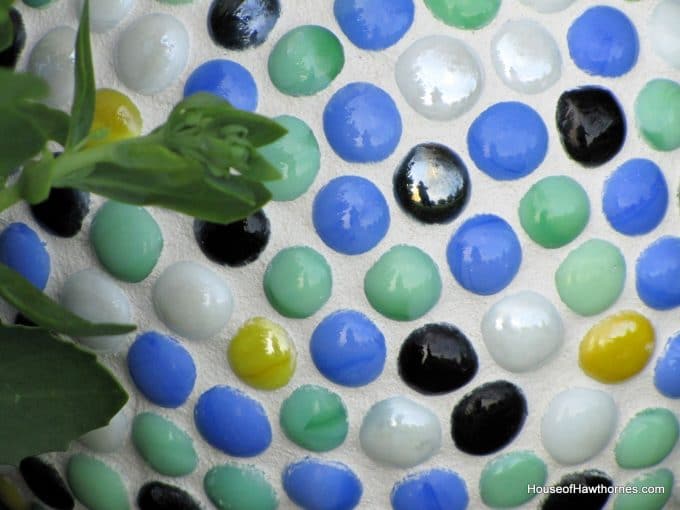
Some “gem” stones from the mosaic and glass tile aisle at my local craft store. I used approximately 6 bags of these.


DIY fun yard art for your garden made from a bowling ball from houseofhawthornes.com

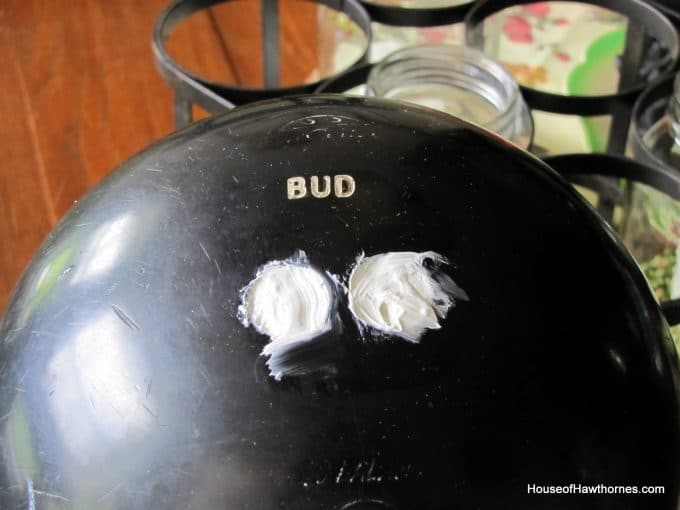
I started off by filling in Bud’s finger holes with some wads of paper towels until there was about 1/2 inch still open and then I topped that off with regular old caulking.


Bud had some huge fingers and I didn’t want to use up a whole tube of caulking, so that is the reason for the paper towels.


DIY fun yard art for your garden made from a bowling ball from houseofhawthornes.com

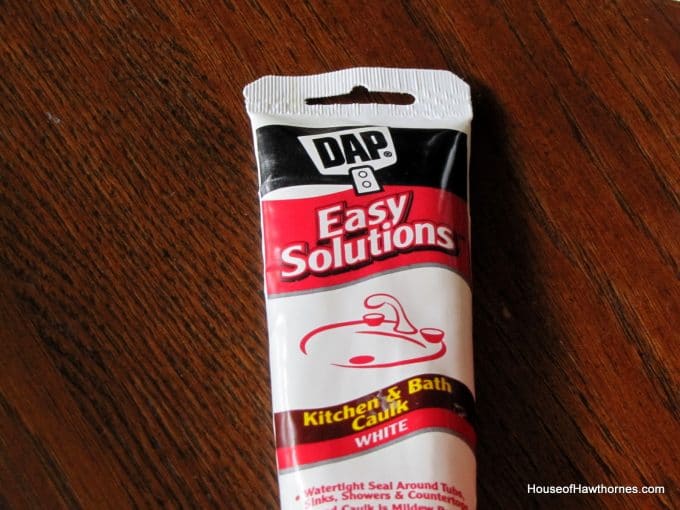
I just used the stuff you would use in a bathroom to caulk around a sink or tub or baseboard molding.


DIY fun yard art for your garden made from a bowling ball from houseofhawthornes.com

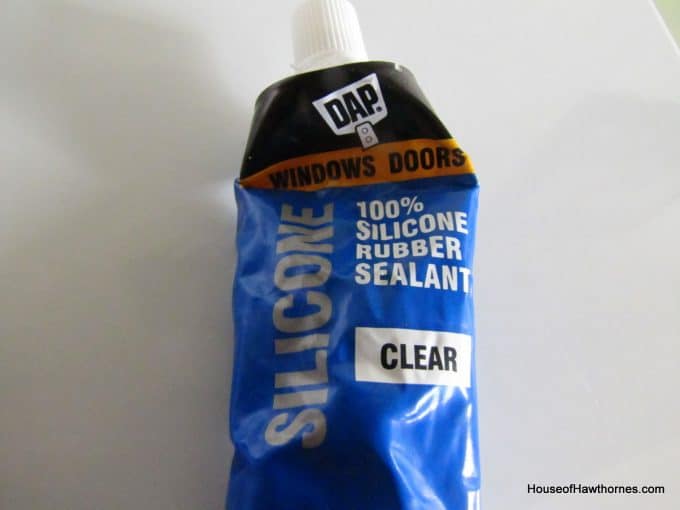
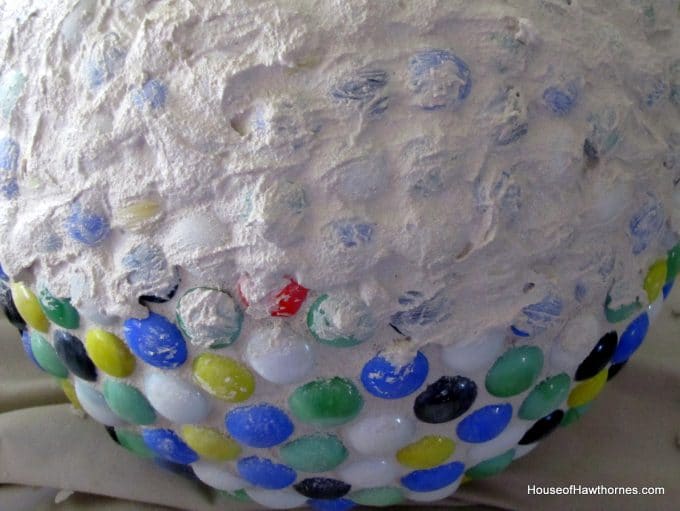
I roughed the ball up with sandpaper a little just to give it a better tooth to grab the glue. I used DAP’s Clear Silicone Rubber Sealant for Doors and Windows as my adhesive. Since this was going to be placed outside I wanted something that was waterproof, plus would set up quickly.


Then I glued my gems on to the ball.


DIY fun yard art for your garden made from a bowling ball from houseofhawthornes.com

This took me two months.


A person with more patience and less ADD could finish the gluing in less than two hours though. And most of that time would be waiting for one section to set up before you go on to the next section.


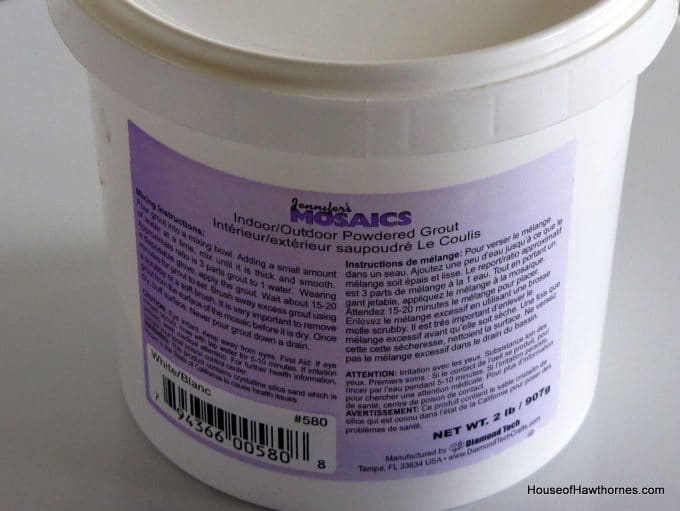
I decided to grout this ball, so I bought a small tub of powdered grout made for indoor/outdoor mosaic projects.


DIY fun yard art for your garden made from a bowling ball from houseofhawthornes.com

I split the grouting up into two halves.


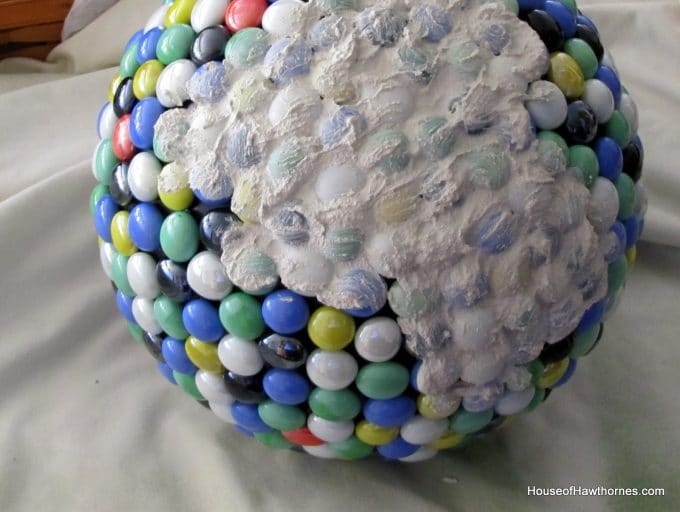
I grouted the first half by spreading the grout over the gems and pushing it down between them. I let it dry for just a few minutes and then ran a damp sponge over the gems to get the vast majority of the grout off the TOPS of the gems (you leave it in the grooves and sides though).


If you let the grout dry completely on the tops of the gems, it will be very hard to get off later.


When the grout was completely dried, I used a clean dry cloth to polish off any haziness caused by the slight grout residue.


DIY fun yard art for your garden made from a bowling ball from houseofhawthornes.com

Then I flipped the ball over and grouted the rest using the same technique.


DIY fun yard art for your garden made from a bowling ball from houseofhawthornes.com

After it was dried, I applied some grout sealer.


And then it was good to go.


DIY fun yard art for your garden made from a bowling ball from houseofhawthornes.com

I had thought about making one with pebbles on it, since The Dollar Tree has bags of them for $1.00.


But I don’t want to become the lady with all the bowling balls in my yard. Then I’d have to change the name of my blog to House of Bowling Balls and there would be a lot of work in making that change.


DIY fun yard art for your garden made from a bowling ball from houseofhawthornes.com

Can I tell you that I had second thoughts about ever posting this project on my blog. I couldn’t decide if it was cute, weird or tacky? So be gentle with me.


BTW, The Summer Kitchen Girls mentioned my penny bowling ball in a post recently. I believe they found me in the first place through Googling images of penny bowling balls.


You can find some more gardening ideas and projects on my Gardening Page. Anything from instructions for making Hypertufa containers to using copper to help keep your birdbath cleaner to stamping silverware for garden markers.


DIY yard art for your garden made from a bowling ball. Great upcycle project!

Original article and pictures take www.houseofhawthornes.com site

Monday, November 28, 2016

More Angles of Cheryl Cole Medium Straight Cut with Bangs

More Angles of Cheryl Cole Medium Straight Cut with Bangs
More Pics of Cheryl Cole Medium Straight Cut with Bangs (2 of 14) - Cheryl Cole Lookbook - StyleBistro

Original article and pictures take www.stylebistro.com site

Wednesday, November 23, 2016

Miniature Worlds That Come Alive At Night

Miniature Worlds That Come Alive At Night

I have a new addiction.


It used to be mason jars. “How can anyone be addicted to mason jars?”, you ask. They are so versatile and pretty I sometimes wonder how people don’t have a huge collection of new, old, vintage, clear, blue, quilted, and more mason jars. I have so many that I should be on one of those strange addiction shows!


The one day I made a mason jar into a solar light and the collection started moving its way outdoors. I made so many that my whole garden was glowing at night. Then I saw that many people started making solar light lids that you can quickly just twist on to one, clearly I’m not the only one who loves glowing outdoor jars either. (See a whole bunch of mason jar solar lids here).


But this still isn’t my new addiction.


No, it’s what happens inside the mason jar when the sun goes down: creating miniature gardens INSIDE a mason jar and adding a light to create...


Now I want All. The. Things. Well, all the things miniature, or small enough to fit into a jar. Thank goodness the world of miniature gardening is so popular that there is an endless supply of teeny-tiny garden pots, benches, birds, and of course, fairies.


Miniature gardening is the process of crafting up a living landscape in small form. Fairy gardens, like miniature gardens are also small, miniature gardens generally have more dwarf plants and fewer fairies. These mason jar solar lights are completely closed to air so when making them choose materials that give the idea of creating a garden space, but that don’t require air (like preserved moss, miniatures and figurines, rocks, and sand).


Original article and pictures take www.ebay.com site