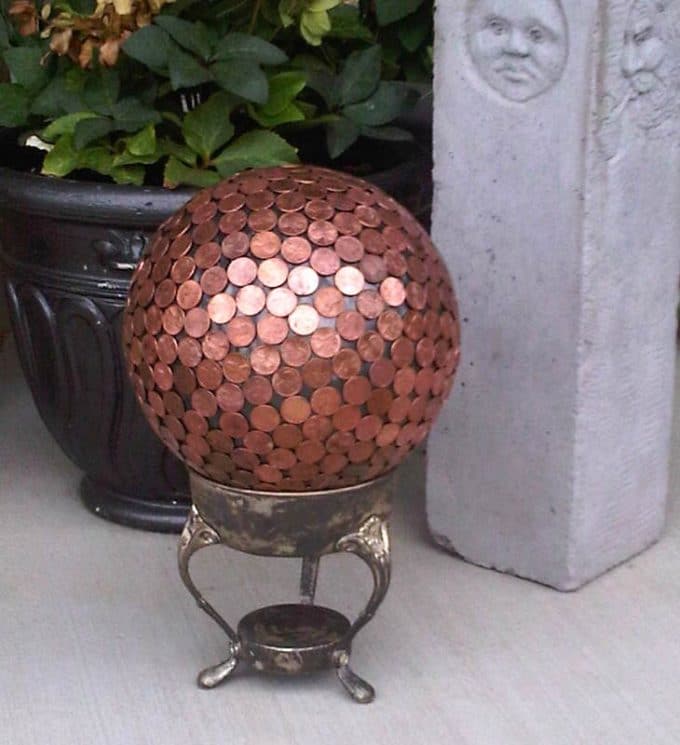
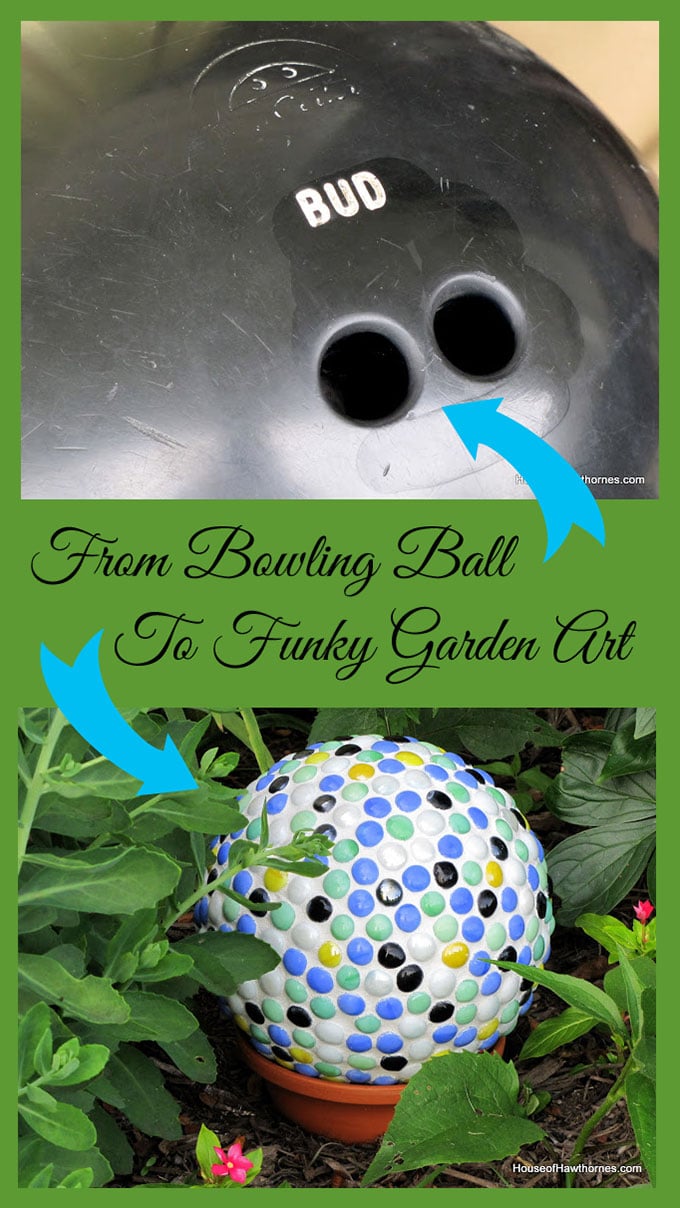
This weekend I turned an old bowling ball that I found at a garage sale into a gazing ball-like piece of yard art. A penny bowling ball!
How to make a penny bowling ball, fun and unique yard art for your garden. And some people say the copper pennies repel slugs!
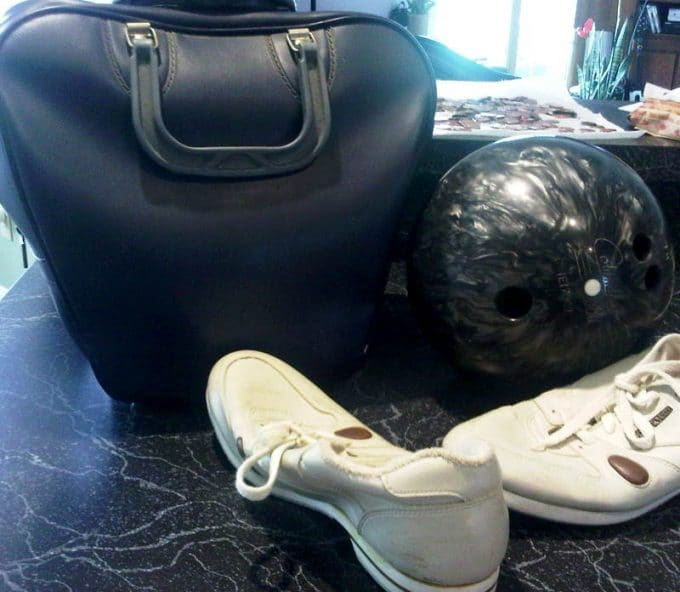
I bought this bowling ball, bag and pair of old used bowling shoes (yuck) at a church garage sale all for just $1.00. I knew I only wanted the bowling ball itself, so the other items were just along for the ride.
How to make a penny bowling ball, fun and unique yard art for your garden. And some people say the copper pennies repel slugs!
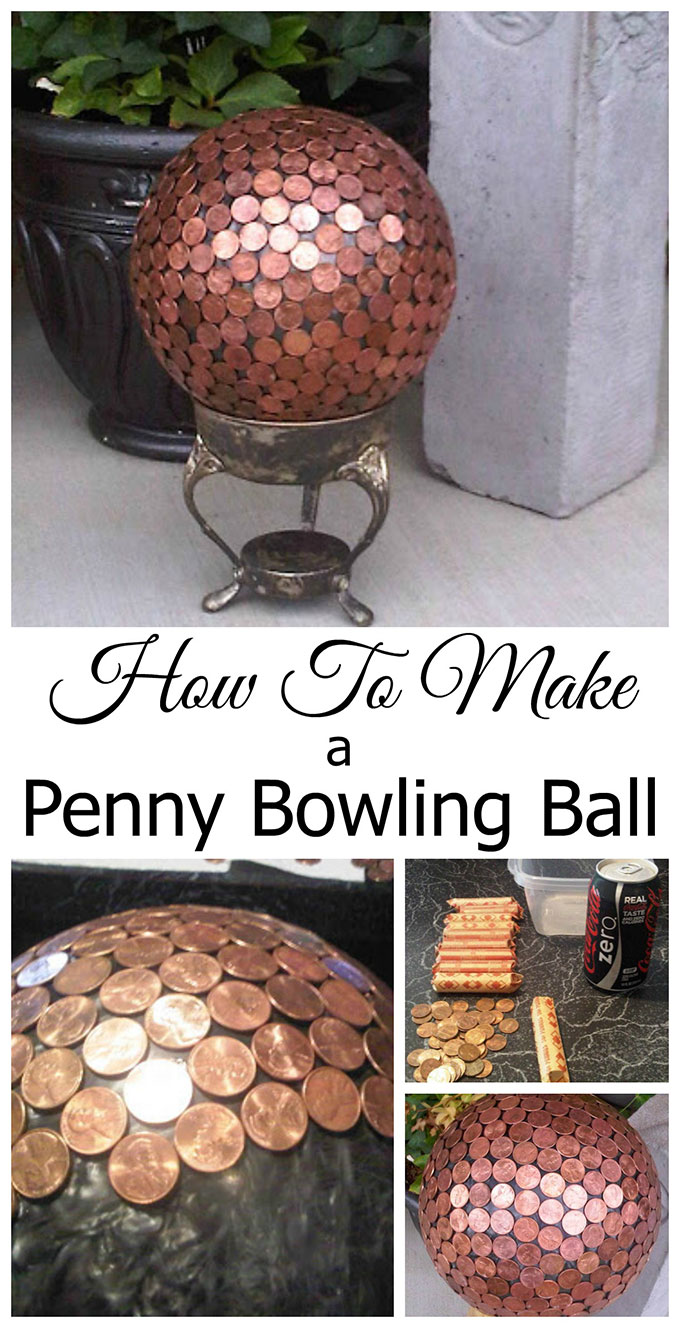
How To Make A Penny Bowling Ball
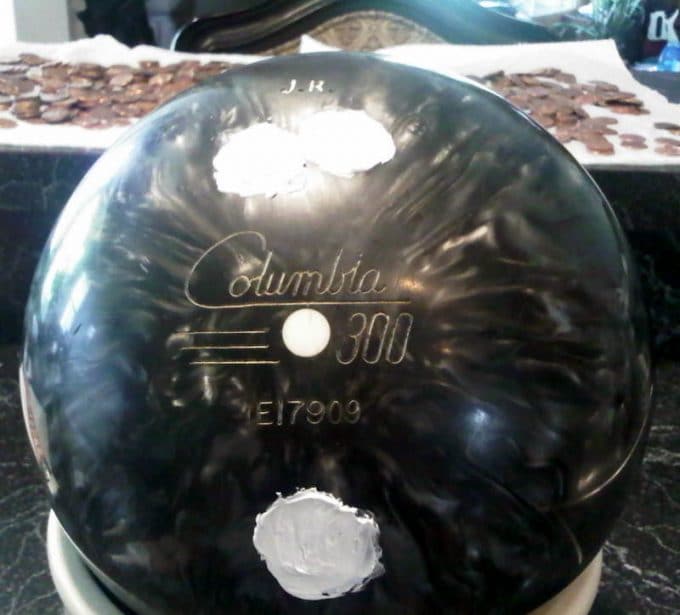
The first thing I did was fill in the finger holes with paper towels until there was about 1/4″ of the holes left and then filled the rest of the holes in with some caulking I had laying around the house.
And then threw the bag and shoes into my Goodwill pile.
I wanted to cover the ball in pennies so I used roughly $4.50 worth.
I wanted them to be all bright and shiny so I decided to clean them with my beloved Coke Zero to see if Coke’s cleaning abilities are an urban legend or not.
How to make a penny bowling ball, fun and unique yard art for your garden. And some people say the copper pennies repel slugs!
So I emptied a roll of pennies into a bowl and added the Coke Zero and let them sit for five minutes.
How to make a penny bowling ball, fun and unique yard art for your garden. And some people say the copper pennies repel slugs!
The Coke Zero cleaned them a little bit, but they were definitely not as bright as I was expecting them to be. It’s not often that my Coke lets me down.
So then I searched the Internet for other penny cleaning tips and ran across some science experiments for kids that uses 1/4 cup white vinegar and 1 teaspoon of table salt to clean them.
The vinegar is 5% acetic acid and dissolves the copper oxide on the pennies. The salt acts as a catalyst to speed up the process. But enough of the fascinating science lesson of the day.
Anyhow, I just put the pennies in there for about a minute, rinsed the solution off them and they came out amazingly shiny.
How to make a penny bowling ball, fun and unique yard art for your garden. And some people say the copper pennies repel slugs!
Create magical mini fairy doors to add a fun optical illusion to your little garden.
I may receive a commission if you purchase something mentioned in a link on this post for sites including Amazon.com. Other links may go to websites where I have been paid to write a blog or article. See the entire disclosure here.
Magical Garden Doors with Mirrors
I made this optical illusion garden art after seeing variations of it on garden tours. It’s a full-size mirror and gives a nice element of surprise in the yard.
To get this special effect, wood pieces are attached to a mirror, with the wood cut at different angles to give the illusion of an open door or window.
To keep it simple, I have done it without any math or complicated measuring involved.
Optical illusion garden art mirror
I thought it would be fun to start making miniature versions of the projects I create for the garden. The mirror above is approximately 3-feet tall. The one below is 3-inches tall.
Create magical mini fairy doors to add a fun optical illusion to your little garden.
This idea could be adapted in all sorts of ways to add some magic and mystery to a miniature or fairy garden.
How to Make a Magical Mini Fairy Garden Door
Optical Illusion Design
It looks complicated but it’s really not. If you have paper, a pencil, and a ruler, you can create this design or one like it. And there’s no math involved.
Design ideas for optical illusion garden art mirrors
I haven’t provided a specific template because your design will need to be adapted to whatever size mirror you have. While a small square or rectangular mirror would be best, I happened to have a spare round mirror so that’s what I used.
Cut a bunch of long strips of balsa wood first, all with the same width, and then you can cut the specific lengths needed.
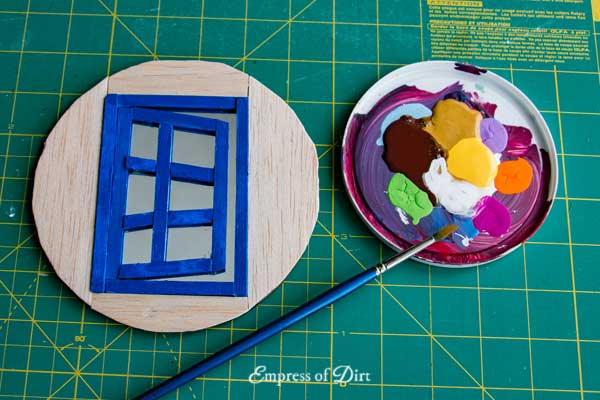
In the photo (below) you can see I used the printout of my diagram (from this post) as a guide.
I placed the wood strips over the diagram, and scored them with the cutting blade to indicate where I needed to make cuts. This is more precise than using a pencil.
Step 2 – Prime the balsa wood
If you want a vibrant colours for the wood, it helps to prime it first. I use white acrylic craft paint.
Keep in mind that all sides of the wood will show, including the backs that will be glued to the mirror. Mirrors are sneaky that way, always showing more than we want.
Step 3 – Paint the balsa wood
Again, you will need to cover all sides of the wood with paint. Allow paint to dry thoroughly before continuing. Unless you want to mess the whole thing up.
Step 4 – Glue balsa wood to mirror
Clean the mirror thoroughly with rubbing alcohol or methyl hydrate to remove any dirt, grease, or grime.
If needed, use painter’s tape on the mirror to mark where you need to place the balsa wood pieces.
Start with the outer frame, ensuring it is square before securing the glue. Glue-gun glue is not a permanent bond and can be peeled off if you make a mistake. More permanent glues are not as kind. Yes, I know that was redundant.
Create magical mini fairy doors to add a fun optical illusion to your little garden.
Because my mirror is round, I opted to frame it in more balsa wood to look like a wooden wall.
I blended a combination of brown, yellow, and white paints for the wood paint. Step 5 – Add a door handle and hinges
I used a little metal fish charm as a door handle and mounted it by gluing it to two small beads.
For hinges, you could glue on dollhouse/miniature hinges or add little pieces of balsa wood and paint them to look like hinges.
Create magical mini fairy doors to add a fun optical illusion to your little garden. Create magical mini fairy doors to add a fun optical illusion to your little garden.
Done!
Display It
To display it, well, you don’t need me to tell you what to do, do you?
But just in case, this would look neat in a fairy garden, or on a baseboard inside the house (like a mouse door), or on the base of a tree trunk (although arborists tell us it’s not good to attach anything to a tree so let your conscience be your guide).
The one thing to keep in mind is, if you used balsa wood and a glue gun, it’s really not going to hold up outside. Best to keep it in a sheltered location or indoor fairy garden.
~Melissa the Empress of Dirt ♛
How to make a moss bonsai in a teacup Create magical mini fairy doors to add a fun optical illusion to your little garden. Original article and pictures take empressofdirt.net site
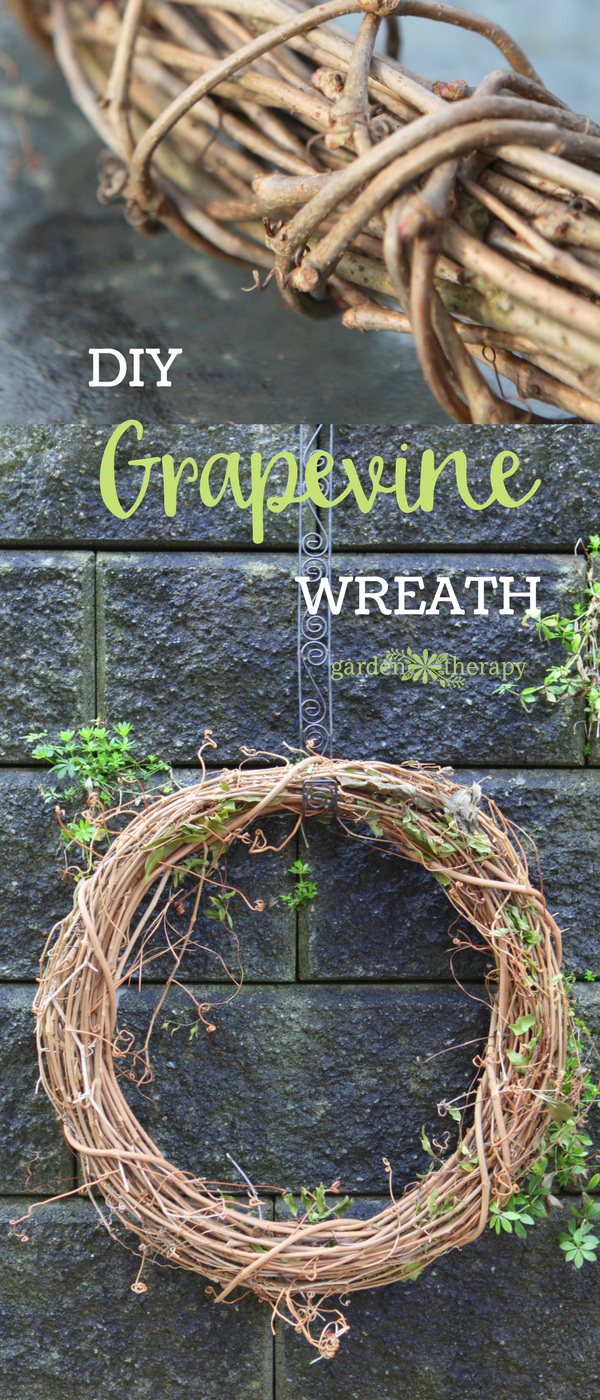
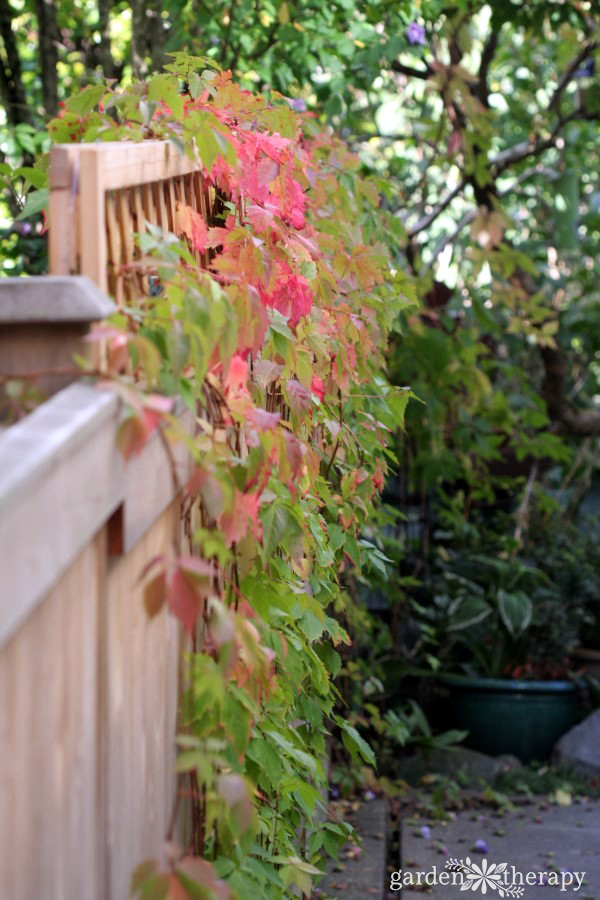
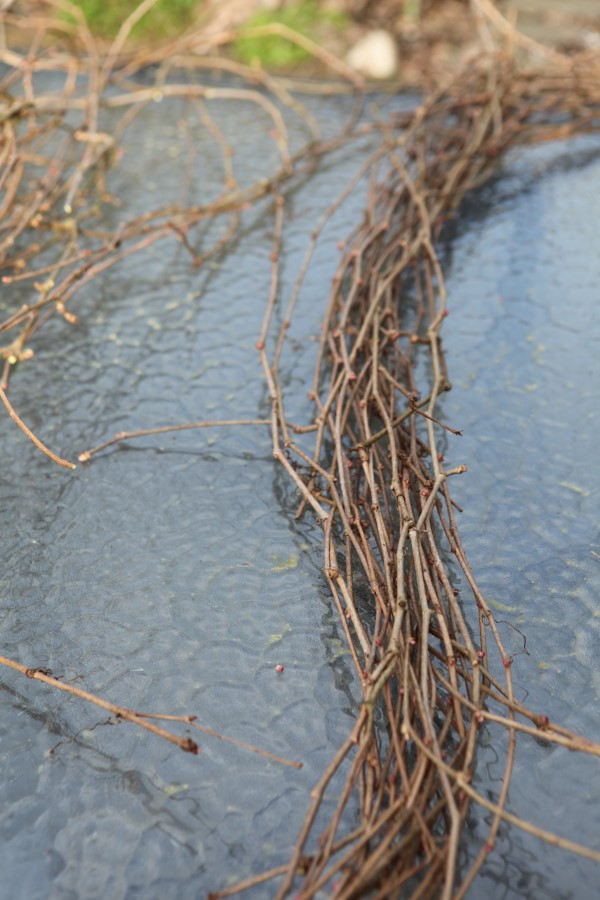
Of course grapevine (Vitis spp.) is the most popular wood for making vine wreaths, but it is not the only material you can use. For this project I used cuttings from a Virginia Creeper (Parthenocissus quinquefolia) that trails along a shady fence. It is a bit of a softer vine, so adding an unwound coat hanger would stiffen up the frame. As I have mine on a trellis, it holds its shape just fine. American Wisteria (Wisteriafrutescens) and Honeysuckle (Lonicera spp.) would also make a great wreath form.
Materials:
Vine
Pruners
Make it!
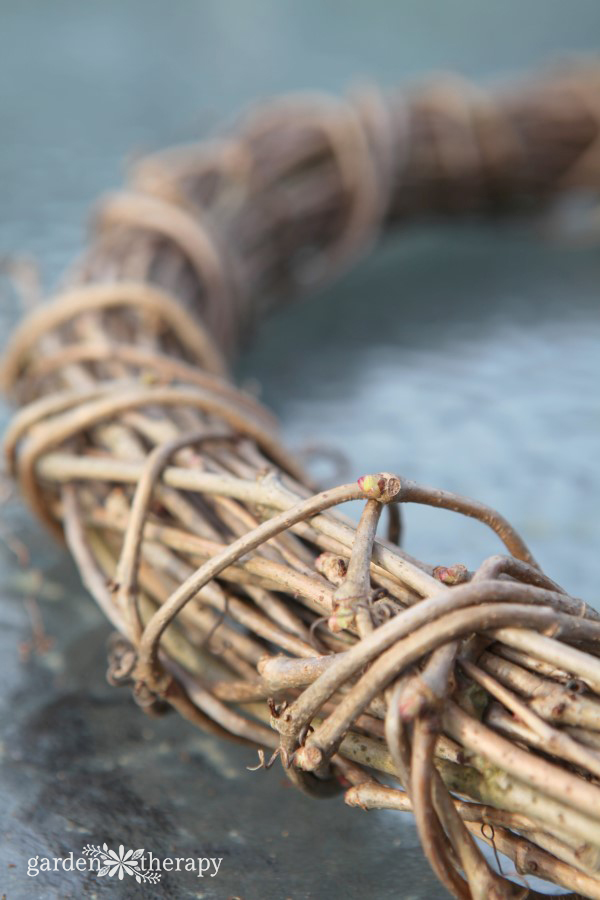
1. Begin by gathering and untangling the vine pieces. When they have been tamed into a bundle that is manageable, form the vine into a circular shape on a large surface. Using a few thick strands of vine, begin to wind around the bundle, tucking the end of the vine in.
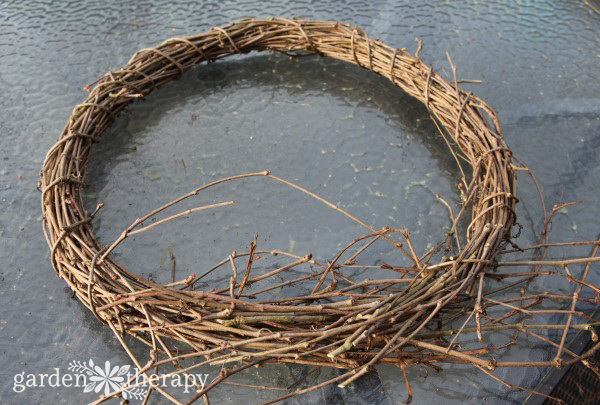
2. Continue to wind and secure the entire wreath. When the end meets the beginning, knit the vine ends together and continue to wind the outer vines to secure, overlapping the starting point.
Tuck in any loose ends.
3. Set the wreath somewhere to dry and take shape.
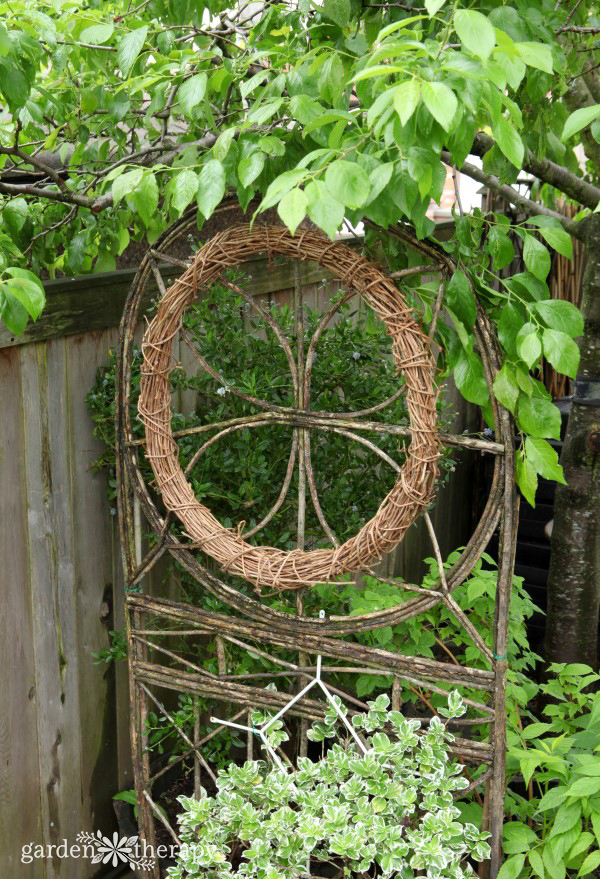
My vine wreath is just the perfect addition to the bentwood trellis used to distract the eye from the compost bin.
If you want to also make your own bentwood trellis, Making Bentwood Trellises, Arbors, Gates, & Fences by Jim Long is a great resource. It has many designs to choose from plus information on choosing wood, suggested plantings, and even recipes.
Making Bentwood Trellises, Arbors, Gates, & Fences Original article and pictures take gardentherapy.ca site
How To Make A Gorgeous Garden Gazing Ball ~ A garden gazing ball is an easy to make garden décor accent using items from the thrift store and the dollar store!
Make this gorgeous garden gazing ball to add to your garden decor using items purchased at the thrift store and dollar store! It is both easy and inexpensive to make with these detailed tips and instructions. / timewiththea.com
I have been wanting to make a garden gazing ball for my garden décor for quite a while and I finally got around to completing this DIY project. I could not believe how easy it was to make using inexpensive materials and I was super pleased with the final result.
Making your own garden gazing ball is not new. There are lots of great examples on Pinterest and Hometalk where I like to hang around for my inspiration and ideas. They can be made from different materials as the base and decorated with everything from copper pennies, metal rings, mosaic tiles to glass gems. They can be made into any single colour or combination of colours as well as with or without a pattern. I love the gazing balls created by Melissa from Empress of Dirt. Just search garden gazing balls on her site and you will see all of her great projects. She has made so many different kinds and shares her tips for how to make them. It is based on her instructions that I made my own. But as I always seem to do in everything I do, I like to figure out my own way and that is what I am sharing with you today.
Most DIY gazing balls sit directly on the garden soil. They look very pretty tucked in amongst the garden plants. But I wanted to make mine with a type of stand or pedestal so they stood higher up and the base of the garden gazing ball was not touching the ground. In the town I live in there is a thrift store that only takes home building supplies. Rather than sending leftover or used building supplies to the landfill site, builders and home renovators can donate them to this shop. The money raised from the sales is put back into the community for building affordable housing for its qualifying residents. This is where I bought the globe lights and the lamps that used to belong to a chandelier light fixture for a really good price.
Glass globe light and chandelier light purchased at the thrift store when glued together make an excellent base for a garden gazing ball / timewiththea.com
The colour black is the main accent décor colour at the front of the house and in the front yard. The front door and garage doors are painted black and all of the plant pots and solar lights are black. Outdoor Porch Spring Decorating Ideas gives you an idea how black is used as a complementary and accessory in my outdoor home décor
So to keep the colour theme consistent I painted the garden gazing ball black. I explain how I did that a little later in the instructions.
I love glass gems. I am not sure why but it might be because they add a lot of colour and sparkle to a project and they are so inexpensive. I like to pretend they are real gemstones! It is just fun to play with them and photograph them!
Turquoise glass gems purchased at the dollar store / timewiththea.com
I also love the colour turquoise and thought it would look great when paired with the black. I even created a faux stream with glass gems in a black shale garden bed that runs along the west side of the house. I share how I did this in Landscaping With Shale Rock And Glass Gems.
I ended up making all three garden glazing globes at the same time and I think they look pretty gorgeous!
Make this gorgeous garden gazing ball to add to your garden decor using items purchased at the thrift store and dollar store! It is both easy and inexpensive to make with these detailed tips and instructions. / timewiththea.com
Here are my tips and instructions for…
How to Make A Gorgeous Garden Gazing Ball
Materials
white globe light
white glass chandelier lamp
multi-surface glue designed for outdoor use
white spray paint primer
black gloss spray paint
turquoise glass gems
latex disposable gloves
tube of silicone designed for outdoor use
blue painter’s tape
clear finishing spray
Turquoise glass gems purchased at the dollar store and blue painter's tape / timewiththea.com
Instructions
Step 1
Wash the globe light and chandelier light in warm soapy dish water. Allow to dry thoroughly.
Step 2
Attach the globe light to the chandelier light using a multi-surface glue that is also designed for outdoor use. Allow the glue to dry thoroughly.
Glue a glass globe light and chandelier light together with a multi-purpose glue designed for outdoor use / timewiththea.com
Tip: Plan to hold the two items together for a minute or two or till the glue sets a bit. You want to avoid having the globe slide around and end up permanently crooked.
Tip: In the photograph you can see some of the glue through the glass globe. This is not a problem because you are going to cover it with black spray paint.
Step 3
Apply two coats of white spray primer. It is better to apply light coats rather than one thick one because that is a recipe for dripping paint. Allow each coat to dry thoroughly.
Apply two light coats of spray primer / timewiththea.com
Step 4
Apply two coats of black gloss spray paint. Just like the spray primer it is better to apply light coats rather than one thick one because you will then get the drippy look. Allow each coat to dry thoroughly.
Apply two coats of black gloss spray paint / timewiththea.com
Tip: The white spray primer and the black gloss spray paint also helped to adhere the globe light and chandelier light more securely.
Step 5
Now you are ready to apply the glass gems. Here are my tips for making it a successful procedure:
~ I like to use silicone that comes in a tube that looks and works like toothpaste. This is the product I used when I created a Restyled Outdoor Plant Pot Using Spray Paint. It is a little more expensive compared to the bigger tubes that need to be applied with a caulking gun. But I found a little bit goes a long way. I was better able to control the amount of silicone being applied and keep the project from not getting too messy.
~ I like to wear latex gloves when working with silicone.
~ Start at the top of the globe. Apply one glass gem at the very top. Then apply a ring of glass gems around the single top glass gem. Allow this to set or dry before applying the next ring.
Apply turquoise glass gems with silicone starting at the top of the glass globe light and chandelier base glued together / timewiththea.com
~ If you apply too many glass gems at once you will have a problem with slipping and sliding gems because you are working with a curved surface.
~ This is a project where you apply a section of glass gems and then go away and do something else and then go back and work on the next section.
Apply turquoise glass gems in sections to the spray painted glass globe light / timewiththea.com
~ Blue painter’s tape is very handy to stop the gems from misbehaving as you work down the sides of the glass ball. It is very effective in keeping the glass gems in their place as they dry. It is also easy to remove once the glass gems are dry without leaving a mark.
Use blue painter's tape to prevent glass beads from slipping and sliding / timewiththea.com
~ The glass gems I worked with had subtle different sizes and shapes so it was impossible to apply them in a perfectly lined up pattern. This did not bother me too much because I like to think that homemade DIY projects do not have to look perfect. It is the little flaws that give it its sense of beauty. My goal was to fill in the black spaces as much as possible but I was comfortable with some of the black showing because it complemented the turquoise gems beautifully.
Use blue painter's tape to prevent glass gems from slipping and sliding / timewiththea.com
~ My system for applying the silicone was to put a dollop on the flat part of each glass gem six at a time. The photograph shows how much I applied and you do not need very much. I recommend not applying too much silicone because it will squish out from underneath and make the gazing ball look messy. The silicone will not be visible underneath each glass gem when it is dry.
Apply a small dollop of silicone to the flat side of each glass gem. Work with six glass gems at a time / timewiththea.com
~ Your roll of painter’s tape will now have a second role. Once you have worked halfway down the globe you can flip it over and work on the bottom half of the glass globe. Place the globe on the tape roll to provide support. This portion of applying the glass gems will go very fast because each row can now easily rest on the previous dry row and there will not be as much slipping and sliding. Keep in mind you will still have to work in chunks but just bigger chunks as you get to the end.
Turn the glass globe upside down and apply the rest of the glass gems in an inverted position while resting on a spool of blue painter's tape / timewiththea.com
~ I have one more word of advice. I set up a station in the garage with a portable table and chair so I could leave everything set up for a couple of days. We happened to be in the middle of some very hot weather so the silicone was a little more slippery to work with!
Step 6
After covering the glass globe with glass gems and the silicone is thoroughly dry apply two coats of a finishing spray. I used a clear coat spray that works to provide a protective and water-resistant coating. The instructions recommend applying two coats and it only takes six minutes to dry between each coat. This product comes in a matte finish and a clear finish. For this project I chose the clear finish that was left over from How To Paint A Ceramic Glazed Indoor Plant Pot.
Here is how to make a gorgeous garden gazing ball turned out..
Make this gorgeous garden gazing ball to add to your garden decor using items purchased at the thrift store and dollar store! It is both easy and inexpensive to make with these detailed tips and instructions. / timewiththea.com
… and here is how all three gorgeous garden gazing balls turned out!
Make this gorgeous garden gazing ball to add to your garden decor using items purchased at the thrift store and dollar store! It is both easy and inexpensive to make with these detailed tips and instructions. / timewiththea.com
Final Comments: How To Make A Gorgeous Garden Gazing Ball is part of a series of coordinated projects that I have been working on. I previously shared how I turned an Ugly Bird Bath Becomes Upcycled Outdoor Plant Stand using the same black gloss spray paint and turquoise gems.
Ugly Birdbath Becomes Upcycled Outdoor Plant Stand ~ How an ugly birdbath gets a new look and purpose with cleaning, new paint and pretty blue glass gems. / timewiththea.com
I also created a matching Restyled Outdoor Plant Pot Using Spray Paint embellished with the same turquoise gems to place on the outdoor planter. In a very near future post I will share how I used the three garden gazing balls as garden décor in my garden bed in the front yard!
Restyled Outdoor Plant Pot Using Spray Paint ~ Black spray painted outdoor plant pot embellished with turquoise glass gems / timewiththea.com
Your Turn: Have you made your own garden gazing balls? It so, what tips do you recommend? What materials and colours did you use? Where did you place them in your garden?
Love it! Pin it! Thank you for sharing it!
Make this gorgeous garden gazing ball to add to your garden decor using items purchased at the thrift store and dollar store! It is both easy and inexpensive to make with these detailed tips and instructions. / timewiththea.com
Thank you so much for reading How To Make A gorgeous Garden Gazing Ball!
In the meantime take care,
Original article and pictures take timewiththea.com site