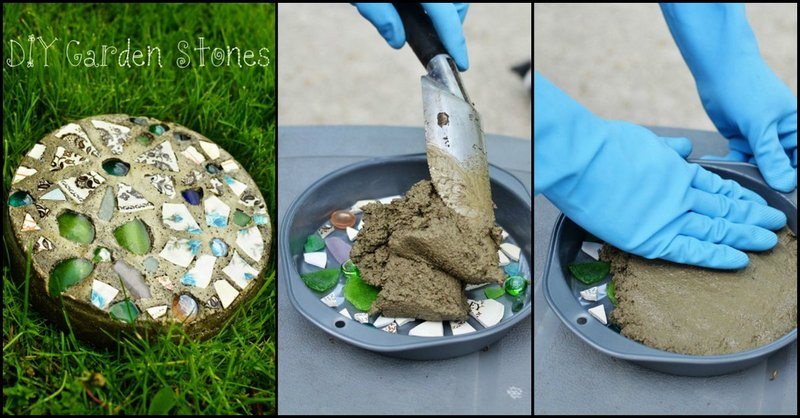
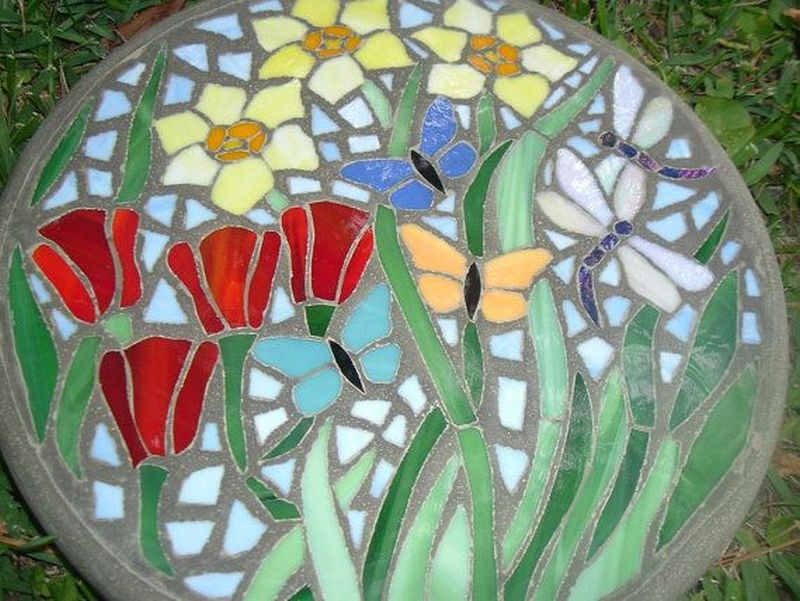
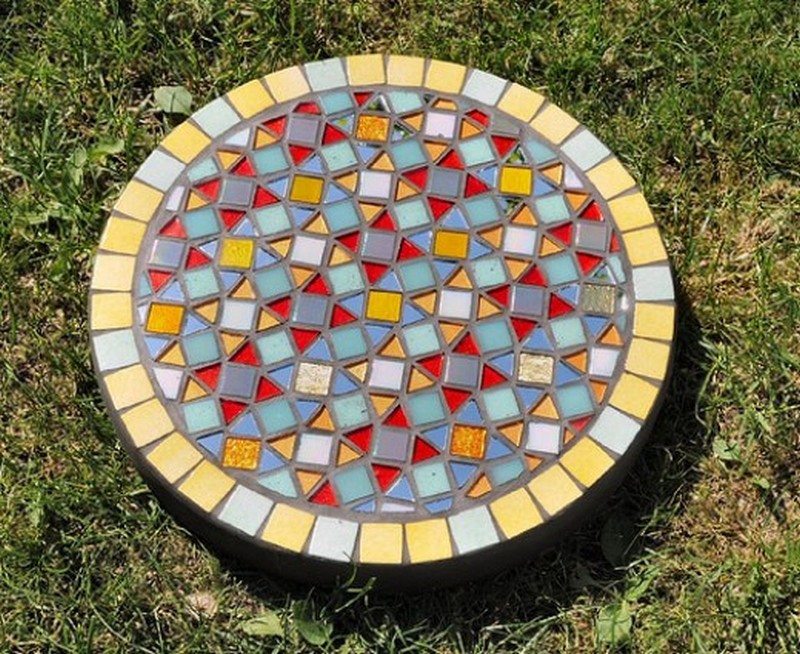
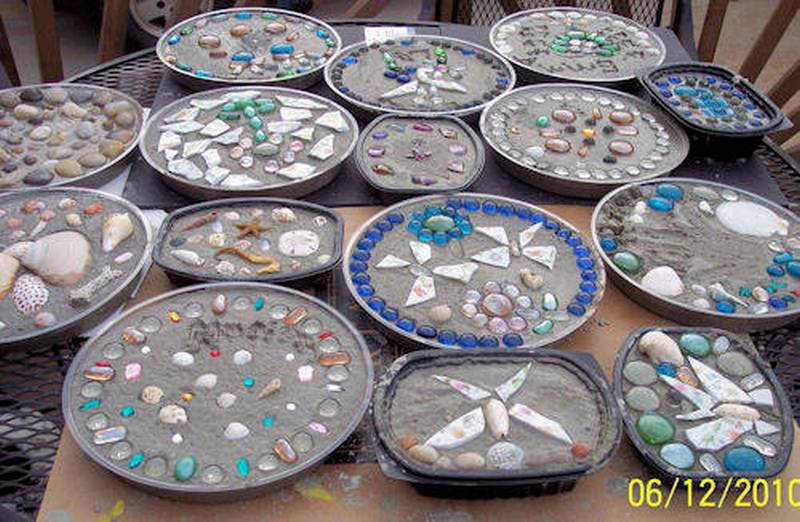
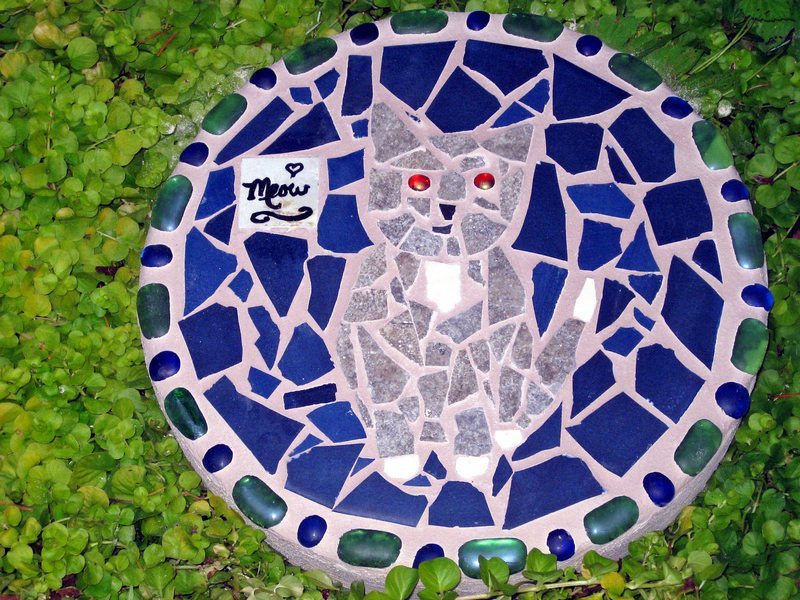
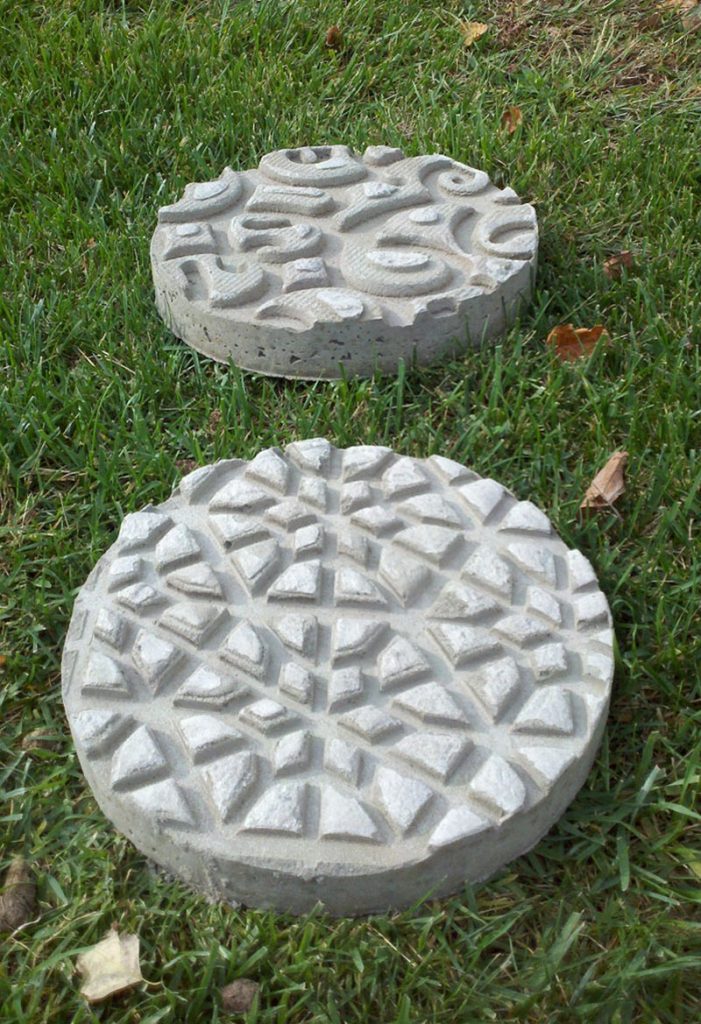
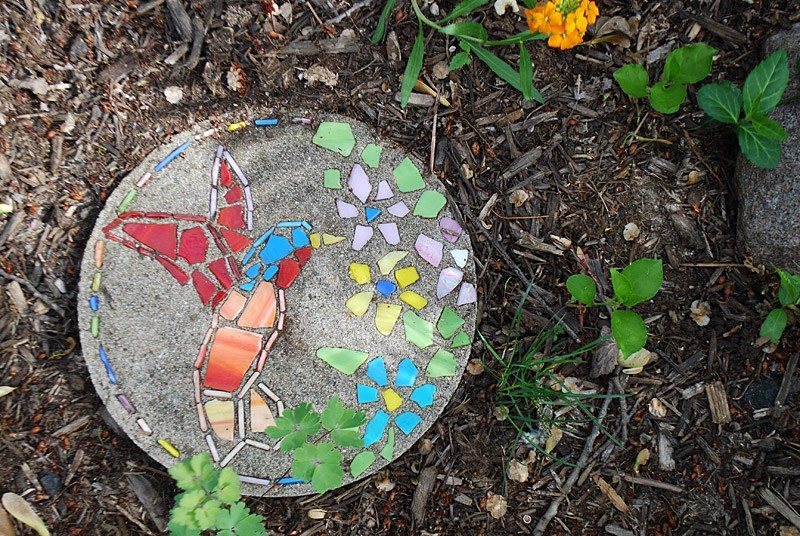
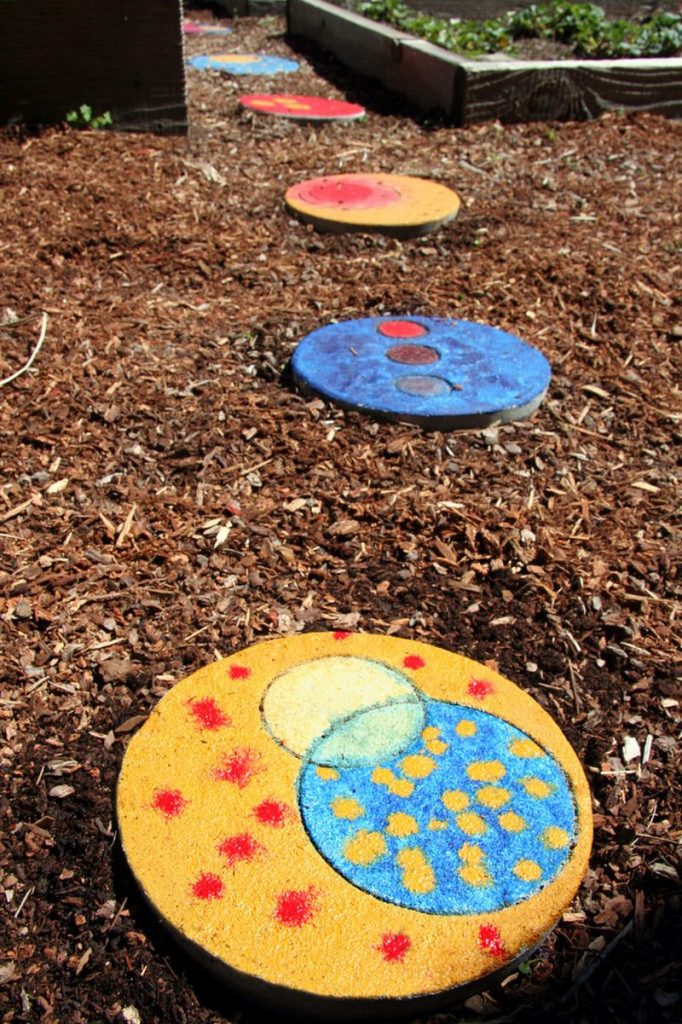
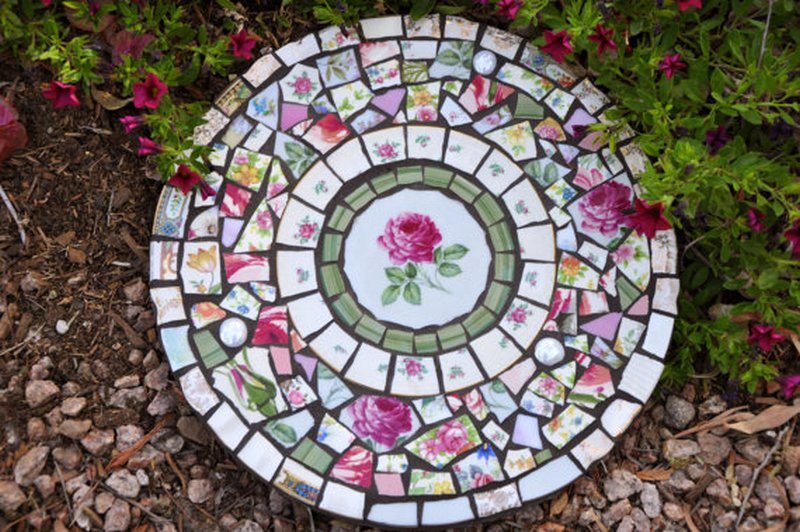
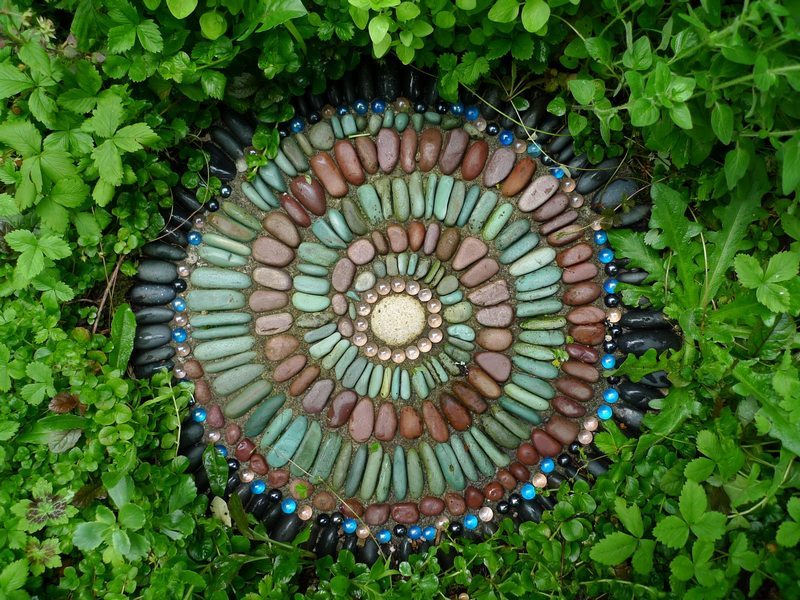
DIY Garden Stepping Stones Thinking of buying stepping stones for your yard? Why not create your own!
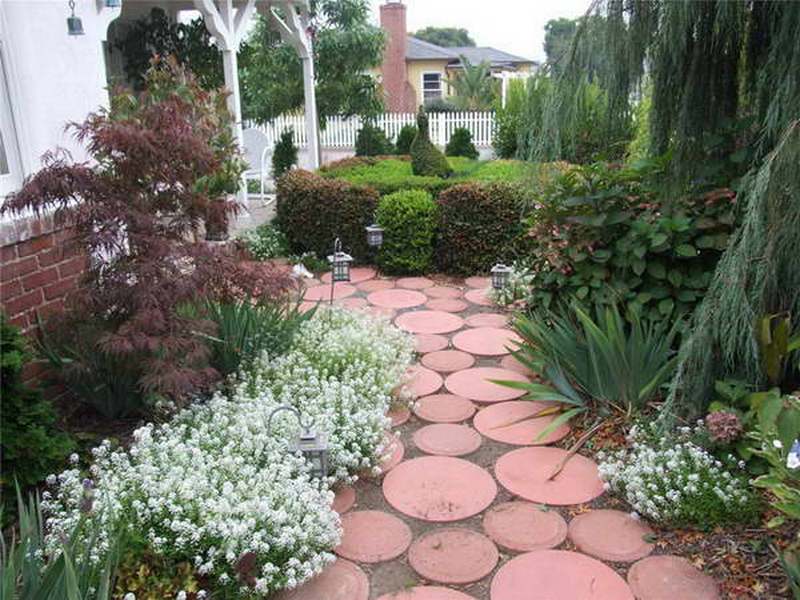
Wear patterns created by foot traffic is a common backyard problem. This issue becomes more evident when it rains. Erosion results into bare patches that turn into mud when wet.
Making your own stepping stones is an easy and inexpensive solution. It protects your lawn from erosion caused by foot traffic. And it’s decorative too!
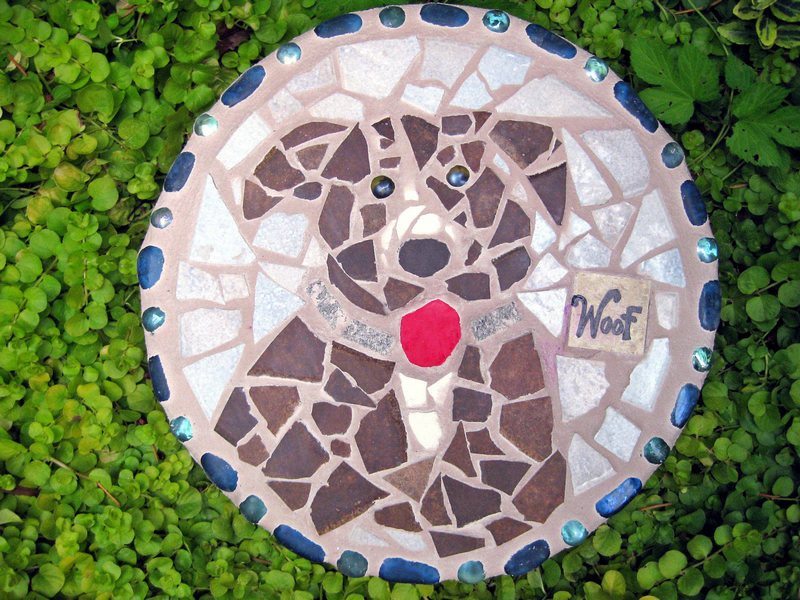
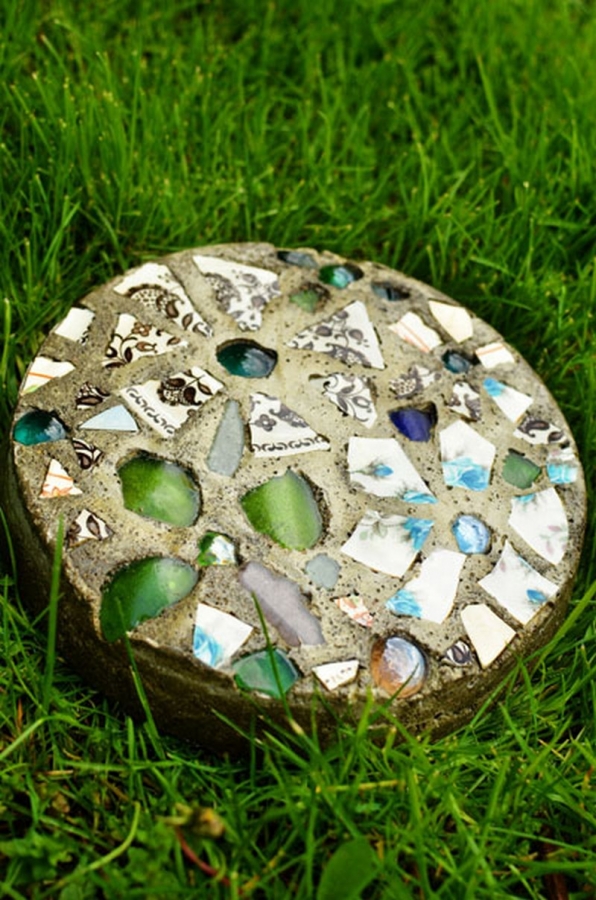
Stepping stones are not only functional. This simple project allows you to create unique stepping stones to match your personality, home, or garden.
You can even get the kids involved with this project. The steps in making stepping stones are very simple that even kids can participate, making their own personalized stepping stones that come in the shapes and colors they desire.
Could your yard use a couple of personalized stepping stones?
You’ll need these materials:
Round Non-Stick Cake Pan
Glass Gems
Sea Glass – optional
Concrete
Vaseline
Contact Paper
Old Plates/Saucers not in use
Old Towel/Cloth
Marine Varnish
Chicken Wire
Bucket
Water
Safety Glasses
Dust Mask
Rubber Gloves
And these tools:
Hammer
Trowel
Wire Cutter
Paint Brush
Click on any image to start lightbox display.Use your Esc key to close the lightbox. You can also view the images as a slideshow if you prefer
My friends, The Garden Charmers, challenged each of us to come up with a DIY garden decor item using cookie cutters. My first thought was a wind chime. But I knew that would be the most obvious, so I decided to make a rain chain.
Here’s how I made my DIY cookie cutter rain chain:
source – wikepedia
But first some clarification….do you know what a rain chain is? According to Wikepedia, a rain chain is a decorative alternative to a downspout. Water can be collected at the bottom for household use or let to drain away. All I knew is that I’ve wanted one for quite a long time. This cookie cutter idea seemed like a perfect way to get one in my garden.
You’ll need:
Cookie cutters – I had a box of Easter/spring themed cutters that I hadn’t used since the kids were little. But you could use anything really – how about numbers? Or sport themed?
Chain – This is actually lamp chain I got at the local hardware store. I used 8′ altogether. I like using this because the links can be pulled apart with these….
Pliers – Two sets – one to hold each side of the chain loop to pull it apart.
Step 1:
In my head, I thought it would be great to attach the cookie cutters with eye screws where I would loop the chain. MAJOR FAIL: first of all, I found it really difficult to keep the cookie cutter in place while trying to drill a hole. Secondly, I had a heck of a time screwing the eye screws into the metal – this is the only one that worked.
Plan B: use a piece of wire to make a loop through the top of the cookie cutter and the chain. Twist with your pliers and tuck it in so you don’t scratch yourself.
Step 2:
Repeat the loop through the bottom of the cookie cutter.
Step 3:
Determine how far apart you want the cookie cutters. I used 9 chain loops, but in retrospect probably would have gone with fewer for a fuller look.
Then with one set of pliers on each side of the “break” in the chain loop, pull apart one loop and discard it. You’ll have one piece already attached to a cookie cutter and another longer piece remaining.
Step 5:
Repeat with the remaining cookie cutters and chain until you have the length you need. Since I was hanging mine from the garage, I determined that the height from the eavestrough to the ground was 9′. Measure the location you’ll be placing yours.
Step 6:
You’ll need to secure the rain chain with an *adaptor such as this one. It comes in a kit so that you can attach your rain chain directly to the eavestrough.
Step 7:
Decide how you would like to deal with the water that will gather. Will you let it drain out onto the grass? Or will you gather it in a large pot to use later watering plants, etc?
My rain chain is whimsical, but there are a lot of different ways to make one….here’s some inspiration from my Pinterest board:
Original article and pictures take www.newhousenewhomenewlife.com site
Creating garden art painted rocks has never been easier now that top quality outdoor craft paints are available. Using step-by-step instructions, you can create wonderful animals, insects, houses, and more like the ones you see here.
I’ll show you everything you need to get started plus a gallery of ideas including cats, owls, frogs, racoon, deer, and ladybugs.
You can make your own garden art painted rocks. Find out which paints to use and follow the step by step instructions for cats, birds, frogs, deer, ladybugs and more.
I may receive a commission if you purchase something mentioned in a link on this post for sites including Amazon.com. Other links may go to websites where I have been paid to write a blog or article. See the entire disclosure here.
Painted Rock Ideas
Last summer I was on a local garden tour (what’s new?) and met the wonderful artist who painted the rocks you see here and she kindly gave permission to photograph her work. While talent always helps, the good news is, there are a number of rock painting tutorial books available that will walk you through every step of the process and there’s a number of projects that a complete beginner can do (and like).
If you think about it, the biggest challenge is probably to find rocks in the right shapes. It’s probably much easier to get the rocks first and decide what you’re painting on them based on their shapes.
Garden Art Rock Painting Supplies
I’ll show you the products on Amazon via my affiliate account but you should be able to get the supplies locally and find the books at your public library.
Rocks and Stones
Any size will do but (of course), the larger the rock, the more paint you’ll need. Fine details tend to be easier to master on larger surfaces as well.
Look for fairly smooth surfaces, but not polished stones—you need some roughness for the paints to adhere.
How cute is this gaden art cat? You can make your own garden art painted rocks. Find out which paints to use and follow the step by step instructions for cats, birds, frogs, deer, ladybugs and more.
Supplies
I am a huge fan of these paints. Make sure you get patio paints specifically made for outdoor projects. I use outdoor craft paints by DecoArt and Martha Stewart.
You might want to hold off choosing colours until you have some rocks and know what projects you want to do.
Or get dozens of colours so you’re all set. I use these paints for all of my craft projects (indoor or outdoor) because the colours are lovely, the paints go on very smoothly, and the coverage is very good.
You can make your own garden art painted rocks. Find out which paints to use and follow the step by step instructions for cats, birds, frogs, deer, ladybugs and more.
You will also need paint brushes in various sizes, and the usual protective and cleanup supplies including an apron, soap and water for cleanup, pencil, and Sharpies (for outlining details).
An undercoat of outdoor primer (I use primer for wall painting) will make it easier to see pencil lines, plus, the patio paints may appear brighter with this white base coat. It’s up to you, the artist. You may like how the paints look when applied directly to the rock surface and not need a lot of pencil guidelines.
Also, you may want to apply a few protective coats of outdoor polyurethane when your project is painted and fully dry.
You can make your own garden art painted rocks. Find out which paints to use and follow the step by step instructions for cats, birds, frogs, deer, ladybugs and more. You can make your own garden art painted rocks. Find out which paints to use and follow the step by step instructions for cats, birds, frogs, deer, ladybugs and more. This pot of daisies is one of my personal favourites: Another perfect choice for the shape of rock—a doe curled up, ready to snooze. This frog is quite charming and comes with a matching lily pad (fun idea): Related: DIY Thrift Shop Bug House If you would like creative ideas delivered to your inbox each month, You can make your own garden art painted rocks. Find out which paints to use and follow the step by step instructions for cats, birds, frogs, deer, ladybugs and more. Related: 12 Owl Art & Craft Projects Lighthouse painted on flagstone You can make your own garden art painted rocks. Find out which paints to use and follow the step by step instructions for cats, birds, frogs, deer, ladybugs and more. You can make your own garden art painted rocks. Find out which paints to use and follow the step by step instructions for cats, birds, frogs, deer, ladybugs and more. Original article and pictures take empressofdirt.net site
DIY Garden Art Hose Guards to Protect Your Plants Garden hose or lawnmower cord dragging across your plants? Make homemade, repurposed hose guards for just a few dollars and save your plants! Click to see complete instructions.
I may receive a commission if you purchase something mentioned in a link on this post for sites including Amazon.com. Other links may go to websites where I have been paid to write a blog or article. See the entire disclosure here.
Make a Bouquet
If you have an electric lawnmower or use garden hose for watering, you’ve probably crushed a plant or two while using them in your garden.
I have a number of garden beds surrounded by pathways, and, without hose guards, I’m constantly having to watch out that I don’t crush plants each time I pull the hose (or cord).
Homemade hose guards are a super simple way to stop the problem and really easy and frugal to make.
In other words, you have no excuse but to spare your plants from further angst.
These ones are made from kitchen drawer pulls from the thrift shop. The best ones have a section that juts out, so, even if the hose rides up the pipe, the top of the hose guard will stop it from escaping. We want obedient hoses and cords, people.
Garden hose or lawnmower cord dragging across your plants? Make homemade, repurposed hose guards for just a few dollars and save your plants! Click to see complete instructions.
Outdoor sealant – spray or brush-on polyurethane (to protect the paint).
Paint supplies including protective cloth, gloves, mask, rags, washing up gear, and fine brushes for craft paints.
Electric drill with titanium bit for making a hole in each copper pipe cap.
Garden hose or lawnmower cord dragging across your plants? Make homemade, repurposed hose guards for just a few dollars and save your plants! Click to see complete instructions.
Steps
1. Decide your design/colours.
The drawer pulls I used looked like roses so I went with that idea. The leaves (lower section) were painted with green primer/paint. The flower buds were created with pink and white acrylics.
2. Clean the drawer pulls and take them apart. Set the bolts aside.
3. Spray with primer/paint. Allow to dry, turn, and other sides.
Garden hose or lawnmower cord dragging across your plants? Make homemade, repurposed hose guards for just a few dollars and save your plants! Click to see complete instructions.
4. Drill a hole in the top of each copper pipe cap with a titanium drill bit, making it just large enough to thread the bolt through.
It’s easiest with a drill press or vice holding the cap steady.
You may be able to reuse the bolts that came with the drawer pulls or you may need shorter bolts (I did).
5. Cut the copper pipes to desired length. My pipes were 6′ long so I opted for three two-foot pieces. I would have preferred longer ones but I didn’t want to waste any pipe.
SAFTEY NOTE: If you use a hacksaw, protect yourself and your work area. You’ll need safety goggles, gloves, a work apron, and a safe area to catch any copper bits that come off while sawing. These are very tiny and sharp. Clean them up before continuing your work.
5. Assemble the top of the hose guards. Thread a bolt up through one copper cap, reassembling the drawer pull. Garden hose or lawnmower cord dragging across your plants? Make homemade, repurposed hose guards for just a few dollars and save your plants! Click to see complete instructions.
6. Add any finishing paint touches. I painted the top of the drawer pulls pink and white. I also added some darker green paint to the edges of the lower section using acrylic craft paints to give them a little more definition.
Garden hose or lawnmower cord dragging across your plants? Make homemade, repurposed hose guards for just a few dollars and save your plants! Click to see complete instructions.
7. For extra weather protection, add a few coats of outdoor polyurethane (comes in sprays or brush on).
8. To assemble, simply press the copper cap onto the pipe. It should fit snugly. If not, you can add plumber’s pipe adhesive.
Garden hose or lawnmower cord dragging across your plants? Make homemade, repurposed hose guards for just a few dollars and save your plants! Click to see complete instructions.
And that’s it!
Garden hose or lawnmower cord dragging across your plants? Make homemade, repurposed hose guards for just a few dollars and save your plants! Click to see complete instructions.
Add them to your garden wherever they’re needed. I put them at every corner and along some edges where the hose and cords can cause trouble.
Garden hose or lawnmower cord dragging across your plants? Make homemade, repurposed hose guards for just a few dollars and save your plants! Click to see complete instructions.
And if you’re stumped about what to give your beloved gardener for Valentine’s Day, keep these in mind. And then go by something he or she really wants, because the last thing I need is for my little hose guards named as the cause of your divorce.
~Melissa the Empress of Dirt ♛
Empress of Dirt TV
Garden hose or lawnmower cord dragging across your plants? Make homemade, repurposed hose guards for just a few dollars and save your plants! Click to see complete instructions. Original article and pictures take empressofdirt.net site