Jacki Cammidge is a participant in the Amazon Services LLC Associates Program, an affiliate advertising program designed to provide a means for sites to earn advertising fees by advertising and linking to amazon.com. Other links on this site may lead to other affiliates that I'm associated with.
A shallow bonsai dish, with drain holes in the bottom can make the perfect little landscape.
518Save
The many types of moss that is native to my garden can be tiny and fine textured, some looks like little ferns, and others still are a bit larger scale.
Moss doesn't need much soil - some will even grow on rocks, with no soil, or on old carpet; it's only requirement is dampness.
Shiny polished rocks emulate a creekbed, and the larger rocks look in perfect scale for the tiny landscape.
This technique of making tiny gardens has been a popular artform in Asian countries for centuries.
Once the moss gets established, this will be a multi textured carpet...
Multi textured carpet of different kinds of moss - there are many that grow around my property, so finding the ones that don't mind this type of planting is easy.
Watering is important; moss will go dormant or even die off if the moisture levels aren't kept up.
This is one container that will have to be kept in the shade, so it never has a chance to dry out.
However, moss is a very easy going plant - even after being dried out, it will green up again once conditions improve. See more about growing moss here.
Several months later, even with mostly benign neglect, this little garden required only a tiny amount of cleaning of pine needles and leaves and it was ready for its close up; A tiny dry streambed, less than a foot square... Original article and pictures take www.drought-smart-plants.com site
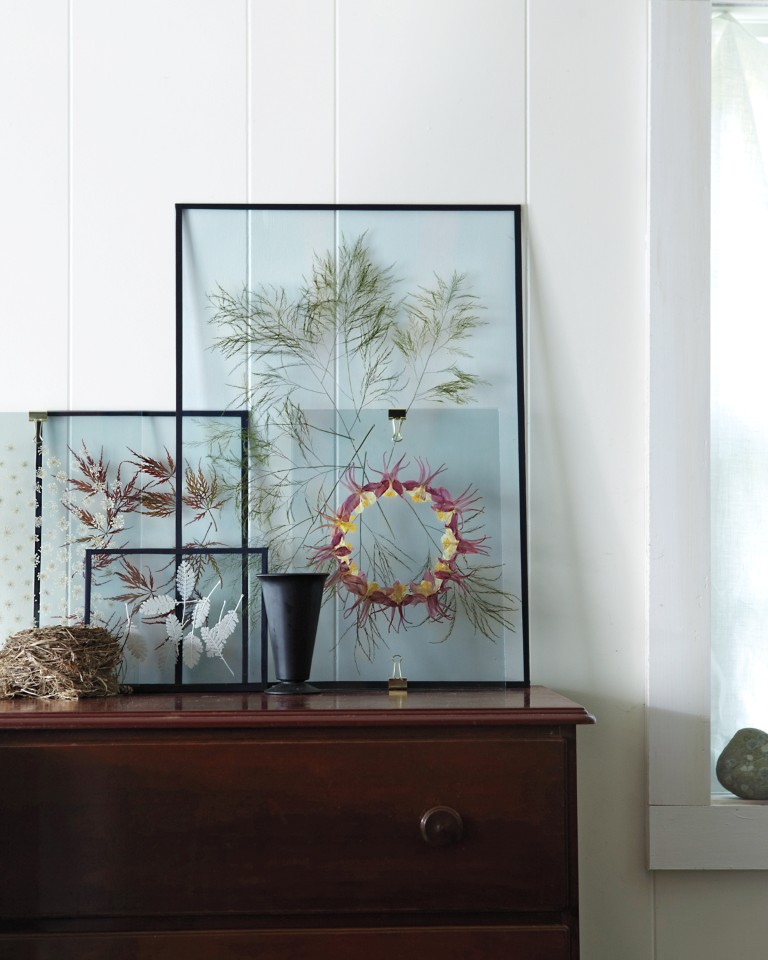
This striking craft to showcase pressed flowers or leaves is found in the February issue of Martha Stewart Living magazine.
How to Make Modern Pressed Botanical Prints
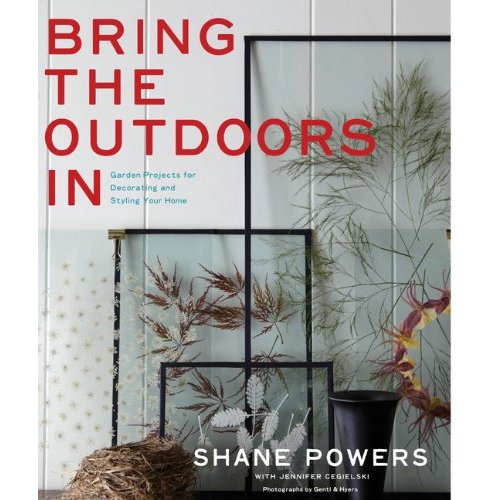
This project couldn’t be easier even though it looks like a million bucks. This is to be expected as the project comes from crafter, designer, and stylist Shane Powers. Shane has showcased his talents for Vogue Living, West Elm, and Martha Stewart Living, showcasing nature-inspired crafts (love!). His new book Bring the Outdoors In is available now in hardcover and Kindle edition.
Bring the Outdoors In Shane Powers
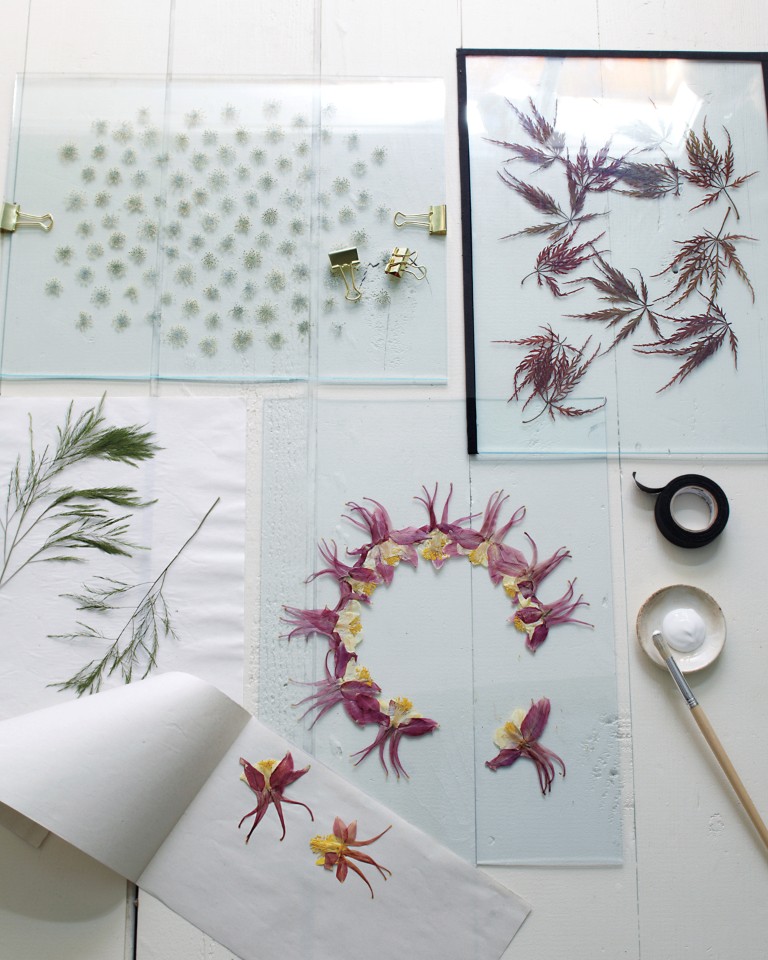
To make these beautiful art pieces, start by gathering some dried flowers or leaves. For a comprehensive tutorial on drying plants check out Preserving the Ornamental Garden.
Modern Pressed Botanicals
Next, gather two clear panes of glass and clean them well. Arrange your plant material as you would like to display it and dab a wee bit of white glue to keep the pieces in place. Add the second glass pane to the back of the first, sandwiching in the plants, and use friction tape or binder clips to secure it. Now, I’ve never heard of friction tape before but I think that electrical tape would also work well in this situation. Regardless, both can be found at the hardware store, so head over there and grab what appeals to you.
For more detailed instructions and material lists, grab a copy of Martha Stewart Living for February 2013 and flip to page 92.
A Magnificent Magnolia Wreath Brings Cheer to the Season
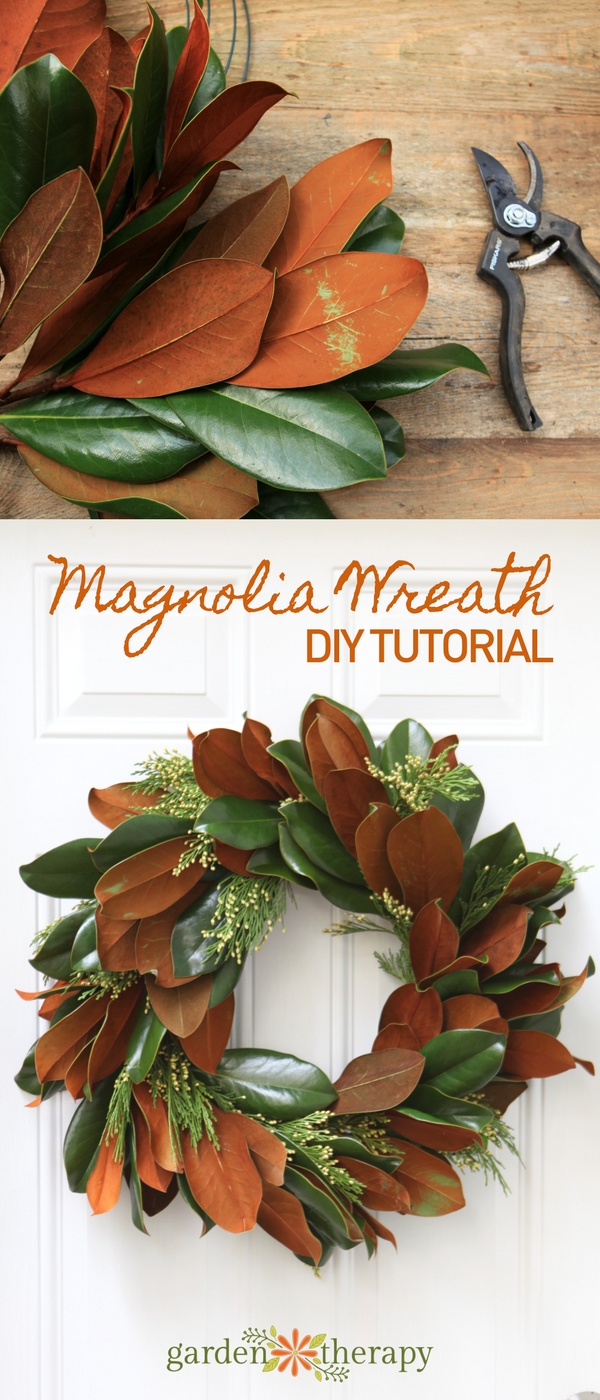
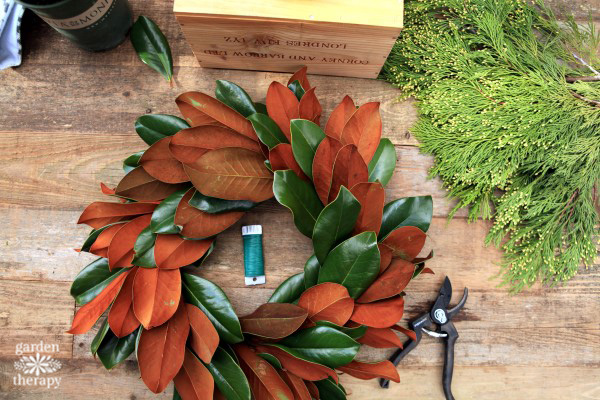
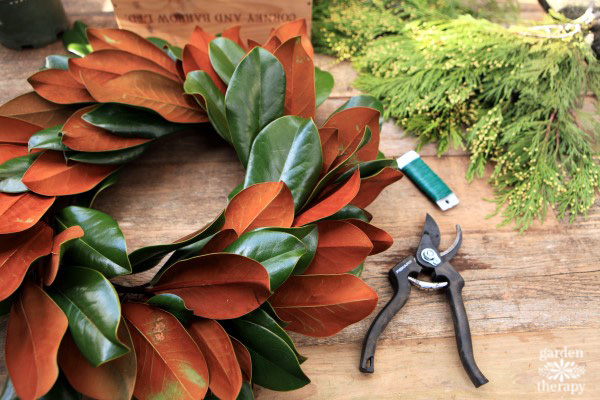
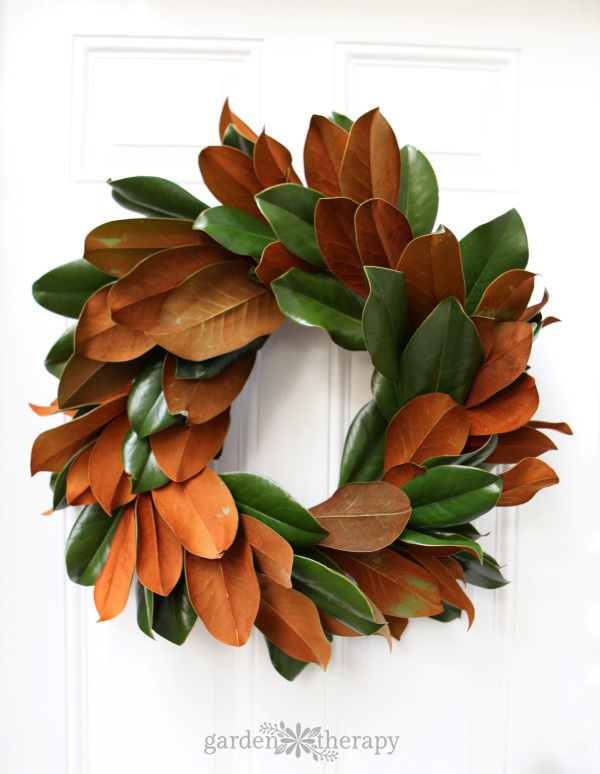
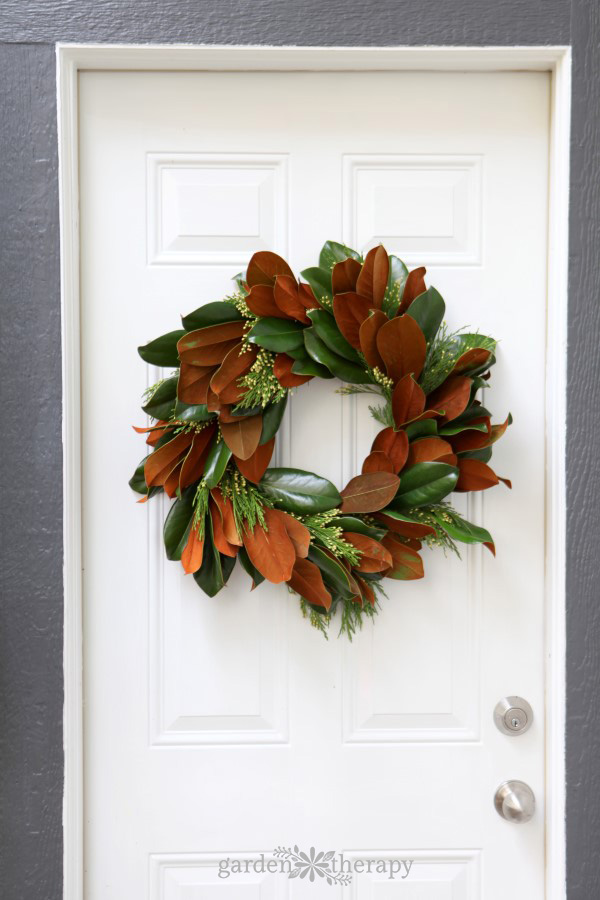
I love experimenting with different wreaths, and this year I decided to try making one out of magnolia since they produce such gorgeous foliage. I couldn’t be happier with how it turned out! The glossy leaves with textured undersides create an interesting contrast that looks unique and eye-catching while still maintaining the classic natural look of a fresh wreath.
Disclosure: This post is sponsored by Monrovia. All opinions in this post are my own. Be sure to check out the shop.monriovia.com giveaway at the end of this post as well!
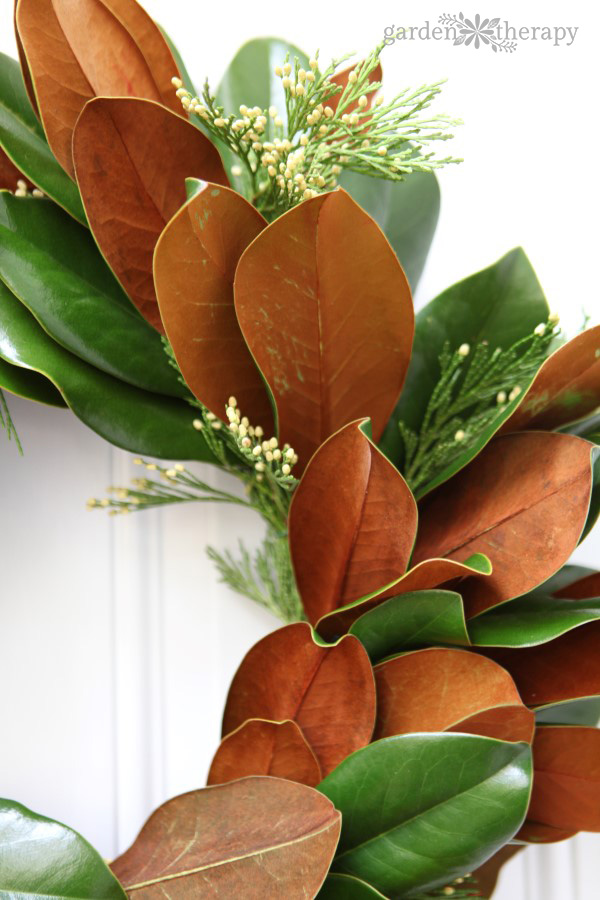
Magnolias have an interesting botanical characteristic called indumentum, which is a layer of trichomes or small hairy looking bristles covering an area of a plant (in the case of magnolias, it is on the underside of the leaves). Indumentum works to protect plants from insects and help to control water absorption and sun damage.
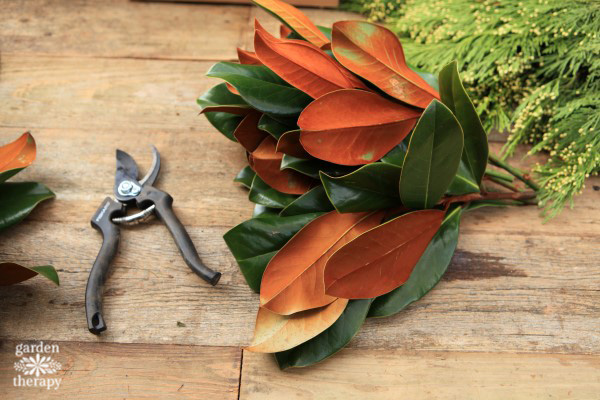
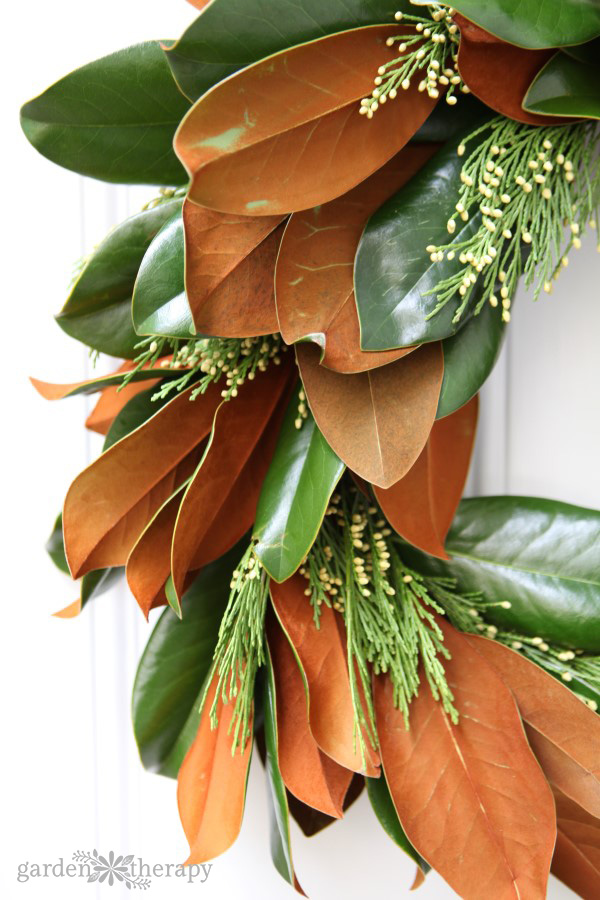
While many magnolias are prized in the spring for their scented blooms, Magnolia Grandiflora is known for its foliage. It has attractive, dark green leaves with a rusty brown color peeking out from underneath. The glossy green of the leaves would be attractive enough on its own, but the underside of each leaf is often covered with a thick brown or rust colored indumentum which creates a textural quality that looks like velvet.
How to make a Magnolia Wreath
Materials
Magnolia Grandiflora branches with leaves intact
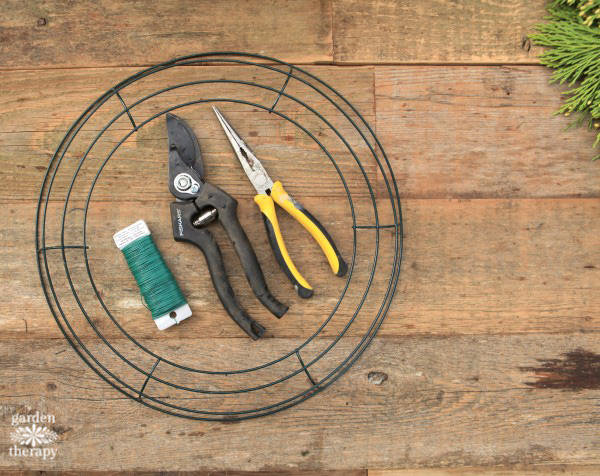
Wire wreath form
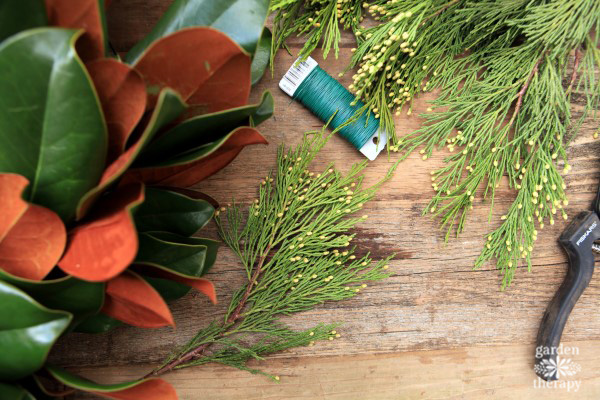
Incense cedar, juniper berry branches, or seeded eucalyptus (optional)
Make it!
To begin, you will need a wire wreath form. Gather your magnolia clippings in small bundles before securing them to the wreath.
Wrap each bundle around the wreath form with wire, overlapping them so that the stems are covered by the leaves of the next bundle. To see detailed instructions for attaching your bundles, head over to my tutorial on how to make an evergreen wreath.
I use twine for most wreaths that are tossed in the compost after the holidays because it is compostable. But for a wreath that will last many months or even years, I use paddle wire.
You can use a set of needle nose pliers to tighten the paddle wire as the branches dry out and shrink. Just turn the wreath over and gently twist the wire to tighten the hold on the branches.
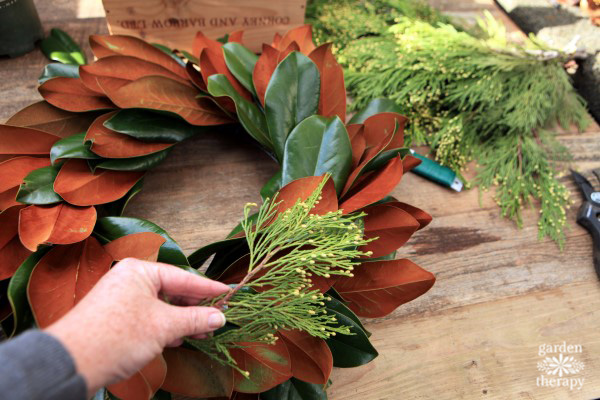
It’s not necessary to add anything other than magnolia leaves to the wreath, although a few branches of incense cedar, juniper berry branches, or seeded eucalyptus can add a little extra interest. I decided that my plain magnolia wreath needed a little jazzing up.
I love the way this incense cedar looks with the magnolia, plus it has a lovely fragrance, so I added some to my wreath in between the magnolia leaves.
Now it’s perfect!
Care
In most areas, the wreath should last for a few months and look freshly crafted. Over time, the green leaves will fade to brown but the indumentum will stay the same color. The leaves will become more brittle as the wreath ages, so wipe it gently with a soft cloth to clean without breaking the leaves.
Magnolia Varieties
Here are a few different types of magnolia that produce gorgeous foliage. If you are thinking of adding a magnolia to your garden, one of these will be just the thing—even if you only have space for a container garden!
D.D. Blanchard Southern Magnolia has large, very dark green glossy leaves with a bright, rust-colored underside. Hardy in Zones 7-9.
Kay Parris Magnolia has much smaller leaves than the two listed above. The leaves are bright green and glossy, with a velvety underside and wavy edges that create an interesting shape. Hardy in Zones 6-9.
Best for a Small Space:
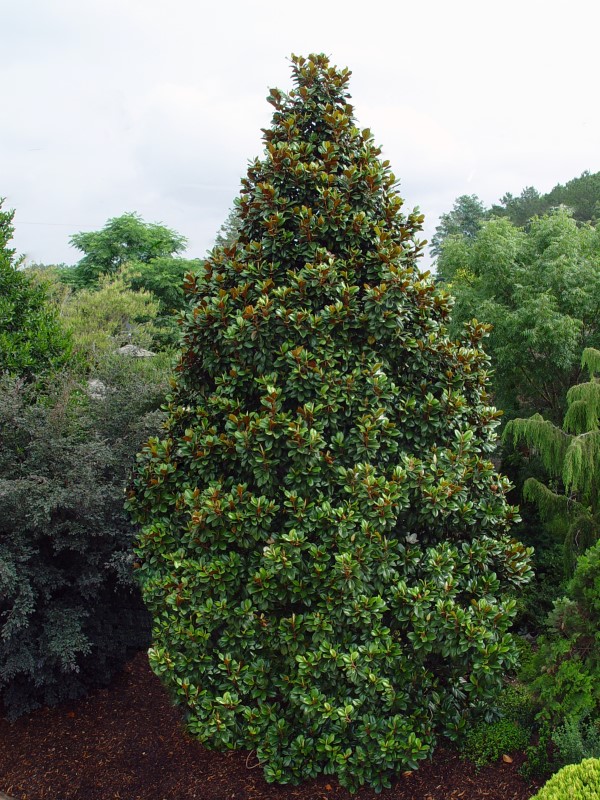
If you want to grow a magnolia but don’t have a lot of extra room, the Little Gem Dwarf Southern Magnolia is for you! It is bred specifically for container gardening, so you can get the beauty of a magnolia with whatever space limits you have. Hardy in Zones 7-9.
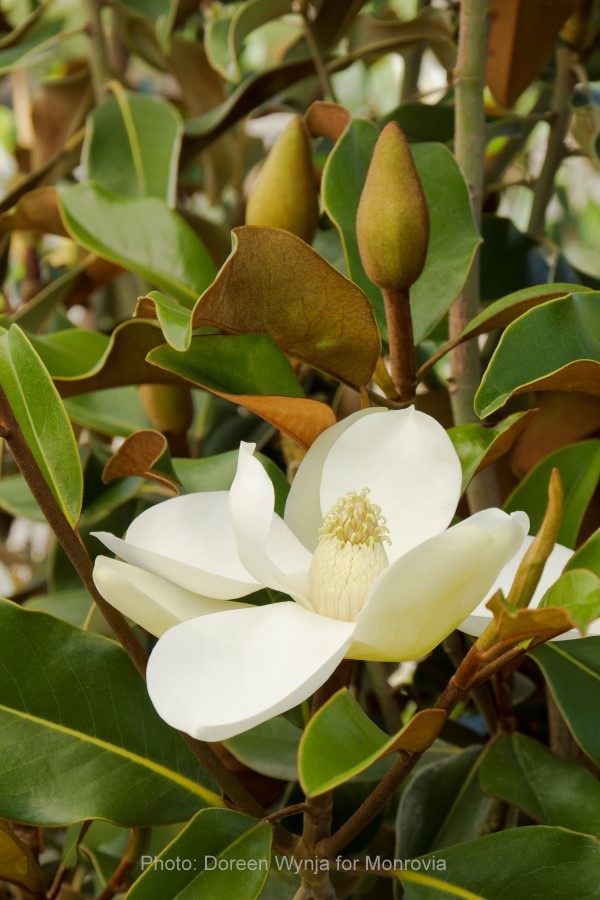
Teddy Bear Southern Magnolia is also a small space dream because of its upright habit. The shiny, deep green leaves have a heavy reddish-brown felt beneath and in the warm months, there are large 6- to 8-inch fragrant white flowers to enjoy. Hardy in Zones 7-9.
Teddy Bear Magnolia Courtesy of Monrovia
Dramatic Foliage:
For a really stunning display, check out the Alta Southern Magnolia. Its glossy leaves are such a dark green that they look almost black, which contrasts beautifully with the rusty undersides. Hardy in Zones 6-10.
Giveaway!
I’m thrilled to be giving away a $50 gift card to shop.monrovia.com so you can pick out just the right plant for your garden! This contest is now closed. Congratulations to the winner, Janice!
For even more wreath-making tips, see these posts:
Save
Original article and pictures take gardentherapy.ca site
Every morning when Caroline comes in to work, our conversation goes something like this:
Me: “Did you get your hair cut?”
Caroline: “No.”
Me: “Did you get a blowout?”
Caroline: “No.”
Me: “It looks really great.”
Caroline: “Thanks!”
Finally, yesterday, she revealed her secret: A hot air brush. “It’s a round brush that blows hot air out of it, and it’s been my styling trick since high school,” she explained. “Once you get the hang of it, it’s really easy to attain a smooth blow dry at home (even if you’re not ambidextrous, hyper-coordinated or a professional stylist). You can create a sleek look or soft, bouncy waves. I don’t know why everyone doesn’t use one.”
Have you ever used a hot air brush? Mine is in the mail:) Thanks, Caroline!
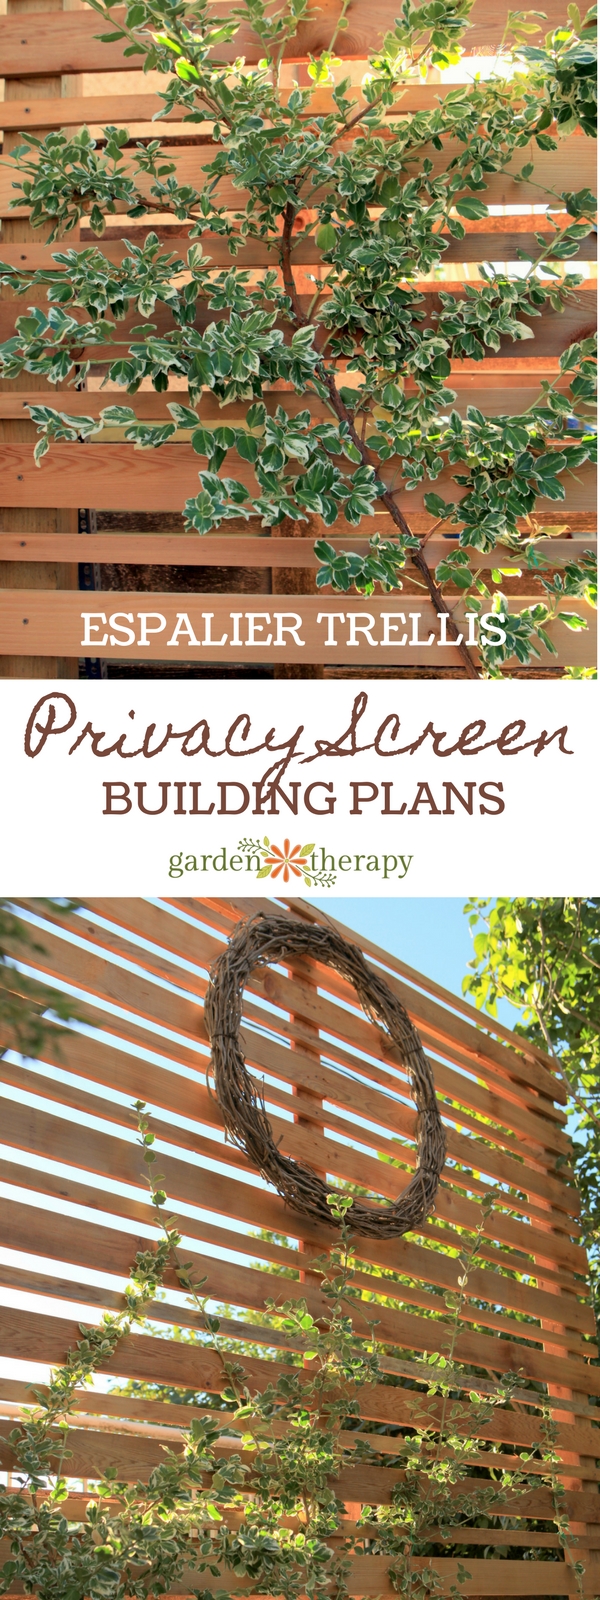
If you have a small urban lot or a close proximity to your neighbors’ yards, you may also have the need to create a sense of privacy in your outdoor oasis. While I love to use trees and large shrubs to frame the perimeter of the garden, they can take up a lot of space. Privacy screens can be a garden feature that takes up only a small footprint, but attracts a ton of attention. You can build one yourself with a few easy-to-find materials and get growing with an espaliered climbing shrub that looks beautiful for all four seasons.
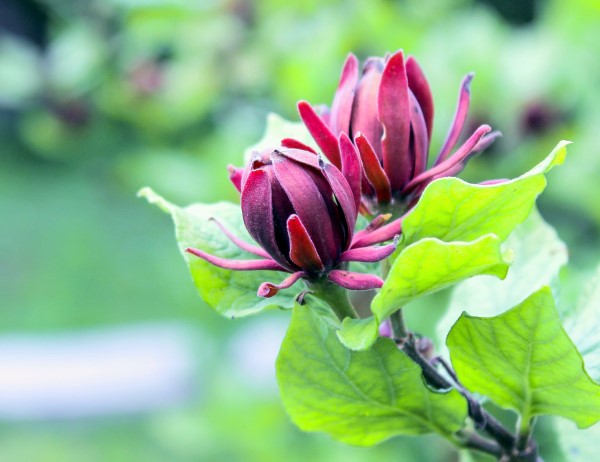
It’s sad to say goodbye to a tree or shrub from the garden that has provided so much enjoyment and purpose. While all plants have purpose, I had a large Caroline Allspice growing on the East side of my urban yard that bloomed many deep red, peach-scented flowers each year in June and pulled double-duty by creating privacy in the yard.
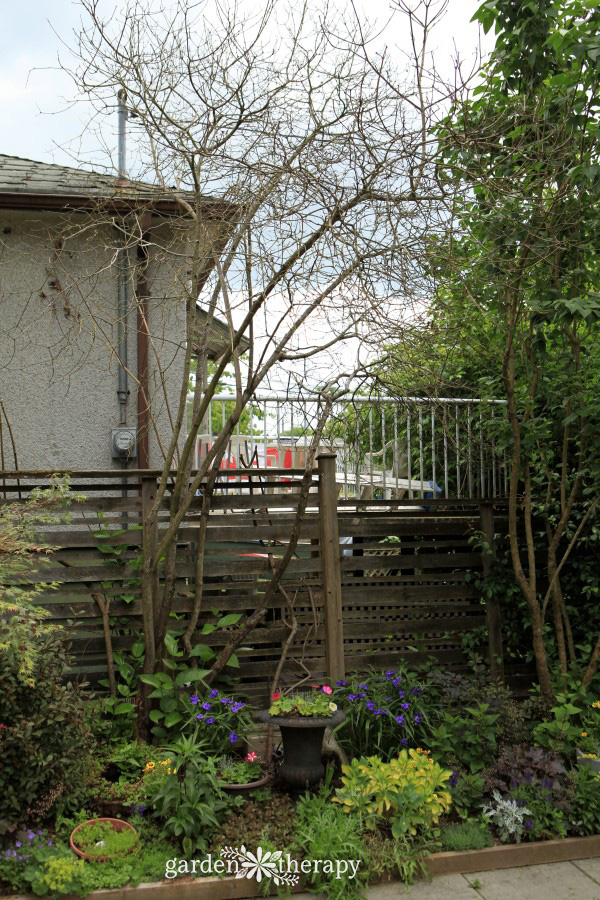
For some reason, this usually tidy shrub grew to mammoth proportions and it completely filled up the fence that divides us from the neighbor’s deck. It acted as a wonderful framework to the back of the garden and a privacy screen in the summer months when we needed it most.
And then, last summer, one of the branches died back. And then another branch, and another. By fall, all of the leaves and branches had died and I couldn’t find a single reason why. All of the surrounding plants were healthy, and we didn’t have any unusual weather. It remains a mystery.
I hoped that it would grow back this year, but, sadly, it did not. It was time for a new solution.
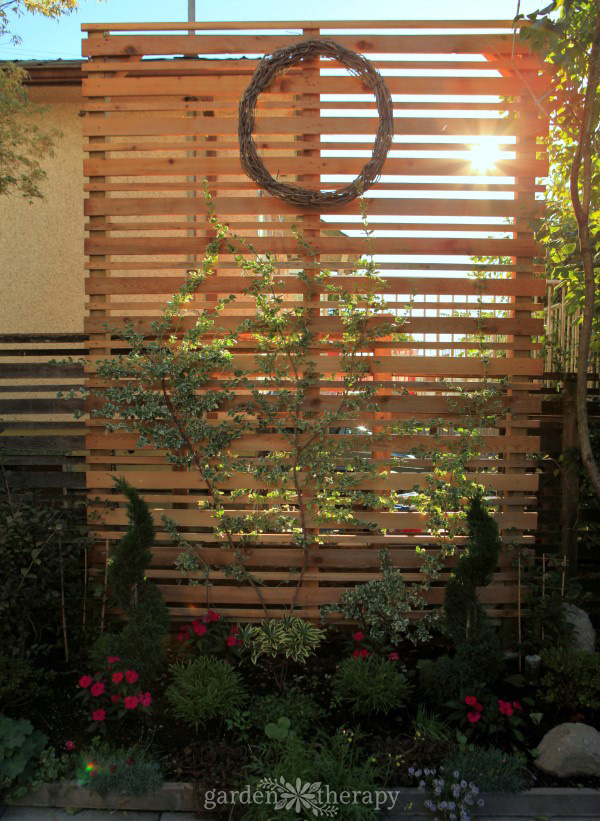
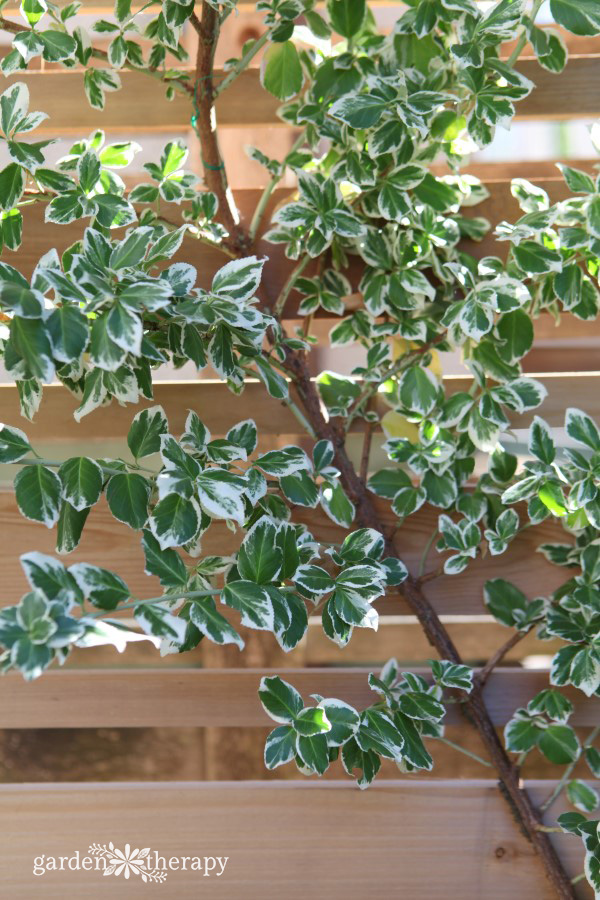
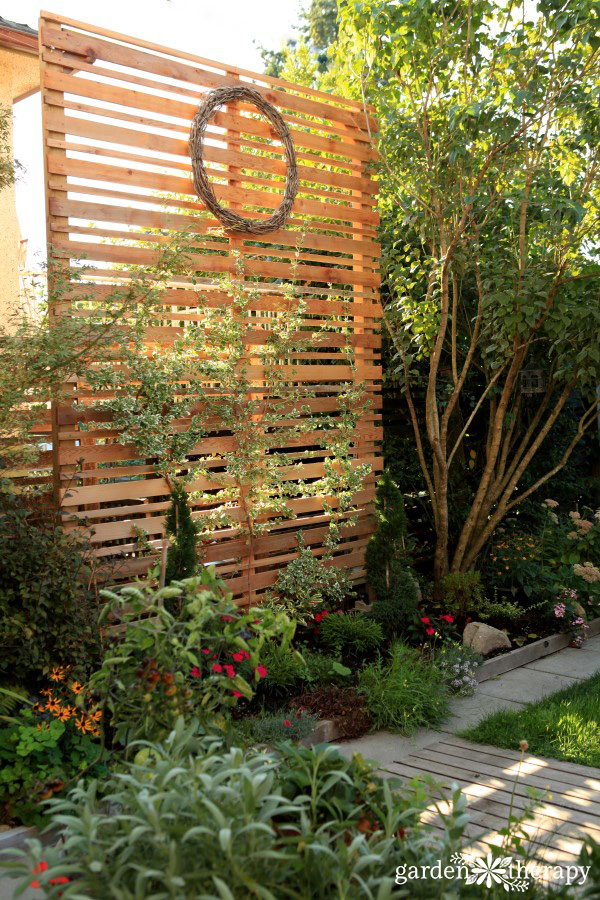
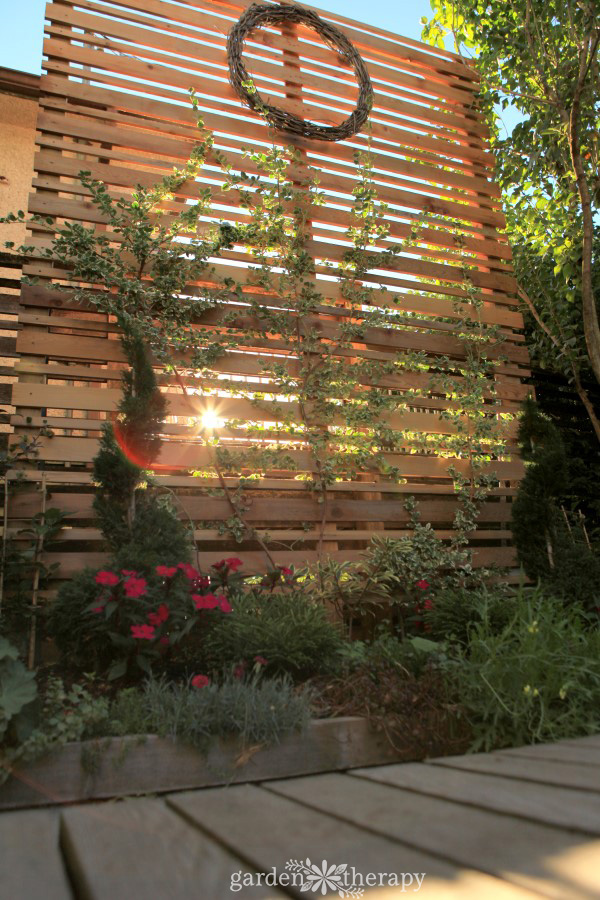
I decided on a privacy screen because I wanted something instant to fill up the space. This large, freestanding cedar trellis was the perfect solution. I had an evergreen Wintercreeper growing in the garden that I was able to transplant and espalier on the trellis. I can grow the branches all the way up to the top and let them fill out into a mass of green and white leaves, or I can continue to prune it into an espalier shape, keeping the leaves tidy.
Disclosure: This project is part of the Home Depot Canada Monthly Challenge and, as such, Home Depot Canada provided me with a gift card to cover some of the materials for this project. The design, opinions, and ideas are my own.
How to Build a Freestanding Privacy Screen Espalier Trellis
The most important part of building any structure is to make sure that its foundation is strong enough to prevent it from tipping or blowing over on a windy day. A good rule of thumb is to dig each post hole at least 1/3 the depth of the fence’s height. For this project the privacy screen is 11’ tall, and so the post holes need to be at least 3’6” deep.
Many fence posts are built by placing the actual post in the post hole and pouring concrete around it, but for this project we chose to seat the posts onto post saddles instead to help keep the posts out of the soil and water. This will reduce the risk of the posts rotting prematurely.
Dimensions: 11 feet high x 8 feet wide – adjust for your space
Step ladder that will allow you to safely reach at least 12’ high.
Make it!
Prepare Concrete Footers and Saddles
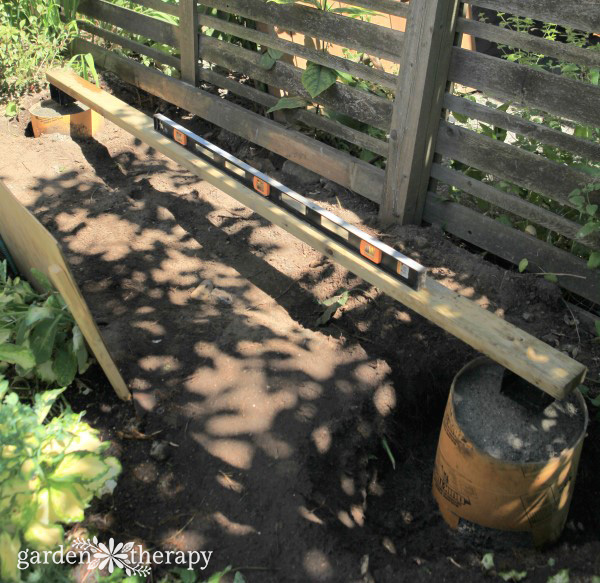
Dig two holes 7’2” apart on center, 3’5” deep, and 14” wide. Make sure that you are using the right digging tool and technique for your project and your body.
Cut a concrete forming tube into two 3’8” lengths, place each tube into the post holes, and make sure that the top of the tubes are above grade.
Back fill around the outside of each tube with dirt.
Tamp down the bottom of each hole and pour in 3” gravel.
Pour about 6 bags of prepared concrete in each tube while periodically tamping the concrete.
Round the top of each concrete footer away from the center to prevent rain water from pooling.
Insert post saddles into the center of each concrete footer. There should be about a 1” gap between the bottom of the saddle and the top of the concrete footer to prevent the post from contacting with water and soil and prematurely rotting. Ensure that the post saddles are level vertically, horizontally, and with each other.
Allow the concrete to cure.
Attach the Privacy Screen Posts
Cut two 4”x4”x12’ pressure-treated posts to 11’.
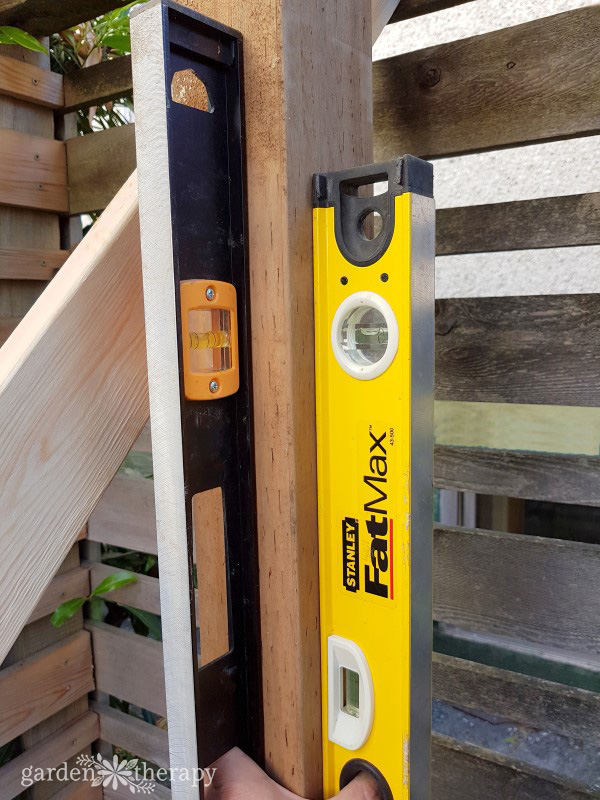
Seat each post onto the saddle and level them vertically.
Stabilize the posts with scrap 2”x4” anchored to both the posts and the ground to ensure that they stay level while completing the rest of the privacy screen structure.
Use 2” galvanized lag bolts to firmly attach the posts to the saddles.
Stabilize the Posts (optional)
The posts should not sway or lean when you push on them. If you feel that the posts are not stable enough, then follow these steps to provide additional stability.
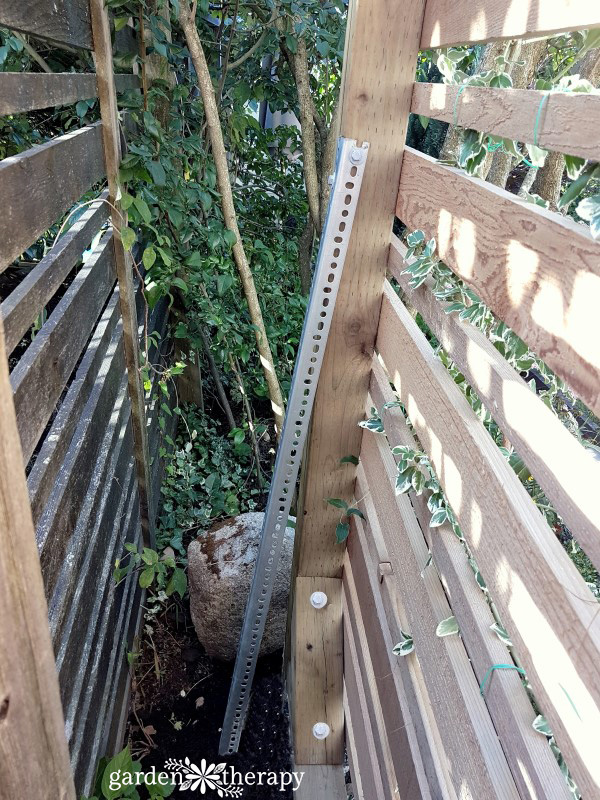
Prepare two concrete footers about 2’ deep by 12” wide, directly behind each fence post.
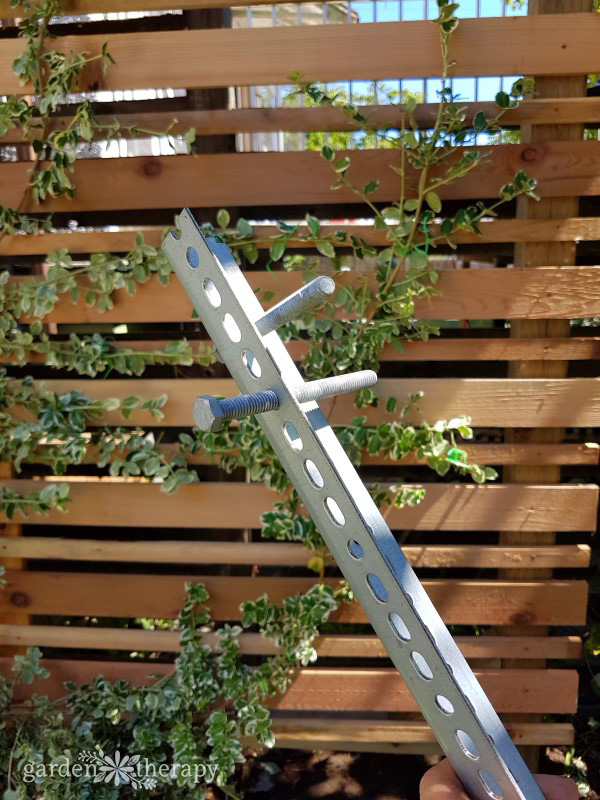
Insert two 6” galvanized lag bolts into the ends of each 6’ galvanized angle iron.
Insert the angle iron (lag bolt first) deep into the concrete footer and attach the other end to the corner of each fence post using two 2” long lag bolts.
Allow the concrete to cure.
Attach the Rails and Braces
Cut two 2”x4”x8’ pressure-treated planks to fit the inside length of the two posts and attach them 6” from the top and 6” from the bottom of the posts.
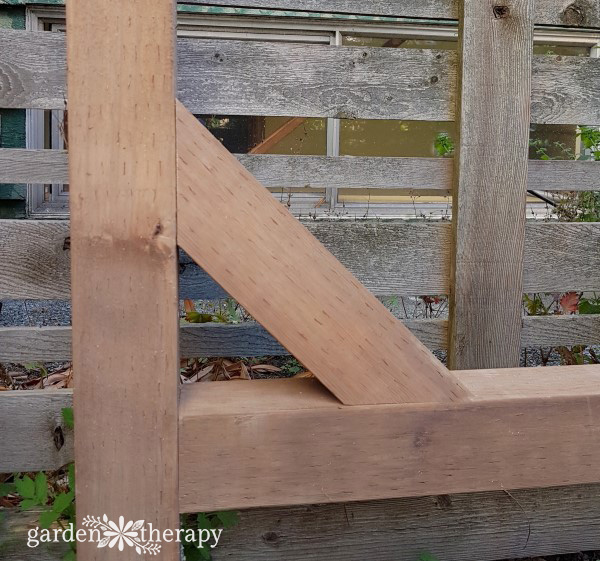
Cut a 4”x4”x12’ pressure-treated post into 4 equal pieces, trim the ends at 45 degree angles, and attach them to the inside corners of the privacy screen structure. This will help prevent diagonal swaying.
Install the Lattice
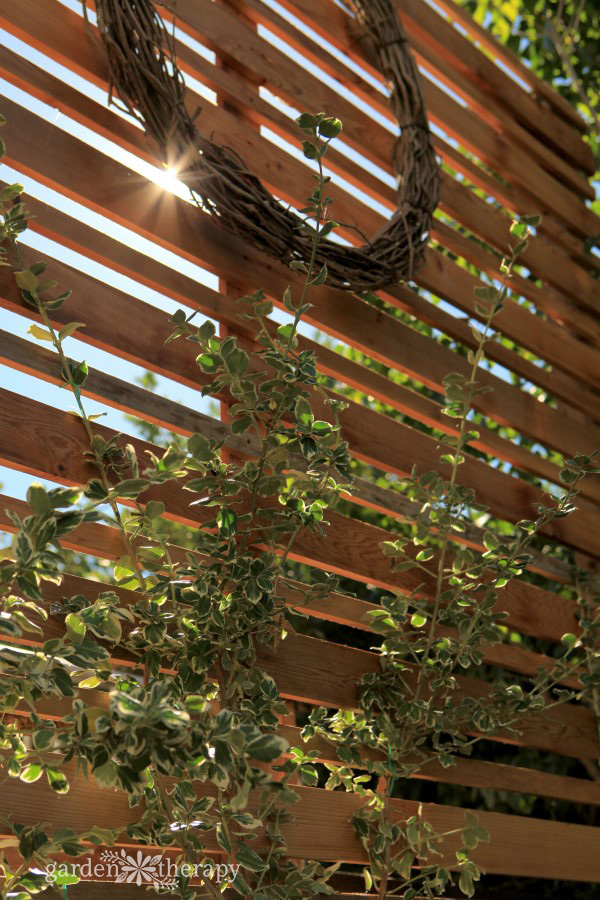
The lattice is made up of alternating strips of 1”x2” and 1”x4” cedar planks with a 1½” gap in between each strip. To make measuring the 1½” gap easy and consistent, use the wider part and extra 1”x2” cedar plank as a spacing guide.
Cut a 2”x4”x12’ cedar plank to 11’ and attach it vertically to the center of the top and bottom rails. This center plank will help prevent the lattice strips from sagging.
Working from the top down, attach horizontally to the posts and vertical center plank the 1”x2” and 1”x4” cedar planks in alternating order with a 1½” gap between each plank.
Plant it!
Finally, you can plant your espalier at the base of the structure and use garden ties to attach the branches to the lattice. Try adorning the screen with other decorative elements as well; we added a grapevine wreath to fill in the empty space at the top.
The sun can shine through, giving us dappled light and a beautiful backdrop to the garden.
You May Also Like These DIY Projects:
Save
Original article and pictures take gardentherapy.ca site
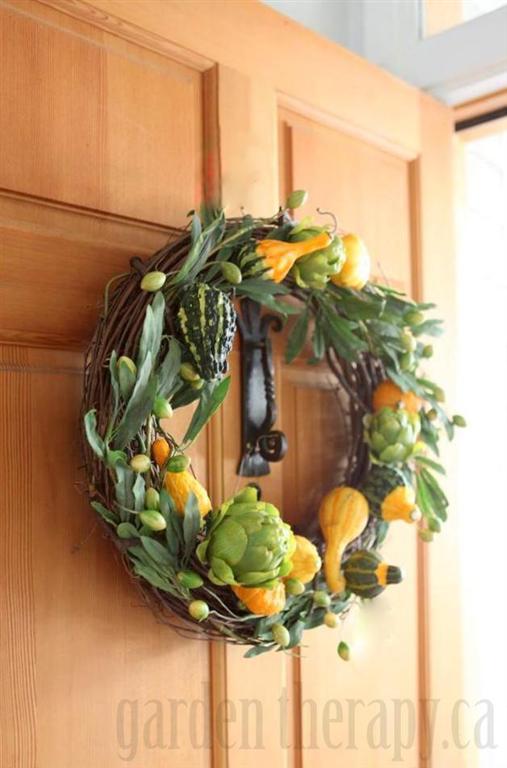
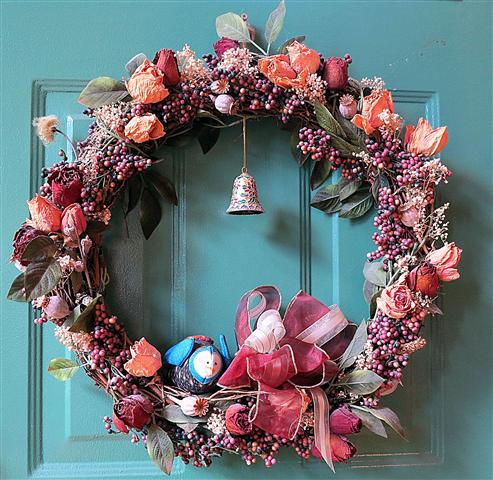
The possibilities are endless with wreath design. Making wreaths from fresh garden greenery is an easy project that adds style and (often) fragrance to your front door. These DIY wreaths are not just the hallmark of winter holidays – you can make one for any season. Here are some of our favorite autumn-inspired wreaths to adorn your door this fall.
The fall provides even more options, it seems, from dried seed heads to moss to fresh vegetable and flowers. You can come up with endless creative ways to make a fall wreath, but here are a few ideas to get you started. Use these as a jumping-off point and let your imagination go wild!
Ideas for DIY Wreaths
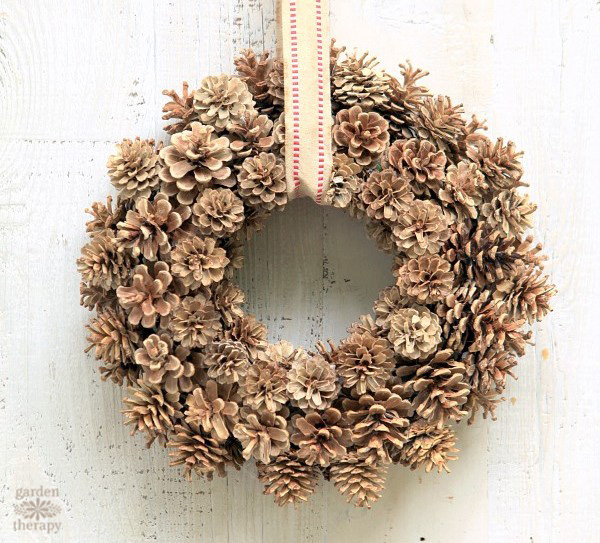
Collect a bunch of pinecones and bleach them to make this rustic-yet-modern wreath. See the full instructions here. You could also do this with untreated pinecones if you prefer, but we love the softer look of bleached pinecones.
Autumn Berries
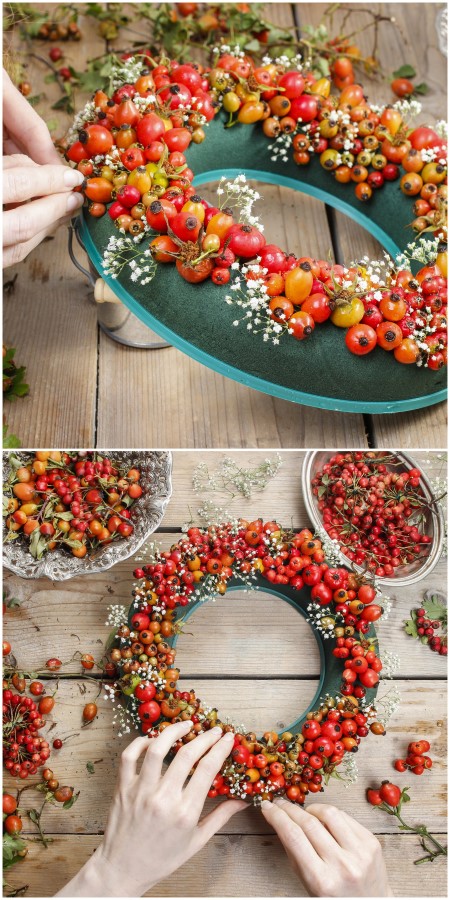
Make a rose hip and hawthorn berry wreath with a foam wreath form, berries, and some pruners. Just cover the form with tightly packed rose hips and hawthorn berries by poking their stems into the foam, and voila!
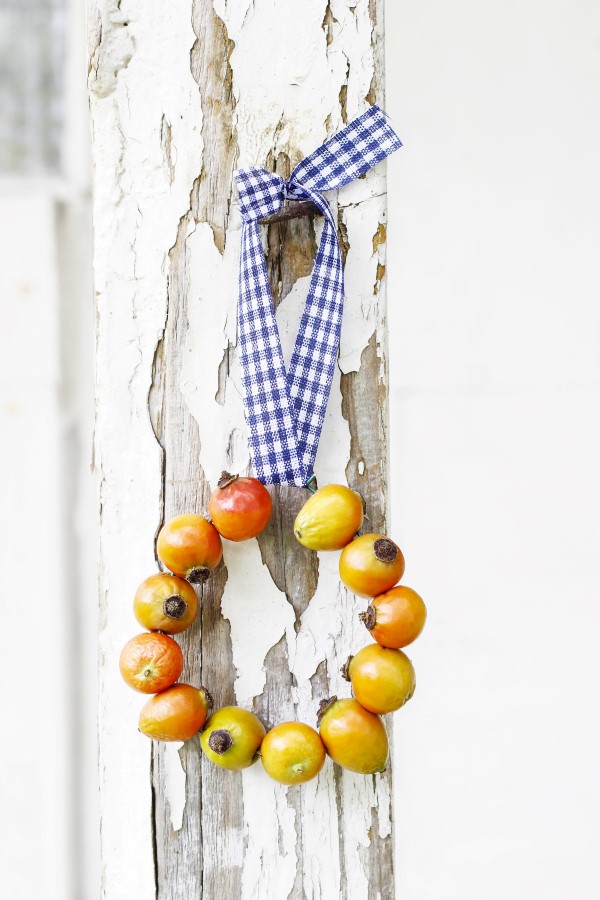
…or make a sweet mini rose hip wreath by stringing them on wire shaped into a circle and hanging from a ribbon.
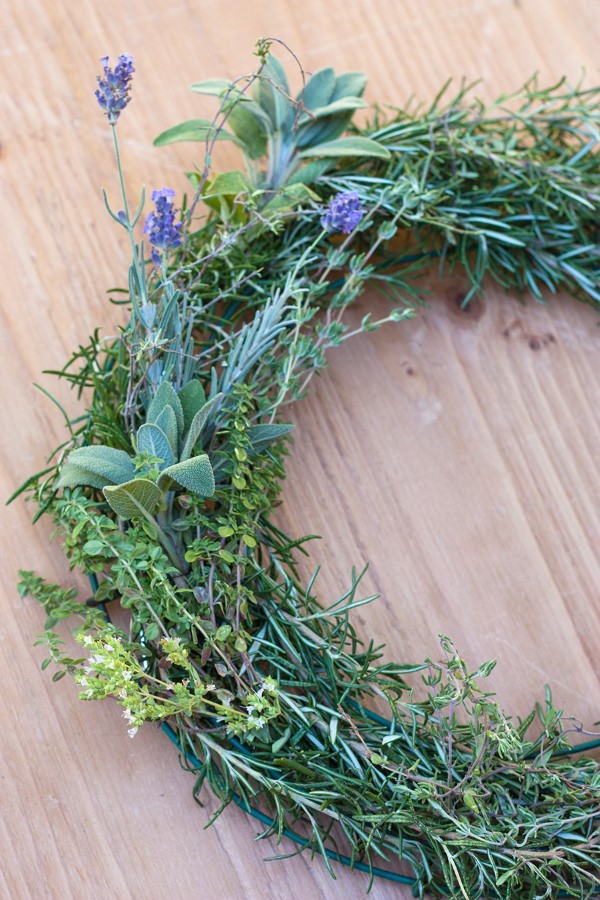
A fresh herb wreath can be created in the late summer or fall as a way to harvest and dry garden herbs. It’s pretty, useful, and it smells like heaven too!
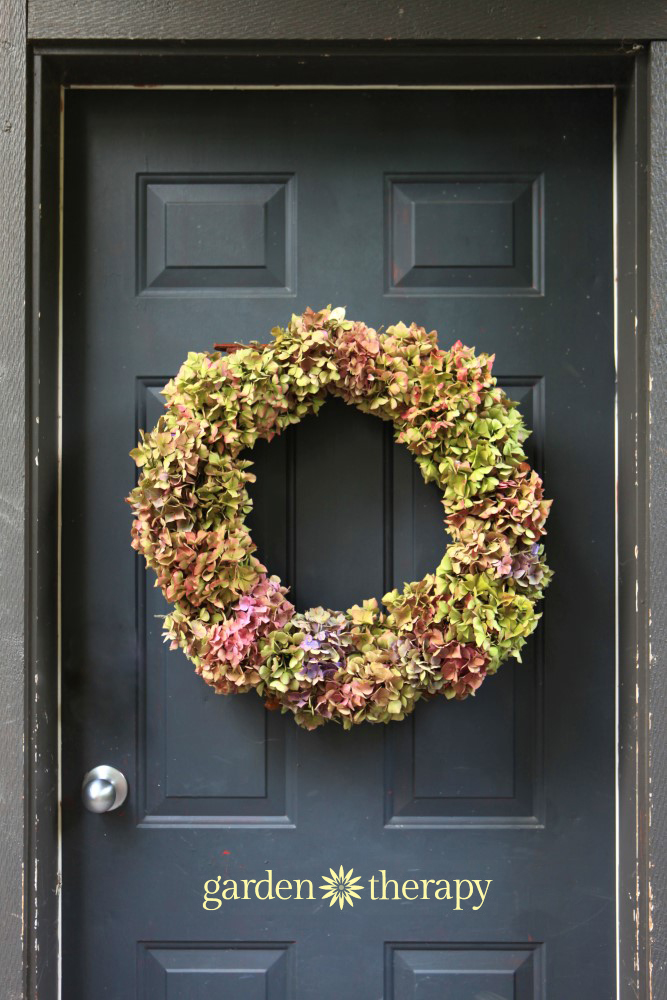
This is by far the easiest way to make a gorgeous fall wreath with hydrangea flowers that will dry beautifully and keep their color.
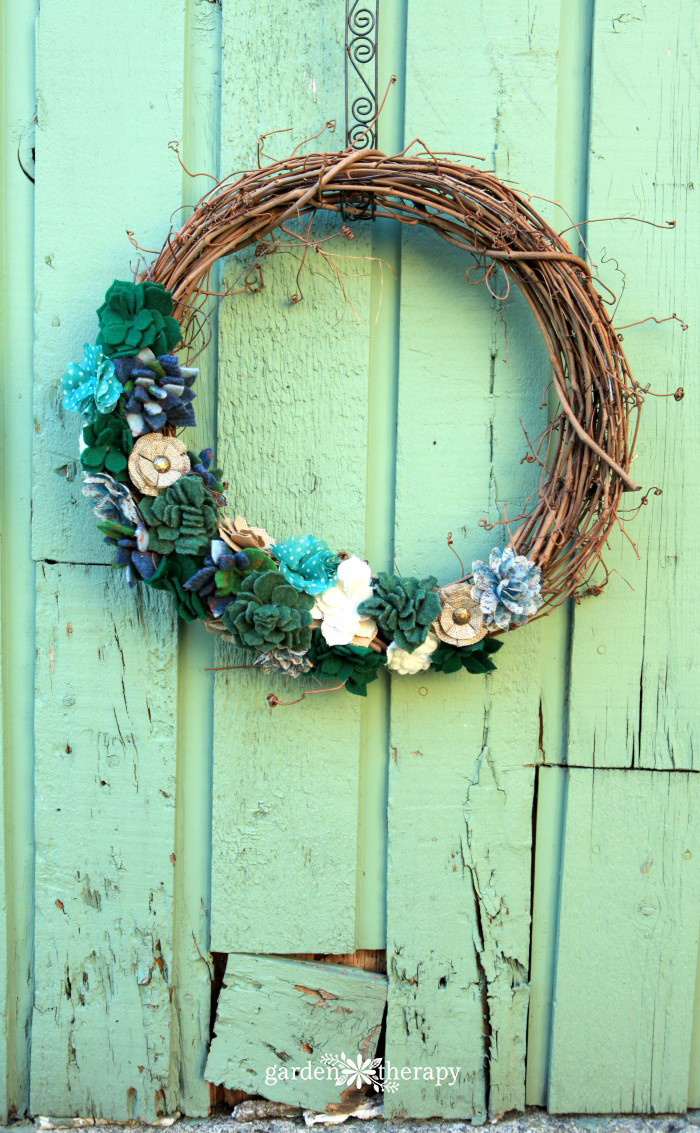
It’s sweater season again, and even the wreaths are getting cozy! This project uses old sweaters upcycled into pretty felted succulents affixed to a grapevine form, creating a warm welcome at any entrance way.
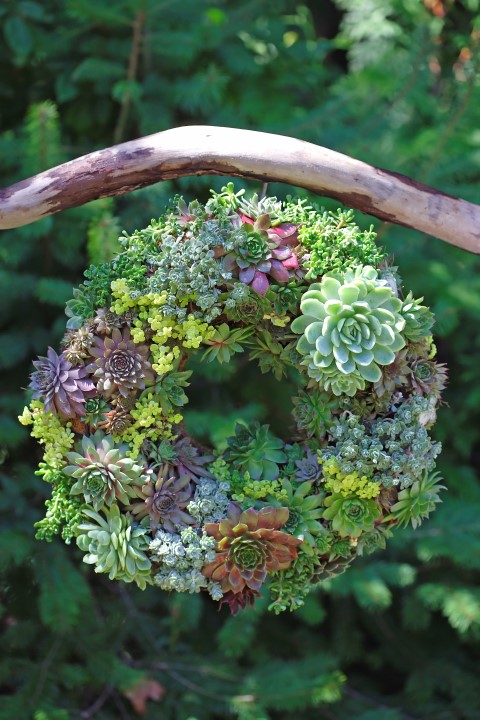
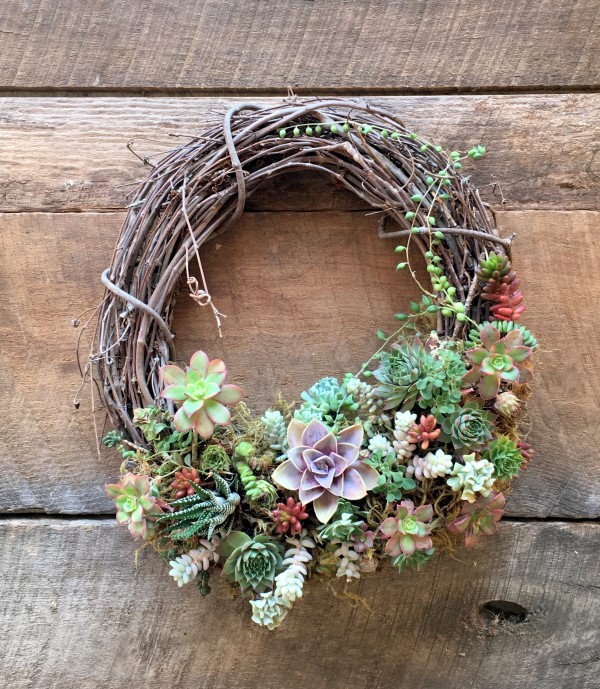
Oh, and you can make a gorgeous wreath out of real succulents too. This beauty is lovely any time of year, as long as you have warm weather. For those of us with seasons, these succulent wreaths look their best in the fall after a summer of filling in and growing.
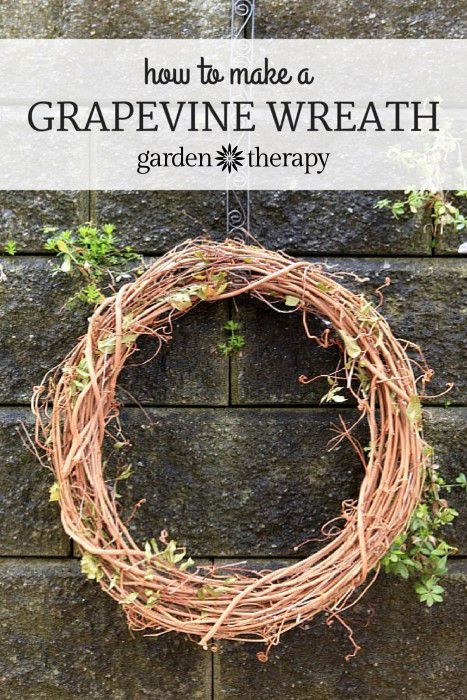
If you have a bounty of grapevines then this wreath tutorial is for you. Learn how to twist those vines into a beautiful wreath that can be the basis for any project, or even hold its own with no extra adornment!
Fresh lavender sprigs drying on a wreath form makes a lovely welcome to guests. I hang these out in the garden to decorate while they dry and I can harvest the buds. You’ll be surprised at what I use for a wreath form too!
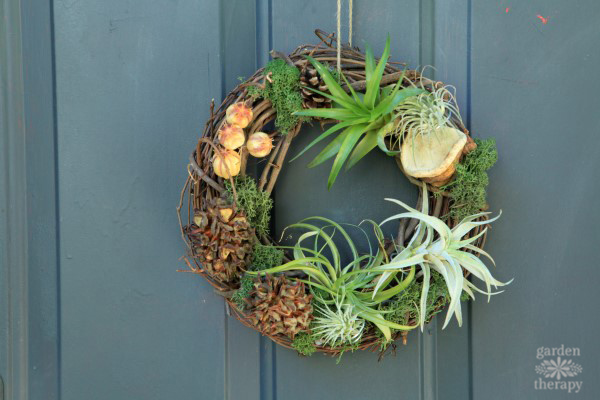
This lush living air plant wreath looks at home in any season, and because the project doesn’t use any harmful glue, your air plant wreath will stay happy and healthy for a long time.
Save
Original article and pictures take gardentherapy.ca site