If you have a small urban lot or a close proximity to your neighbors’ yards, you may also have the need to create a sense of privacy in your outdoor oasis. While I love to use trees and large shrubs to frame the perimeter of the garden, they can take up a lot of space. Privacy screens can be a garden feature that takes up only a small footprint, but attracts a ton of attention. You can build one yourself with a few easy-to-find materials and get growing with an espaliered climbing shrub that looks beautiful for all four seasons.
It’s sad to say goodbye to a tree or shrub from the garden that has provided so much enjoyment and purpose. While all plants have purpose, I had a large Caroline Allspice growing on the East side of my urban yard that bloomed many deep red, peach-scented flowers each year in June and pulled double-duty by creating privacy in the yard.

For some reason, this usually tidy shrub grew to mammoth proportions and it completely filled up the fence that divides us from the neighbor’s deck. It acted as a wonderful framework to the back of the garden and a privacy screen in the summer months when we needed it most.
And then, last summer, one of the branches died back. And then another branch, and another. By fall, all of the leaves and branches had died and I couldn’t find a single reason why. All of the surrounding plants were healthy, and we didn’t have any unusual weather. It remains a mystery.
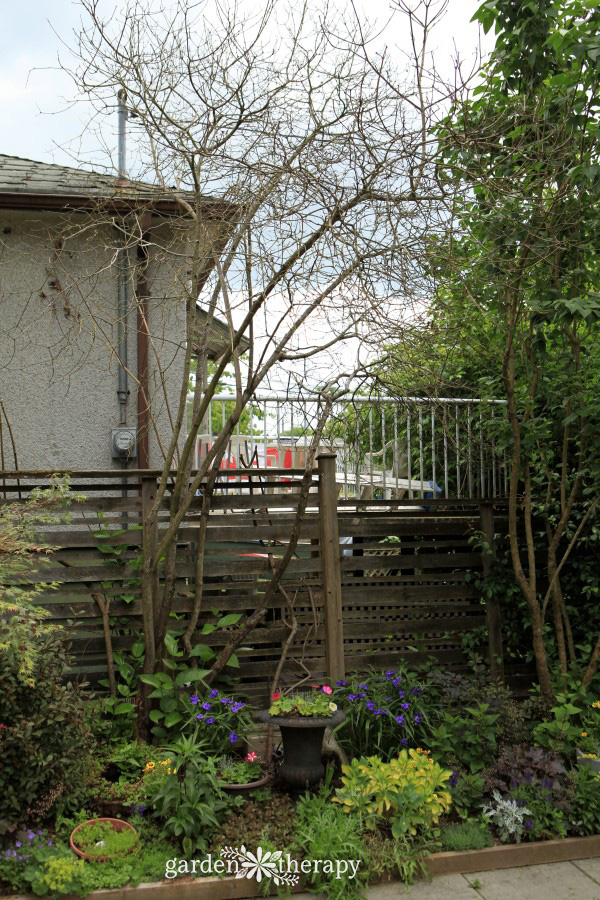
I hoped that it would grow back this year, but, sadly, it did not. It was time for a new solution.
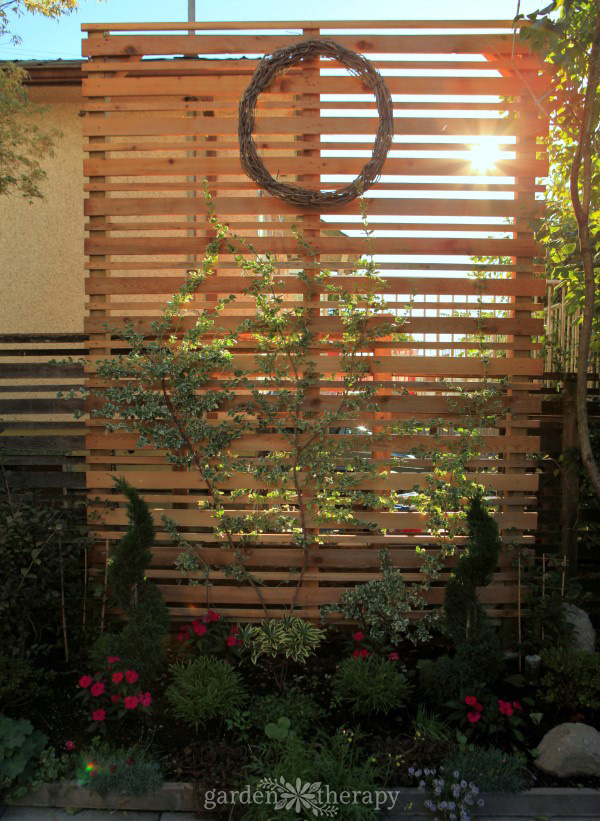
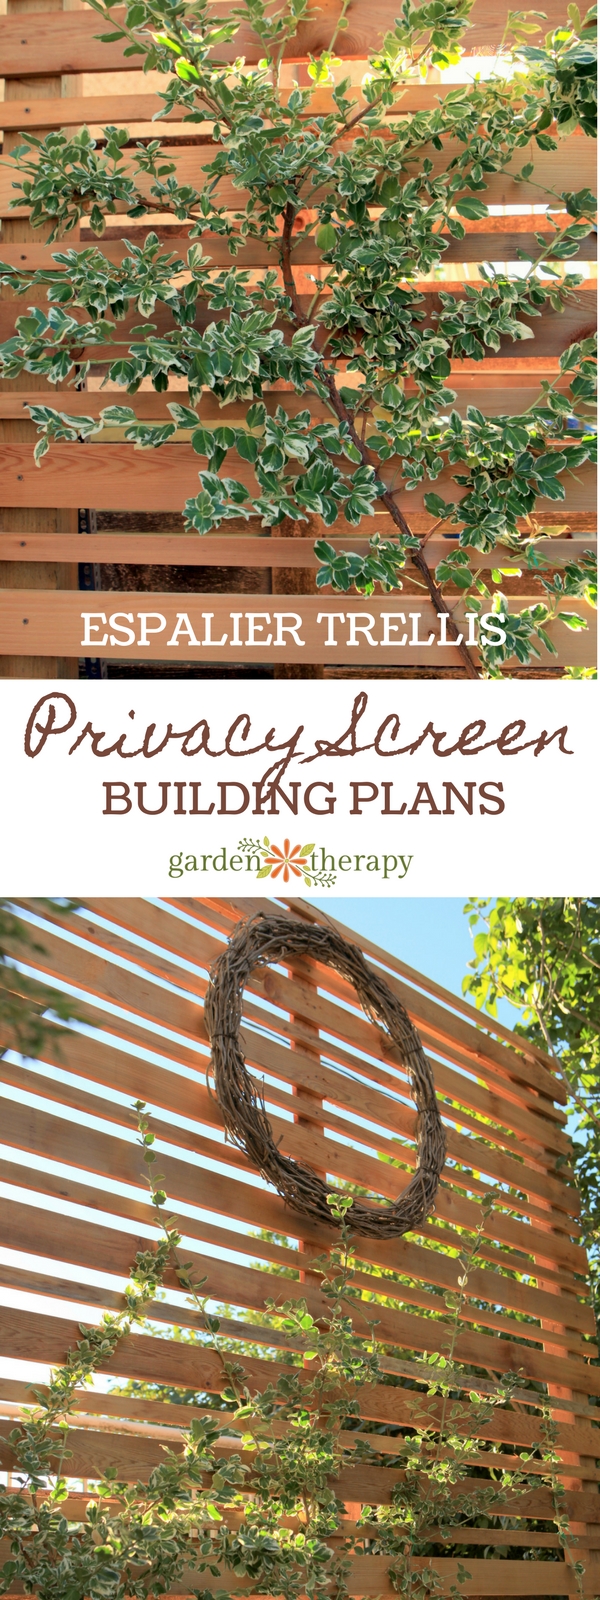
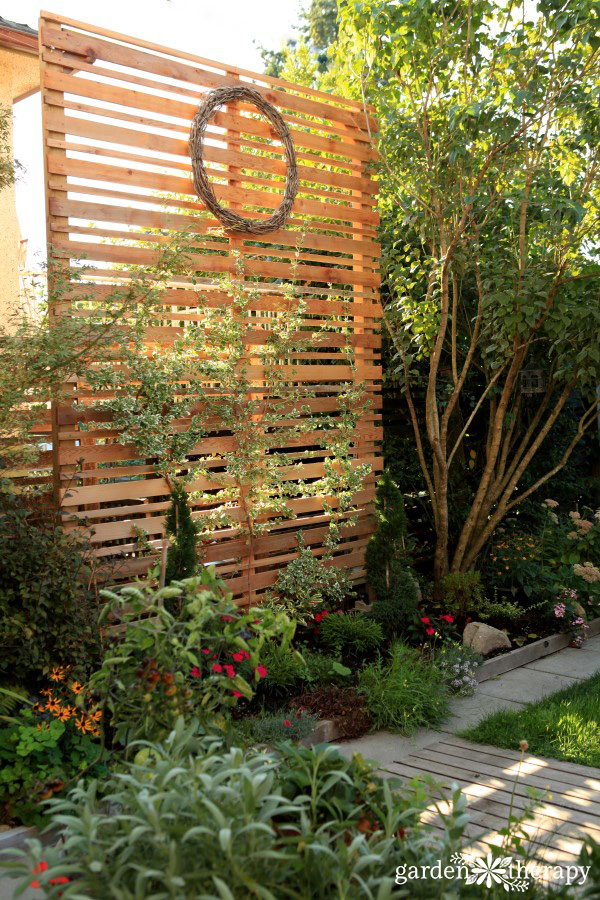
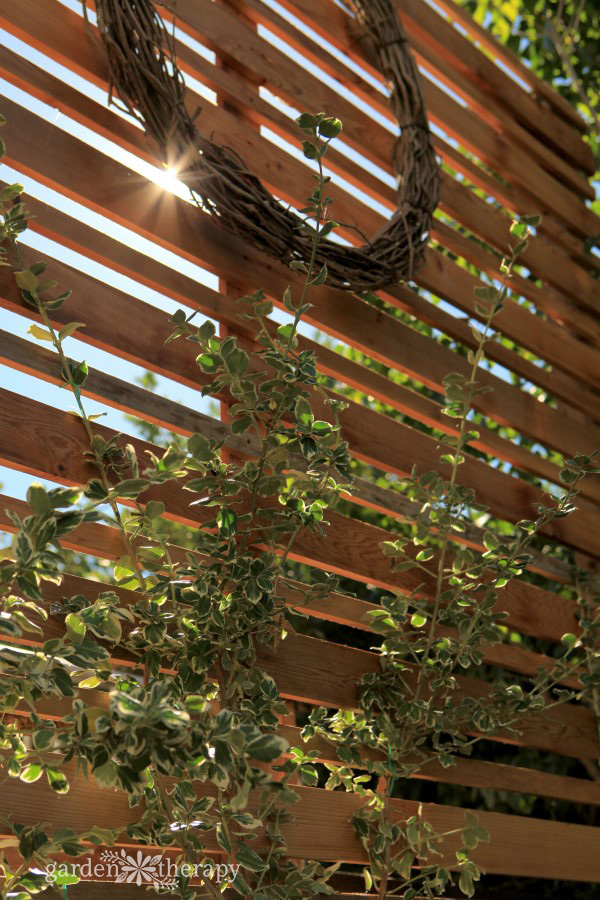
I decided on a privacy screen because I wanted something instant to fill up the space. This large, freestanding cedar trellis was the perfect solution. I had an evergreen Wintercreeper growing in the garden that I was able to transplant and espalier on the trellis. I can grow the branches all the way up to the top and let them fill out into a mass of green and white leaves, or I can continue to prune it into an espalier shape, keeping the leaves tidy.
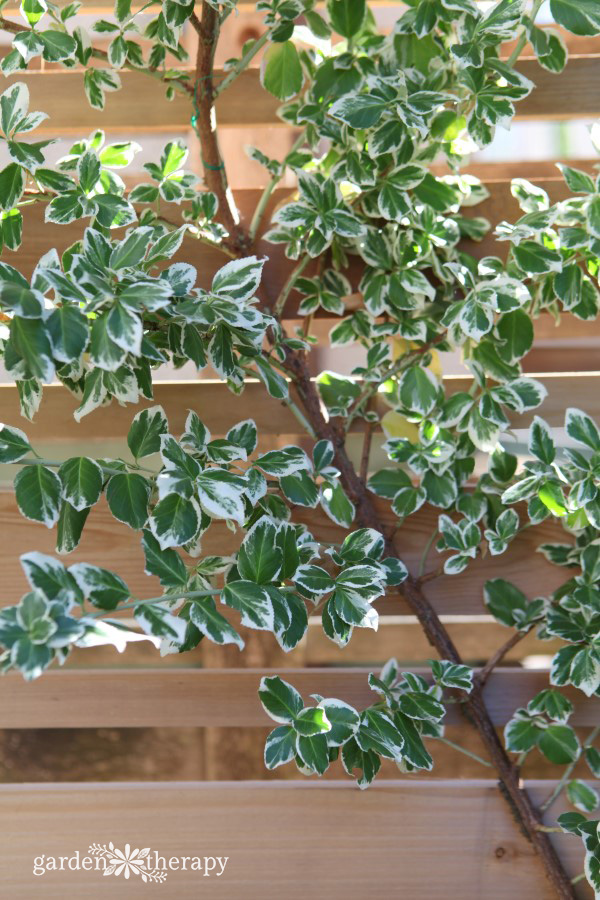
Since pruning is one of my favorite gardening jobs, I’ll certainly be working on its form as an espalier. You can read more about espaliers here.
Disclosure: This project is part of the Home Depot Canada Monthly Challenge and, as such, Home Depot Canada provided me with a gift card to cover some of the materials for this project. The design, opinions, and ideas are my own.
How to Build a Freestanding Privacy Screen Espalier Trellis
The most important part of building any structure is to make sure that its foundation is strong enough to prevent it from tipping or blowing over on a windy day. A good rule of thumb is to dig each post hole at least 1/3 the depth of the fence’s height. For this project the privacy screen is 11’ tall, and so the post holes need to be at least 3’6” deep.
Many fence posts are built by placing the actual post in the post hole and pouring concrete around it, but for this project we chose to seat the posts onto post saddles instead to help keep the posts out of the soil and water. This will reduce the risk of the posts rotting prematurely.
Dimensions: 11 feet high x 8 feet wide – adjust for your space
Materials
- (3) 4”x4”x12’ – pressure treated
- (2) 2”x4”x8’ – pressure treated
- (15) 1”x4”x8’ – cedar
- (15) 1”x2”x8’ – cedar
- (1) 1”x4”x12’ – cedar
- (about 16) 60 lb bag of concrete
- 12”x12’ concrete forming tubes
- 1½” and 3” deck screws
- (2) galvanized post saddles
- (8) ½”x2” galvanized lag bolts
- (4) ½”x6” galvanized lag bolts
- (2) 6’ galvanized angle iron
- Gravel
Tools
- Shovel or post hole digger
- Wheel barrow or concrete mixer
- Levels
- Hammer
- Drill
- Scrap 2”x4”
- Step ladder that will allow you to safely reach at least 12’ high.
Make it!
Prepare Concrete Footers and Saddles
- Dig two holes 7’2” apart on center, 3’5” deep, and 14” wide. Make sure that you are using the right digging tool and technique for your project and your body.
- Cut a concrete forming tube into two 3’8” lengths, place each tube into the post holes, and make sure that the top of the tubes are above grade.
- Back fill around the outside of each tube with dirt.
- Tamp down the bottom of each hole and pour in 3” gravel.
- Pour about 6 bags of prepared concrete in each tube while periodically tamping the concrete.
- Round the top of each concrete footer away from the center to prevent rain water from pooling.
- Insert post saddles into the center of each concrete footer. There should be about a 1” gap between the bottom of the saddle and the top of the concrete footer to prevent the post from contacting with water and soil and prematurely rotting. Ensure that the post saddles are level vertically, horizontally, and with each other.
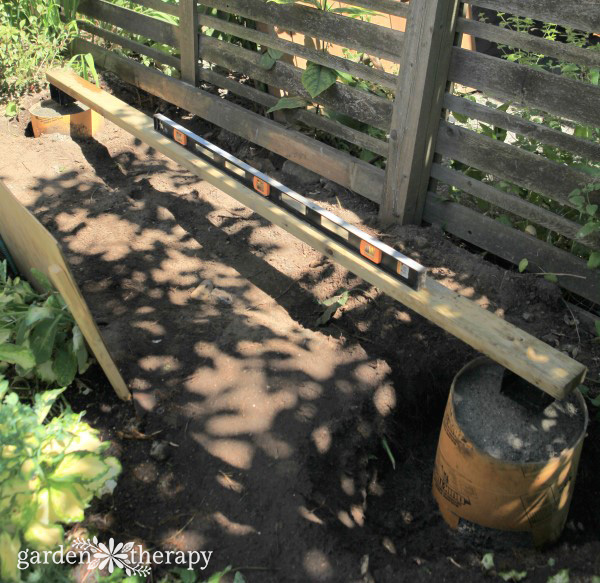
- Allow the concrete to cure.
Attach the Privacy Screen Posts
- Cut two 4”x4”x12’ pressure-treated posts to 11’.
- Seat each post onto the saddle and level them vertically.
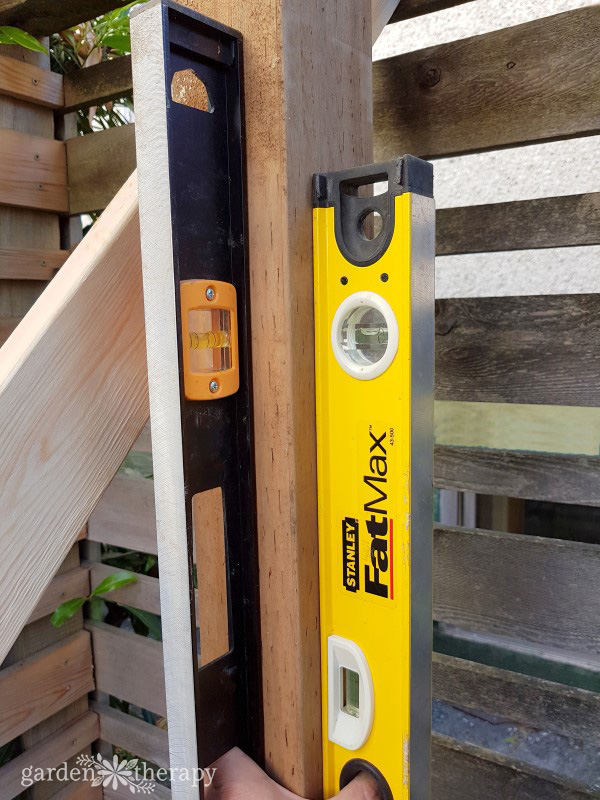
- Stabilize the posts with scrap 2”x4” anchored to both the posts and the ground to ensure that they stay level while completing the rest of the privacy screen structure.
- Use 2” galvanized lag bolts to firmly attach the posts to the saddles.
Stabilize the Posts (optional)
The posts should not sway or lean when you push on them. If you feel that the posts are not stable enough, then follow these steps to provide additional stability.
- Prepare two concrete footers about 2’ deep by 12” wide, directly behind each fence post.
- Insert two 6” galvanized lag bolts into the ends of each 6’ galvanized angle iron.
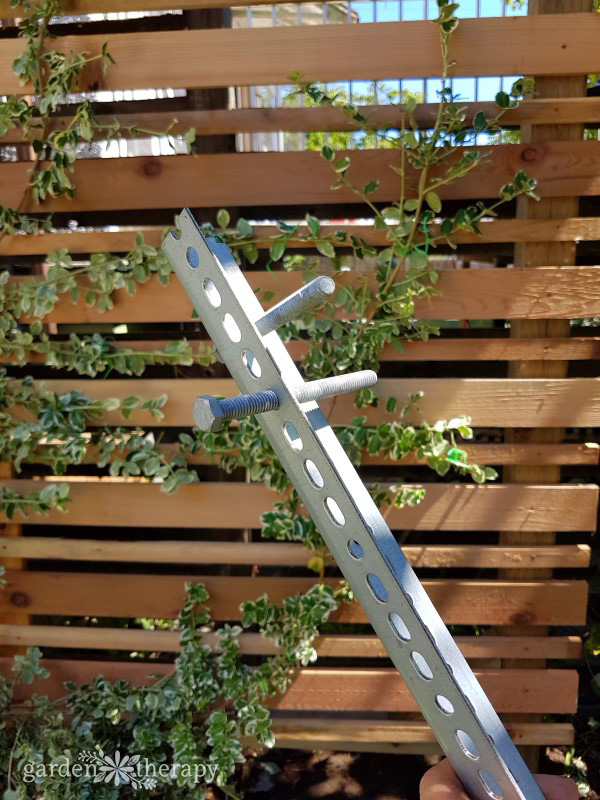
- Insert the angle iron (lag bolt first) deep into the concrete footer and attach the other end to the corner of each fence post using two 2” long lag bolts.
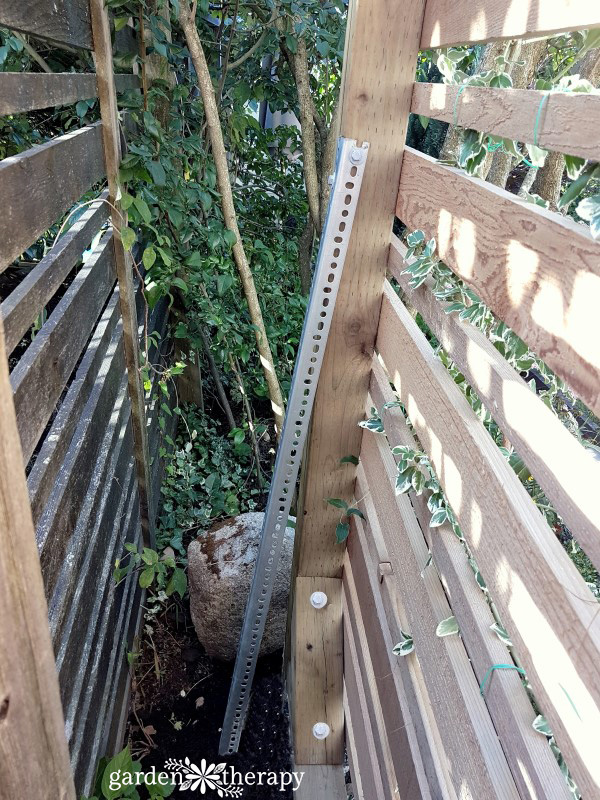
- Allow the concrete to cure.
Attach the Rails and Braces
- Cut two 2”x4”x8’ pressure-treated planks to fit the inside length of the two posts and attach them 6” from the top and 6” from the bottom of the posts.
- Cut a 4”x4”x12’ pressure-treated post into 4 equal pieces, trim the ends at 45 degree angles, and attach them to the inside corners of the privacy screen structure. This will help prevent diagonal swaying.
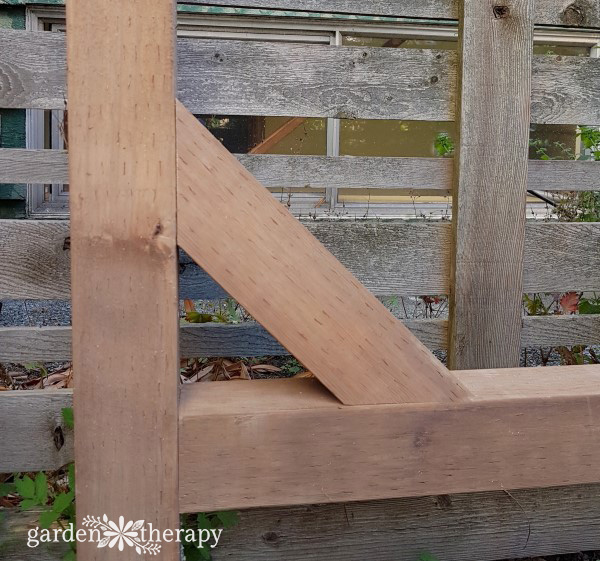
Install the Lattice
The lattice is made up of alternating strips of 1”x2” and 1”x4” cedar planks with a 1½” gap in between each strip. To make measuring the 1½” gap easy and consistent, use the wider part and extra 1”x2” cedar plank as a spacing guide.
- Cut a 2”x4”x12’ cedar plank to 11’ and attach it vertically to the center of the top and bottom rails. This center plank will help prevent the lattice strips from sagging.
- Working from the top down, attach horizontally to the posts and vertical center plank the 1”x2” and 1”x4” cedar planks in alternating order with a 1½” gap between each plank.
Plant it!
Finally, you can plant your espalier at the base of the structure and use garden ties to attach the branches to the lattice. Try adorning the screen with other decorative elements as well; we added a grapevine wreath to fill in the empty space at the top.
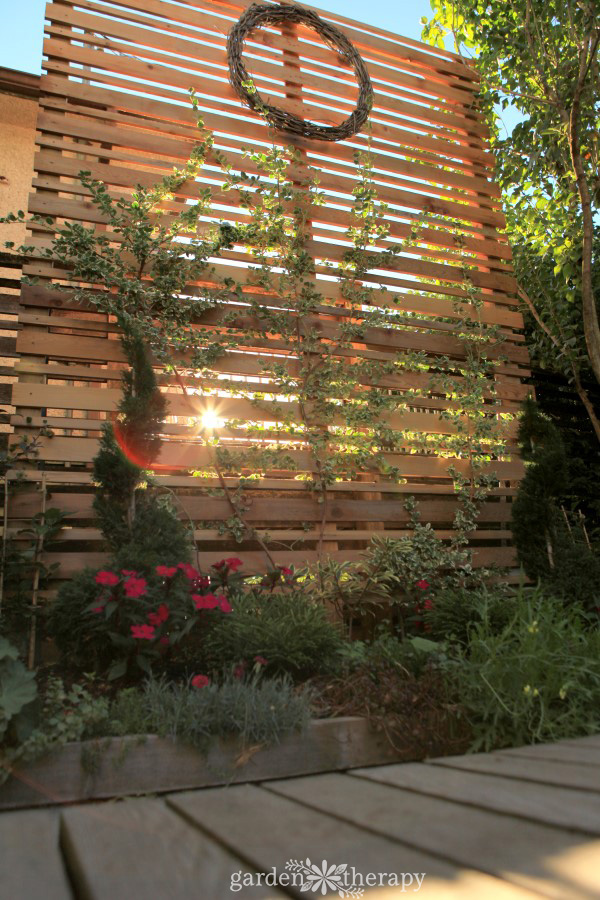
The sun can shine through, giving us dappled light and a beautiful backdrop to the garden.
You May Also Like These DIY Projects:
Save
Original article and pictures take gardentherapy.ca site
No comments:
Post a Comment