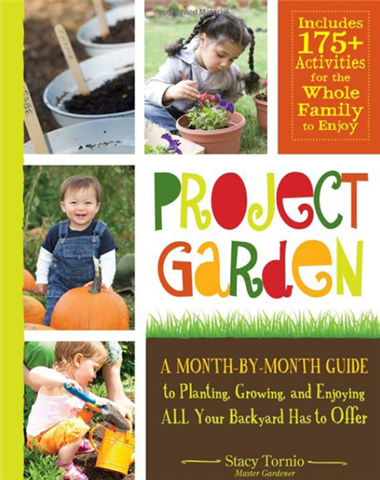
It’s a wonderful day for a garden project and Project Garden! The following post of part of Stacy Tornio’s virtual book tour for her book, Project Garden: A Month-by-Month Guide to Planting, Growing, and Enjoying ALL Your Backyard Has to Offer, which includes recipes, plant suggestions, garden plans, and even games.
You don’t have to spend a lot of money to have unique and colorful art in your garden. Colorful beaded tennis rackets can really catch the light. Here’s how to make them:
Materials:
- Scissors
- Tennis or badminton racket
- Tweezers or needle-nose pliers (optional)
- Ribbon, yarn, wire or string
- Beads and/or trinkets
Instructions:
1. Using scissors, cut the strings out of the racket. Remove all the strings. (You might want to use some tweezers or needle-nose pliers to get at those hard-to-reach spots.)
2. Measure and cut your ribbon or string to the desired lengths. These will hang down from the top of your racket, so measure twice and cut once.
3. Tie knots at one end of your ribbon. Then string with decorations like colorful beads or wood trinkets.
4. Once you’ve strung the ribbons, pull them through the holes of the tennis racket and secure with knots. You can leave the beads hanging freely or tie them from one side to another to create a web.
5. Push the racket handle into the ground, and enjoy!

Thanks to Stacy for shaing this fabulous project from the book. Look for Project Garden to get more garden fun for the entire family.
Original article and pictures take gardentherapy.ca site
No comments:
Post a Comment