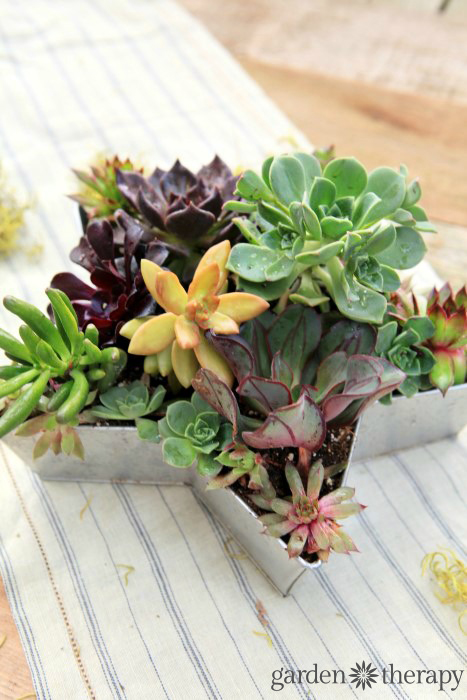
This festive succulent star centerpiece makes for a beautiful container display and table decoration. Set the planter out on the outdoor table for decoration or hang it on a fence or wall in a sunny spot that you can enjoy all summer long.
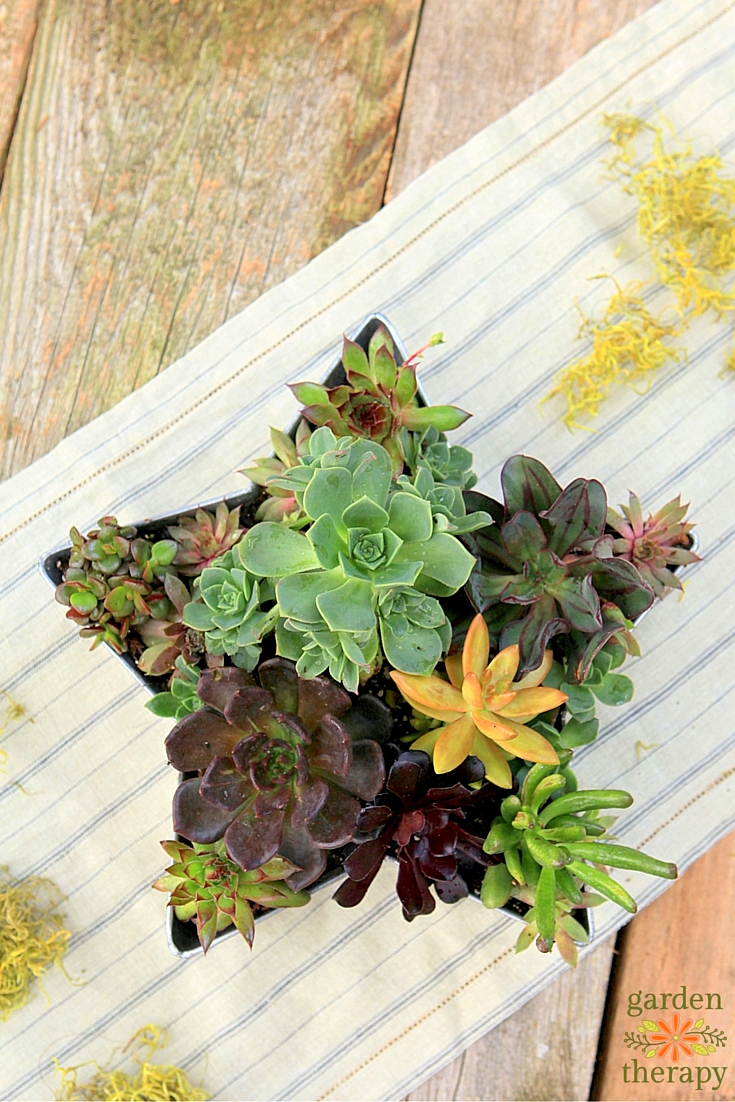
I made this succulent star to adorn my patio table which is in hot, direct, unrelenting sun. All. Day. Long. I’ve added umbrellas and even a fan to the south-facing deck and, while the shade can provide relief when I sit out in the warmth, most of the plants that I have tried to keep in decorative containers have wilted or crisped from the harsh conditions. I wanted something that didn’t need to be watered three times a day and succulents are just the thing!
Unless you have been living under a rock, you know that succulents are the hottest home garden plant since tomatoes. They are wonderfully drought tolerant, beautiful, and low maintenance. There are so many decorative garden projects that use succulents but it is also important to spend some time learning about the plants and their care. After you read how to make this succulent planter, have a read through The Essential Succulent Care Guide that covers planting, watering, light, overwintering, and pruning.
Materials
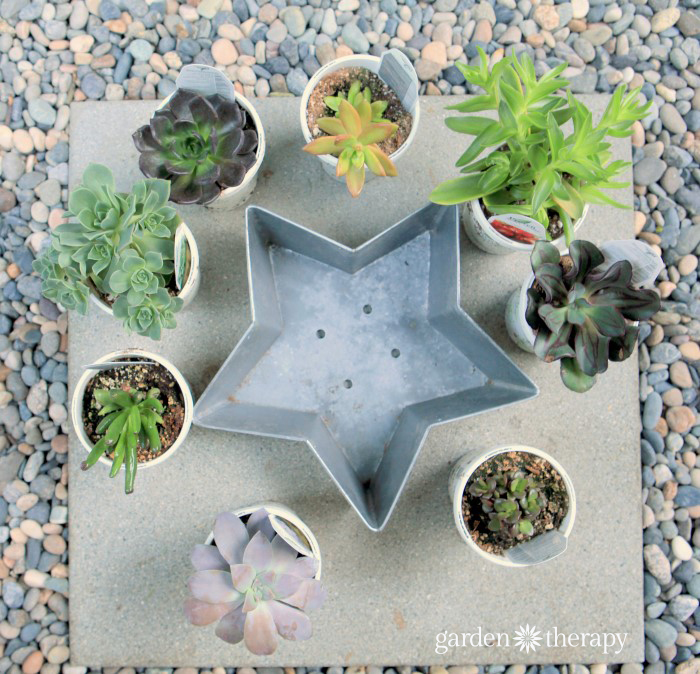
Metal star container (I found mine at a thrift shop and couldn’t see any similar ones online. Look for any shallow container that is water safe. Make sure there are drainage holes, or create your own by drilling through the metal or punching out holes with a hammer and large nail.) There is a wreath form here.
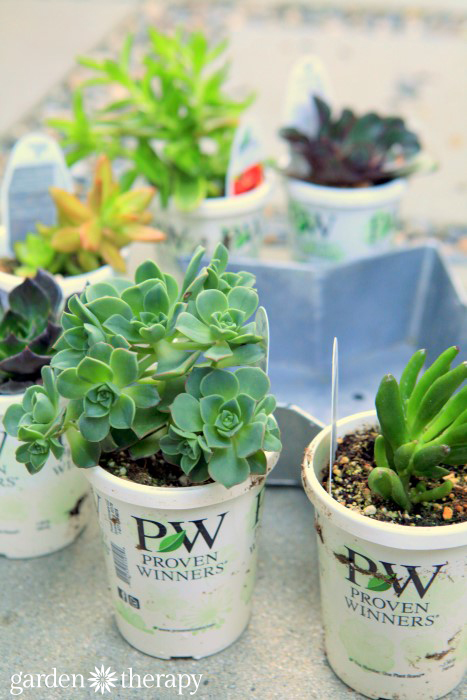
Various succulents*
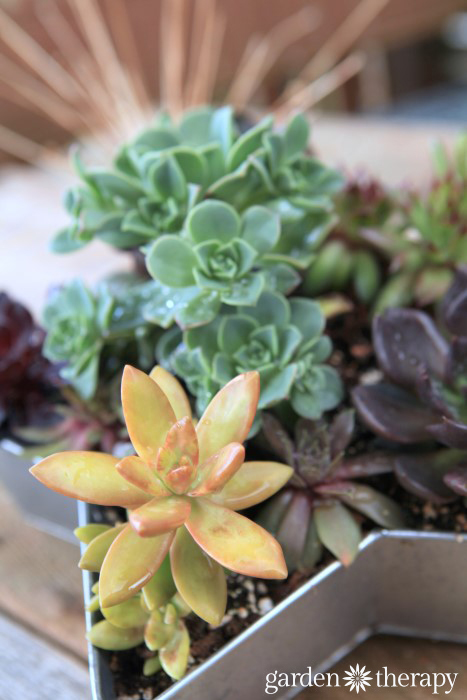
- Aeonium haworthii “Pinwheel”
- Aeonium “Zwartkop”
- Echeveria imbricata “Black Prince”
- Echeveria Nodulosa “Painted Echeveria”
- Sedum Nussbaumerianum “Coppertone”
- Crassula ovata arborescens “Baby Jade”
- Crassula ovata “Hobbit Jade”
Paintbrush
* The succulents in this project were generously provided to me by Proven Winners. You can see them all on their website here.
Make it!
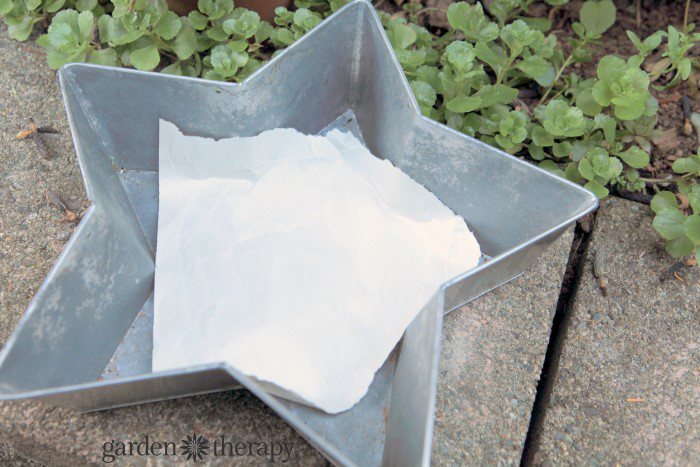
Line the bottom of the planter with some newspaper or unbleached paper. Add a bit of soil to the bottom of the planter. The plants I was sent were in large plant pots and there was plenty of extra soil to fill the bottom of the planter and to fill in the gaps. If you need extra soil, then get a cactus and succulent mix from your nursery.
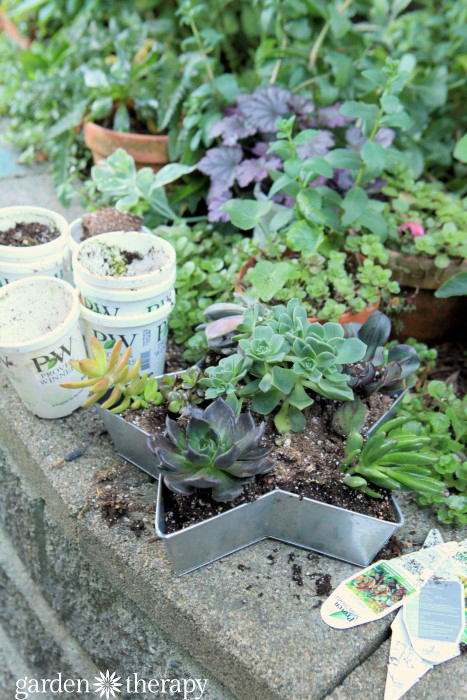
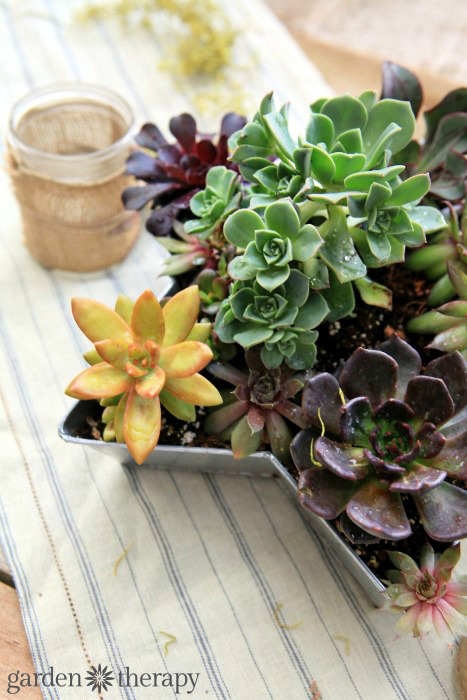
Remove the plants from their pots and shake off any excess soil. Add them into the planter, nestling them close to each other. If you want to retain the overall shape of the planter, make sure that the succulents don’t overhang the edges. Instead, plant larger rosettes in the center and fill in any gaps with smaller cuttings. Feel free to move the plants around if they just aren’t working in the layout you have created.
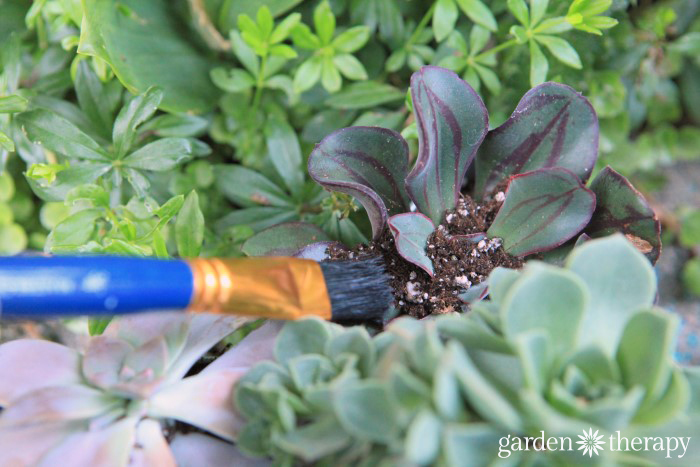
Brush off any soil from the leaves with a paintbrush to clean up the finished display.
Water the container well once you have finished planting. Leave it in a bright location, out of direct sunlight for a few days. Then you are free to move it to a bright and sunny spot.
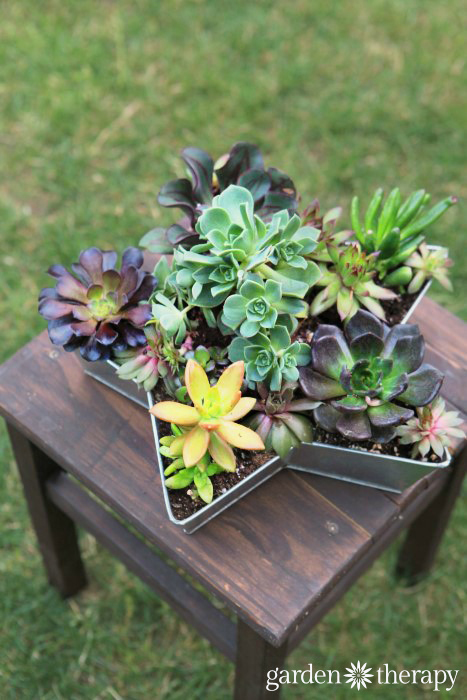
When the water has all drained through, set the table and make this planter the star!
More on caring for succulents here:
Save
Original article and pictures take gardentherapy.ca site
No comments:
Post a Comment