Although it’s officially spring, this year it doesn’t feel like it yet. We were lucky enough to be blessed with a couple of summer like days, but, as I write, I’m still sitting inside with a winter jacket on!
Despite the weather, I’ve been trying to plan ahead for spring, and apart from getting some spring cleaning done, I’m also trying to plan out my summer garden.
A great way to start seedlings indoors is in pots that biodegrade and turn into compost in your garden. One of the big advantages is that you don’t have to disturb the root system of your plants by removing them from their pots prior to planting them in the ground, but instead plant everything in the ground, plants, pots, and all! Not only is it easier, but it’s less traumatic to your plants.
While you can buy peet pots or other similar biodegradable pots, it’s simple to make your own DIY origami newspaper pots. Not only can you save money, but it’s a great way to recycle old newspapers.
I personally don’t buy paper newspapers, but can easily obtain them here from local bars and restaurants that buy them for their clients to browse while out for coffee. I also use advertising papers and other junk mail for different projects whenever I can.
Making your own DIY origami newspaper pots might sound complicated, but it’s really quite simple and quick. Once you get the hang of it, you can easily whip out a bunch of pots at one time. The nice thing about these is that you can fold them ahead of time and store in a closed position to save space. You can even store a bunch of folded pots within one open ones or easy, compact storage.
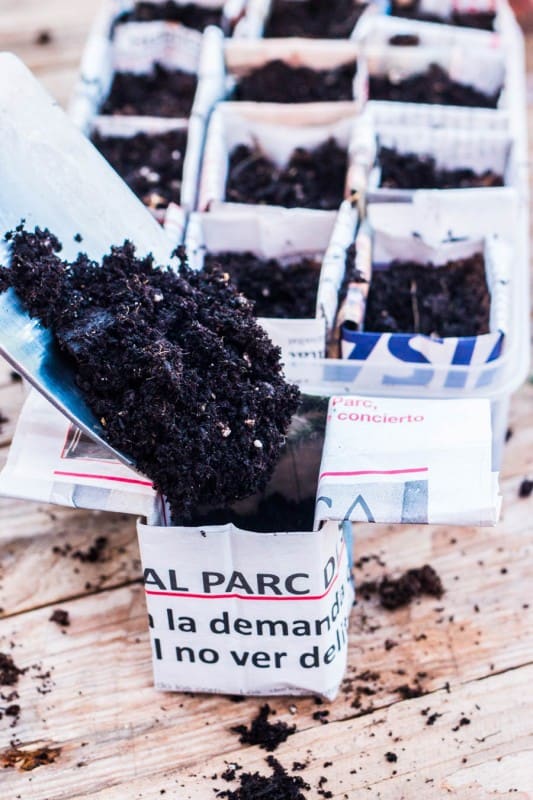
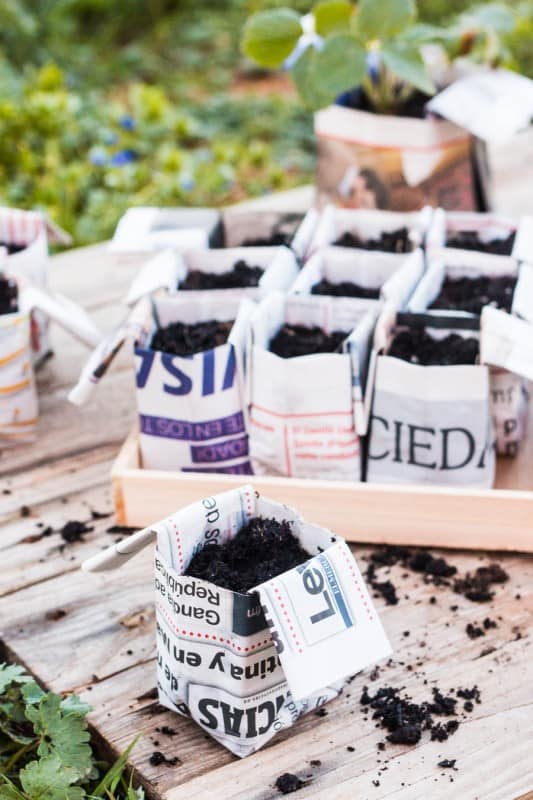
When you are ready to fill them, you just open them like you would a paper bag, and fill them with soil for planting your seedlings. Since these pots are flexible, they are quite easy to fill because they conform to the shape of your garden shovel.
If you’re wondering about the safety of the inks, if you are using current newspapers, you shouldn’t be too worried about them. In the past newspapers used heavy metals in their inks, especially in color printing, but nowadays, natural pigments are used so newspaper pots are safe to use even in your vegetable garden.
Sound great?
They are, so let’s get folding…
Watch how to make recycled origami newspaper pots
Read how to make these newspaper seed pots
- Take a section of newspaper and cut down the center. You only need one half of the page for each pot.
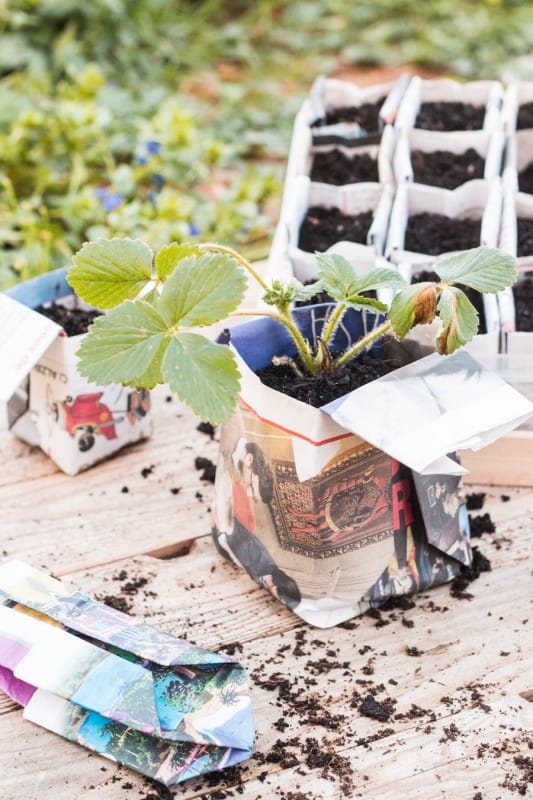
I was out of newspaper by the time I got to taking pictures for my post, so I used an advertising sheet that I received in the mail just to show you the folds. I prefer to use newspapers when actually making the pots for use in my garden.

- Fold your sheet in half bringing the two sides of your rectangle that are furthest away from each other together.

- Fold in half two more times, each time bringing the two sides of your rectangle that are furthest away from each other together just like you did the first time. (Flip and fold in the same direction as before.)The third fold is done only to get a center crease in your paper, so you can unfold it again once you have creased your paper.

- This is, perhaps, the trickiest step to explain and do, but once you’ve gotten the hang of it, it’s really quite simple. I’d suggest watching the video to see how it’s done if you can’t figure it out. Take ahold of the top fold at one side of the paper and press it open from the center crease to the edge, forming a triangle at the top of your paper like the one in the photo.
If you have a hard time getting it to open as needed, it can help to make diagonal creases in the paper by first folding the top edges down to the center crease as you would if you were folding a paper hat.
In my pictures below, I start by unfolding the third fold done in step 3.

Flip the paper over and repeat step four on the other side.

You now need to flip the sections so that you have smooth sections on the top and the bottom.

Fold both outside edges in towards the center seam. Flip and repeat on the other side.

Once again fold both outside edges in towards the center.
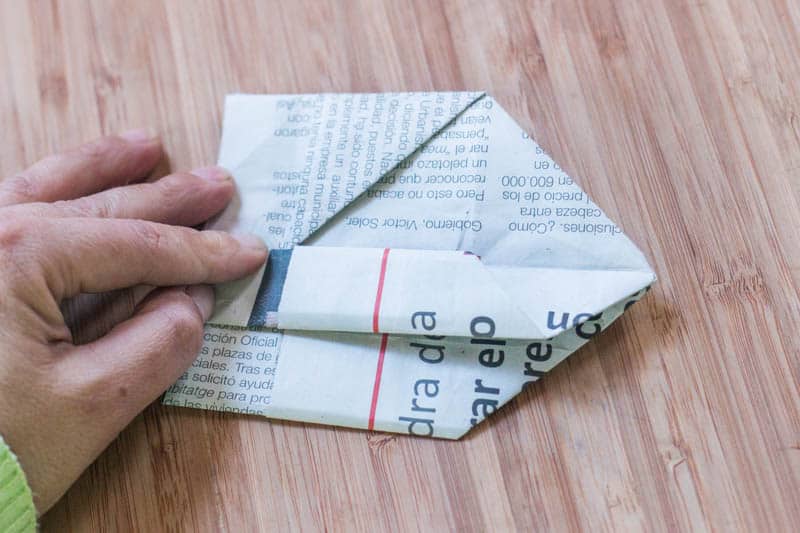
Once again repeat on the other side.

Your pot is basically finished! To keep if from falling apart, fold the edges of the paper that are opposite the point down towards the point.

Open your pot as you would open a folded paper bag.

- You can leave the flaps as they are, like I do, or you can choose to tuck them inside the pot. I find that the pots are more stable if you leave the tabs on the outside; they’ll stay down when pushed against and adjacent pot when you push several of them together.

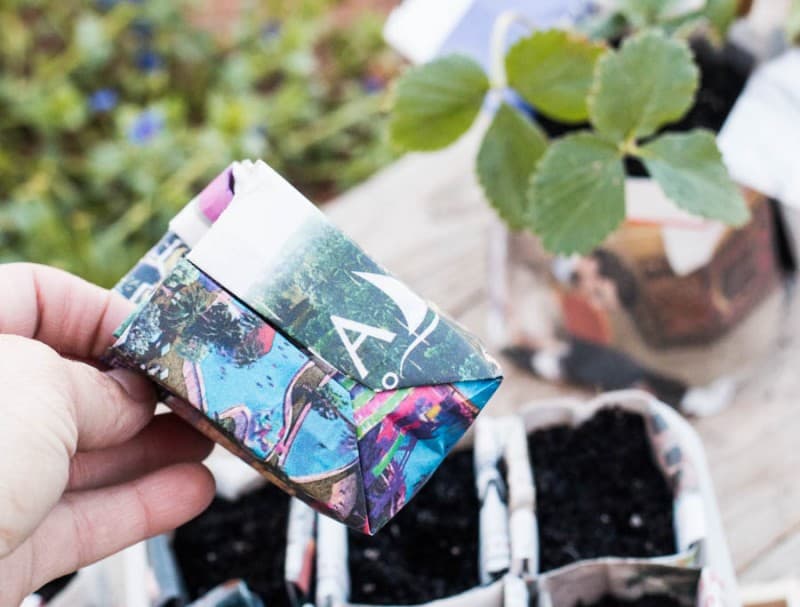
You can tuck the flaps inside your pots, but I usually just leave mine out and push them between my pots. - You can store them easily in a space efficient way by folding them back up again and filling an open pot with several folded ones.
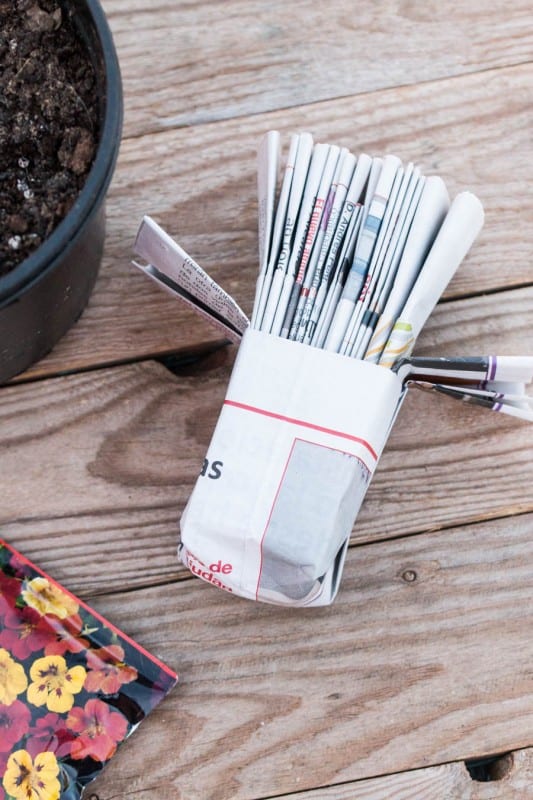
Pretty cool! Right?
I love these and have been using them for years. I guess it was about time I showed them to you here!
If you want a bigger pot for something, just use a full newspaper sheet. The strawberry plant below is planted in one of those.
Have a great spring and happy planting!
This post is also available in Español.
Original article and pictures take thethingswellmake.com site
No comments:
Post a Comment