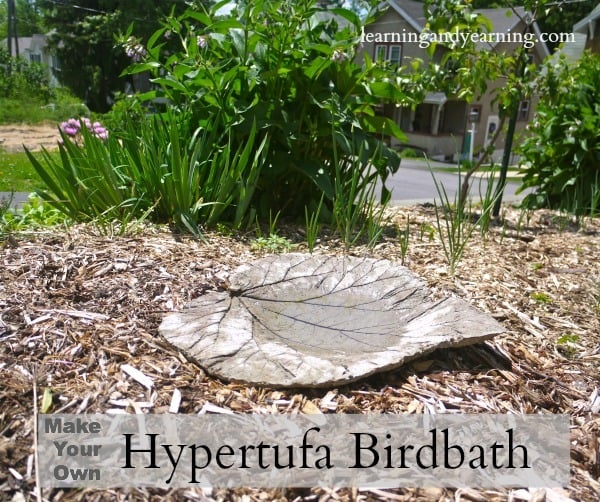
“Hypertufa is an anthropic rock made from various aggregates bonded together using Portland cement. Hypertufa is intended as a manufactured substitute for natural tufa, which is a slowly precipitated limestone rock; being very porous, it is favorable for plant growth.”
Every gardener knows how important it is to attract birds to their garden. They are great at providing pest control and eating weed seeds, and add beauty to our gardens. Providing water is one way to attract these feathered friends, and yet we had no birdbath in our yard. The shame.
DISCLOSURE: In order for me to pay my blogging expenses, I may receive monetary compensation for my endorsement and/or link to products mentioned on this blog. I am a participant in the Amazon Services LLC Associates Program, an affiliate advertising program designed to provide a means to earn fees by linking to Amazon.com and affiliated sites.
I’ve been wanting to work with hypertufa for years now – yes, it often takes me that long to get around to things – so I knew that that’s what I wanted to try using to make our new birdbath. And I decided to use a rhubarb leaf as my mold.
Hypertufa is a lightweight, porous faux rock made to mimic real tufa – a naturally porous sedimentary rock. It is typically made of portland cement, peat moss, and perlite or vermiculite. Since I avoid using peat moss (here’s why), I used coconut coir instead. My understanding is that it’s not “real” hypertufa if it’s not made with peat moss. That’s because peat moss apparently decomposes more quickly creating the holes that make hypertufa, well, hypertufa. It’s ok, I don’t need “real”. I understand that you can also replace the peat moss with sawdust, but I haven’t tried that.
To make my birdbath, I used portland cement, coir, vermiculite and water. It’s important to use 100% portland cement and not a cement mix.
The other items I used were sand, a plastic garbage bag, a 5 gallon pail for mixing, a 2 quart bowl for measuring, a small trowel (and my hands) for mixing, rubber gloves, a dust mask, goggles, and of course, a large rhubarb leaf.
First, I mixed up my cement mixture. I was careful to wear rubber gloves, a dust mask and goggles because cement is very caustic. I didn’t want to breathe it in, or get it on my skin. I mixed the dry ingredients using equal parts of the portland cement, coir, and vermiculite. For the size leaf I used, about 2 quarts of each turned out to be just the right amount. I then added water a small amount at a time and mixed thoroughly until my cement mixture stuck together when I formed a handful into a ball. You want this to be neither soupy, nor so dry that it won’t stick together.
While the cement mixture was resting for 5 – 10 minutes, I prepared my mold.
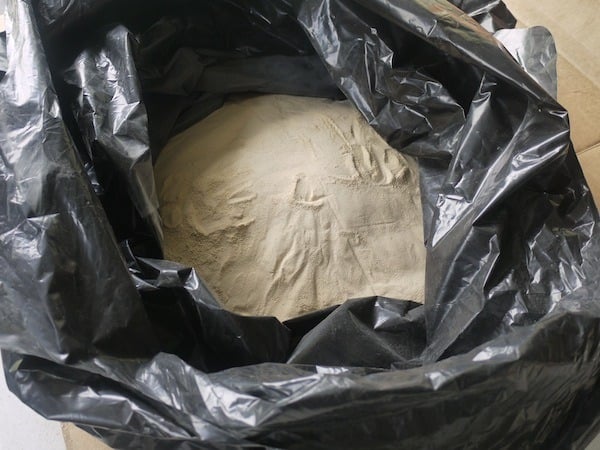
To form a firm foundation for my leaf, I placed sand into a plastic bag and mounded it into the approximate shape of the leaf.
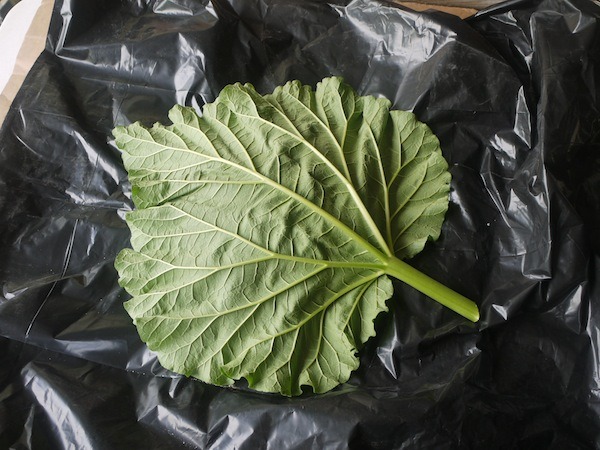
I covered the sand mound with the bag and placed the leaf on top, bottom of the leaf up. The bottom of the leaf is where all the texture is, so this is the side on which you’ll place your cement mixture.
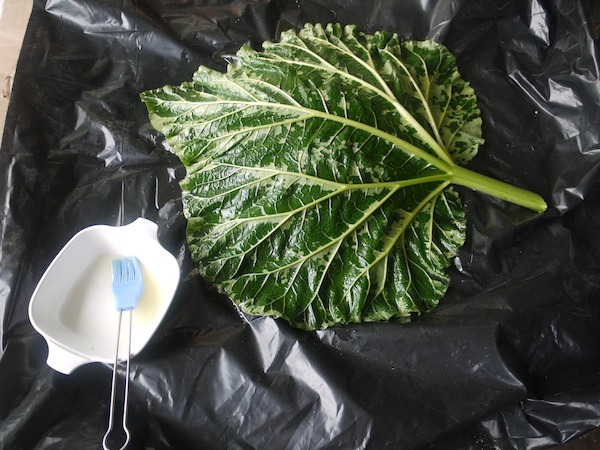
I then brushed every nook and cranny of the leaf with oil (all I had on hand was olive oil) to keep the cement from sticking to the leaf. I think you could probably use dish liquid instead but I haven’t tried that.
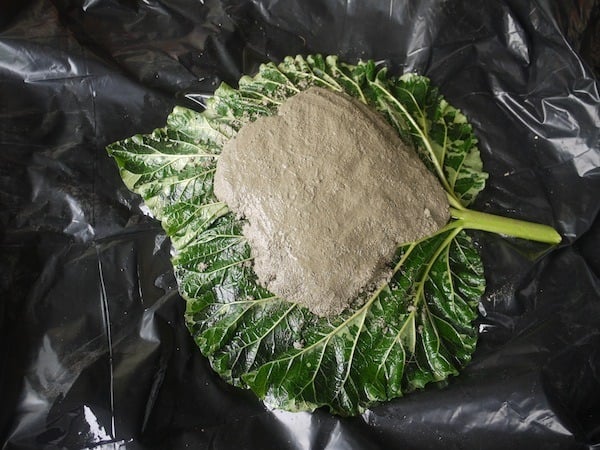
Now, the fun began. I took a handful of cement mixture and formed it into a hamburg-like shape. I placed this on the center of the leaf and patted it until it was smooth and all air bubbles were released. I continued adding patty after patty until the entire leaf was covered. The thickness was approximately 1/2″.
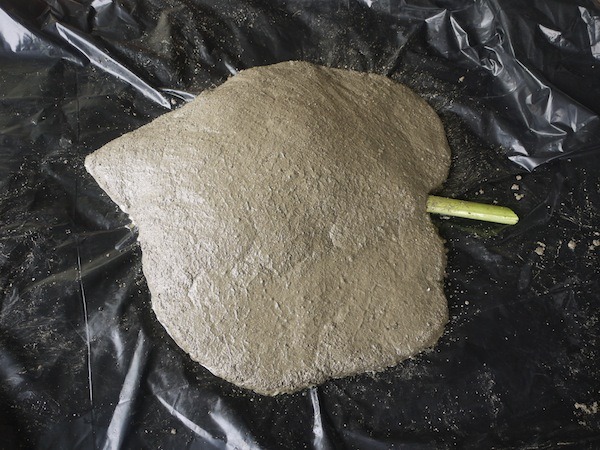
When the entire rhubarb leaf was covered, I carefully smoothed all of the edges.
I then allowed my creation to sit and cure for 3 days.
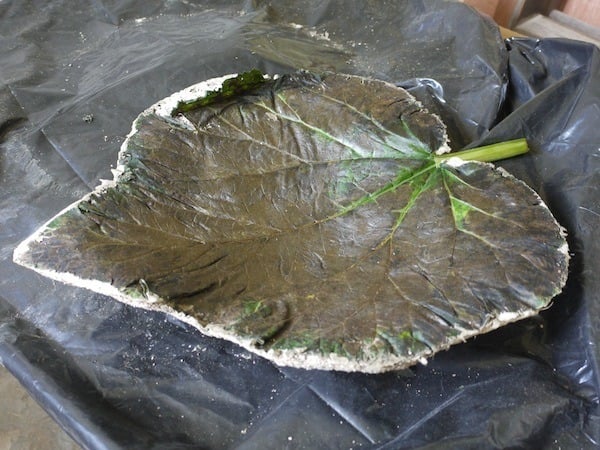
After 3 days of curing, I turned the birdbath over. Here it is with the leaf still in place.
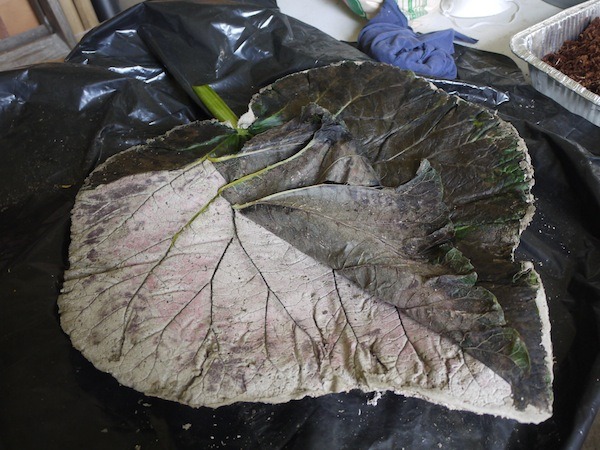
I then slowly peeled away the rhubarb leaf. The veins showed up perfectly, and a lovely red from the leaf was on the birdbath, but unfortunately it did not remain.
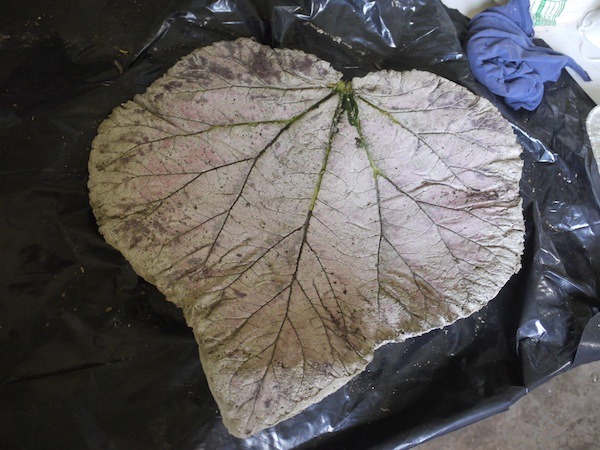
After I removed the leaf, I used a small screwdriver to carefully remove some veins that remained. I then gave the completed birdbath a gentle washing with a hose.
I just lay the completed birdbath right on the ground for the birds (and chipmunks to enjoy)!

Have you ever used hypertufa? What did you make? How did it turn out?
Original article and pictures take learningandyearning.com site
No comments:
Post a Comment