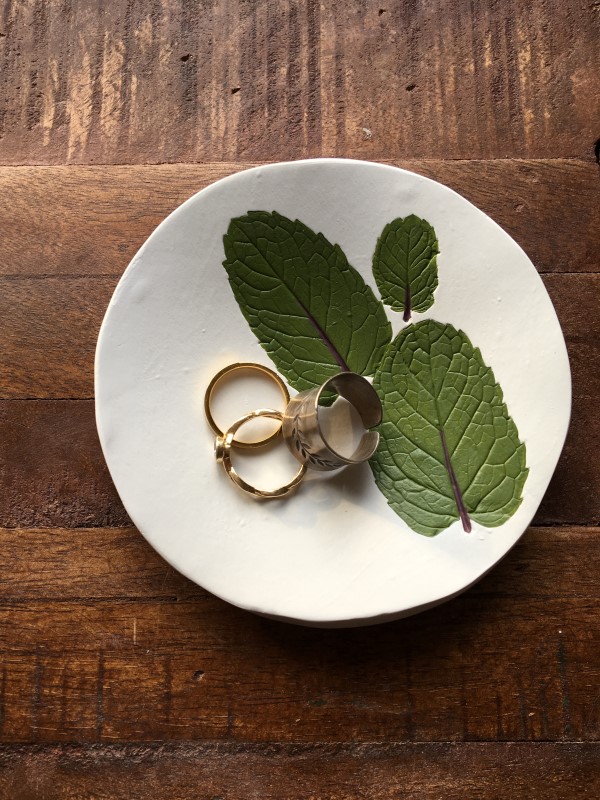
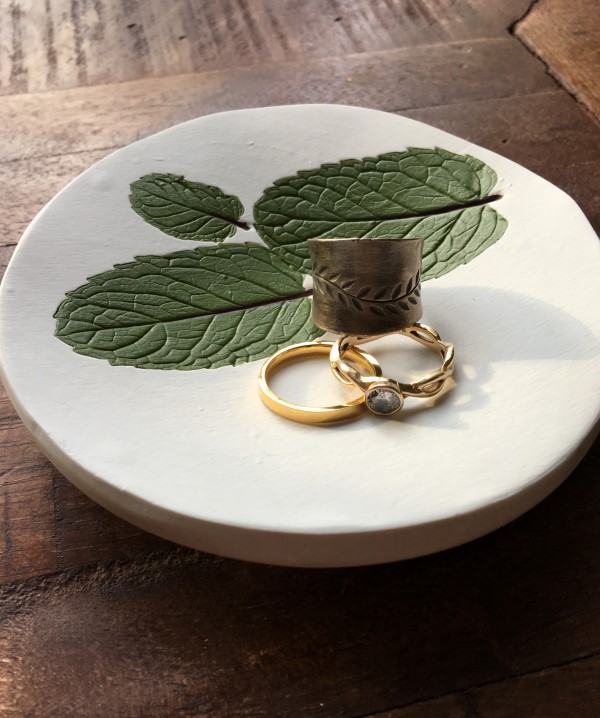
I happened upon an artist on Instagram, Katie Taylor of Rustic Garden Market, who makes the most beautiful clay pieces embellished with nature. Her work consists of clean, white ornaments with realistic imagery of leaves and flowers. Clearly, she is a woman after my own heart! After we chatted a bit on Instagram, I asked Katie if she would share her artistic process with us. She has written and photographed the steps to make a botanical print clay dish to display rings. It’s made with mint and her talent for painting the leaves to look realistic is exceptional. Please visit Rustic Garden Market on Etsy to add some of her fantastic work to your collection.
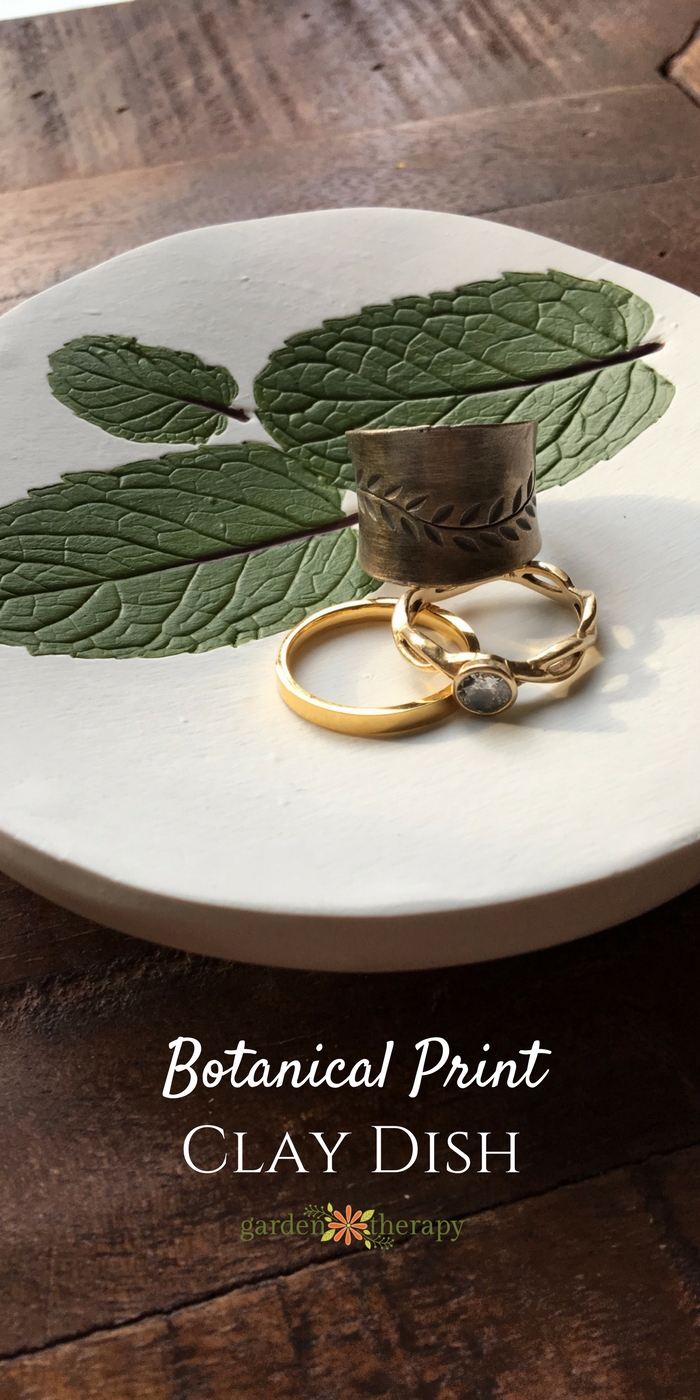
How to Make a Botanical Print Clay Dish
By Katie Taylor
I have been immersed in the garden industry for my whole life. Both of my parents are horticulturists and always have been. Growing up, I rebelled against it, pretending I hated the trees my parents were always talking about. As I got older, I realized that I loved nature just as much as they did. I have always been amazed by the size of the trees that tower over us, and the beauty of a plant emerging from the chilly ground after a long winter. About a year ago I started impulsively picking up leaves whenever I walked the dog. I had an idea that if I pressed them into clay I could make unique, one-of-a-kind ornaments and mementos that I could share with my family and friends. And so my little project began and quickly turned into the Rustic Garden Market where I now share all of my creations with anyone and everyone who comes across my Etsy shop.
Materials
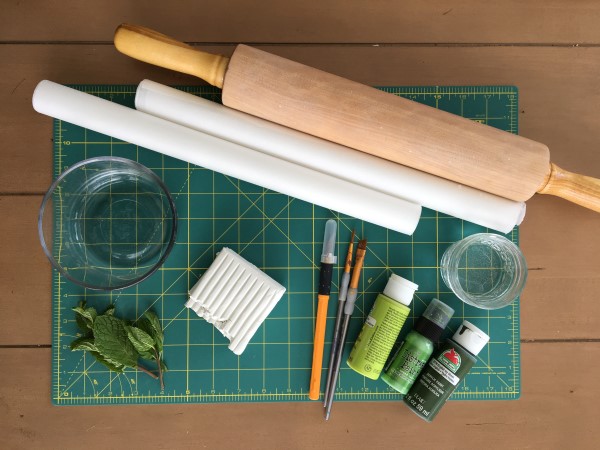
- Cutting mat
- Parchment paper
- Bowl for measuring
- Exacto knife
- Leaves, flowers, or stamps for pressing into bowl
- Acrylic craft paint
- Paintbrushes
- Water for painting
Make it!
The first thing to do is work your clay; you need to soften it up and work out all of the air bubbles. Sculpey clay becomes much easier to use as it warms up, and your hands are the perfect tool. You can also submerge the clay in a plastic zipper bag in warm water for a few minutes before starting the project.
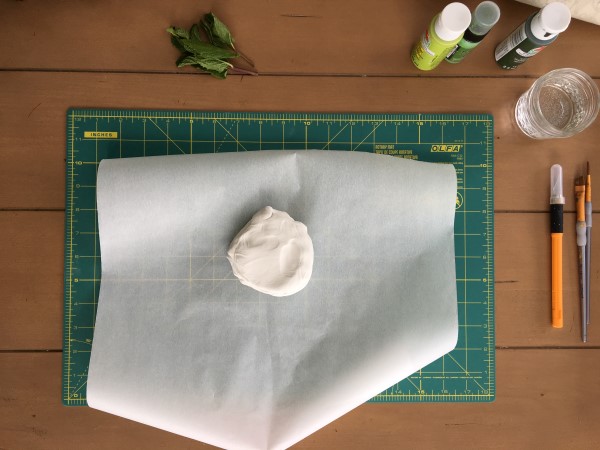
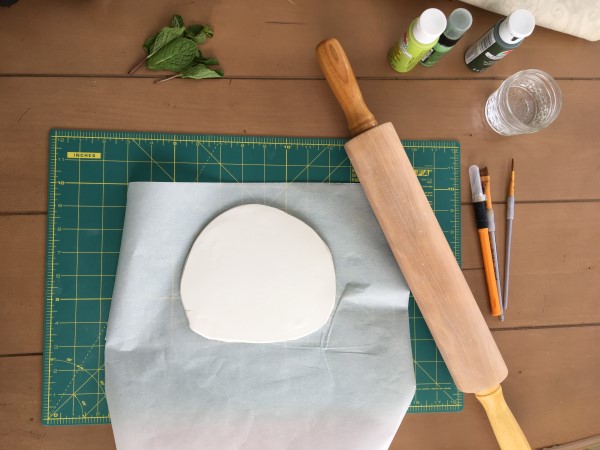
Once the clay is warm and kneaded, you can then use a rolling pin to flatten it into an even sheet. Sculpey clay can get fairly sticky once it is warm, so I place it between two pieces of parchment paper for this step. Roll your dough out until it is between ¼ and ⅛ of an inch thick.
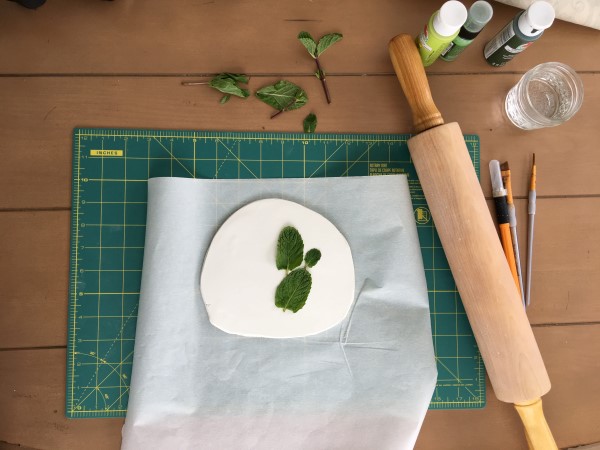
When the clay is rolled to your desired thickness, place your leaves or flowers on the clay and then roll over the clay once or twice more to imprint the botanicals.
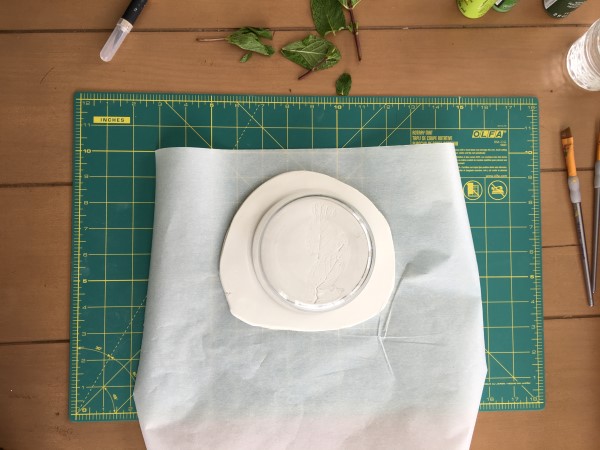
Next, find a bowl that has a width that matches the size of the ring dish you would like to make. Place the bowl, rim side down, on the clay and push down to imprint the shape. Use a knife to trace around the bowl or along the line to cut out a perfect circle.
You are now ready for baking! Put the clay circle into an oven-safe bowl to shape your ring dish. I used the same bowl that I used to measure the initial cut because it is oven safe.
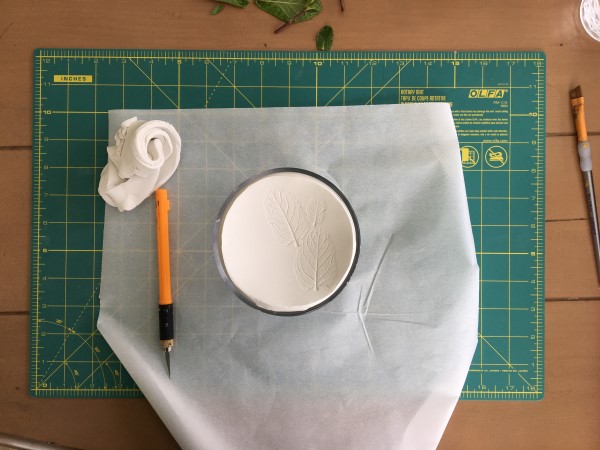
All baking clay has different temperatures to bake at, but for Sculpey the temperature is 275 degrees F for 15 mins per ¼ inch. Be sure to follow the package instructions for baking.
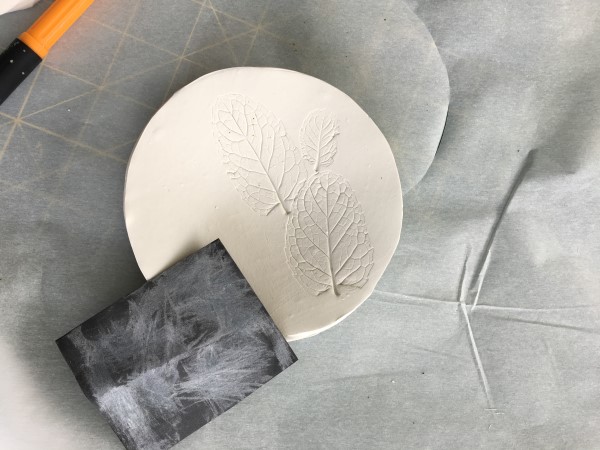
Once baked, let cool and then flip your bowl over to release your creation. Sand down any rough edges or bubbles that remain.
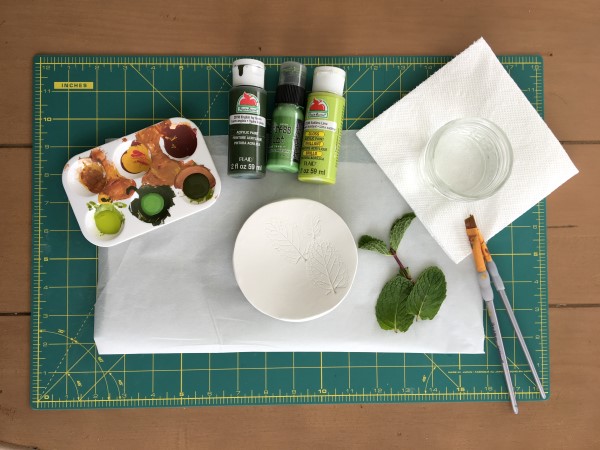
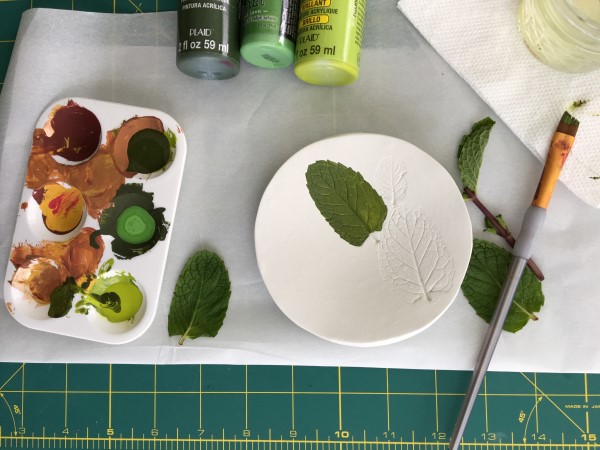
Paint your piece by using craft paint to fill in the imprints from the leaves.
About the Author

Katie Taylor was raised by gardeners and grew up surrounded by nature. While studying Public Relations and Marketing in college, she also played around with different art classes including drawing, painting, ceramics, chemical photography, and even graphic design. After spending 10 years working in Garden Centers, she left the industry but decided to merge her two passions of nature and art. You can see Katie’s ideas and creations in her Etsy shop.
Original article and pictures take gardentherapy.ca site
No comments:
Post a Comment