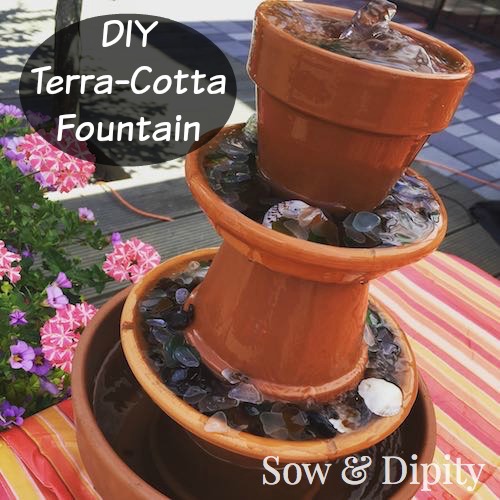
DIY Terra-Cotta Fountain
I’m always telling folks how to jazz up an outdoor room by adding a small water feature. The sound of the water is soothing and can act as a white noise if you happen to live by a noisy highway or in a townhouse complex with neighbors that don’t value your down time as much as you do.
I did this fountain up for a DIY event for the Downtown Langley Summers Series and I have to say that I have thoroughly enjoyed taking my own advice. The water is bubbling away right now as I work on my patio and it sounds wonderful… ahh.
This project was for the set I titled ‘Gotta Terra Cotta’ since these pot’s seem to be trending right now. Here is how you can make one of these for yourself for about $30.
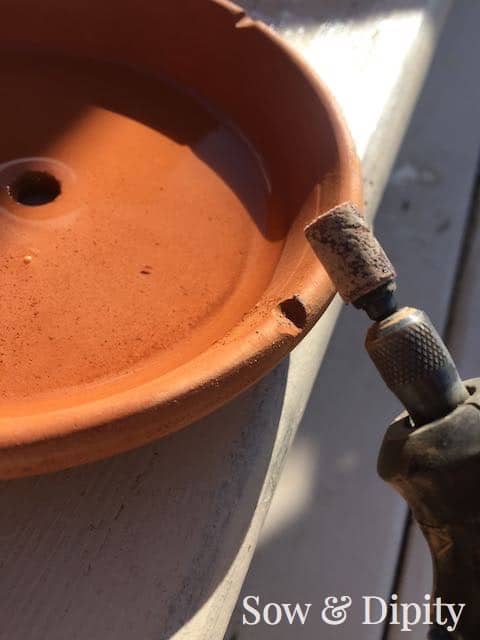
You’ll need a series of stacking pot’s and saucers. The saucers don’t have holes in them so you’ll need to drill them yourself. Don’t freak out… I was SO worried they were going to crack but I followed this advice and made it out in one solid piece.

Soak the saucers for about 24 hours before you do this and use a masonry drill bit. Start small and gradually increase the drill bit size so you don’t crack the tray.

Once you have the hole big enough to slide your pump tubing through you can create little ridges around the outer edge for the water to drip through. I just used my Dremel Tool for this, but I found that it really didn’t make much of a difference in the water flow… you could skip this step or make your divots deeper.
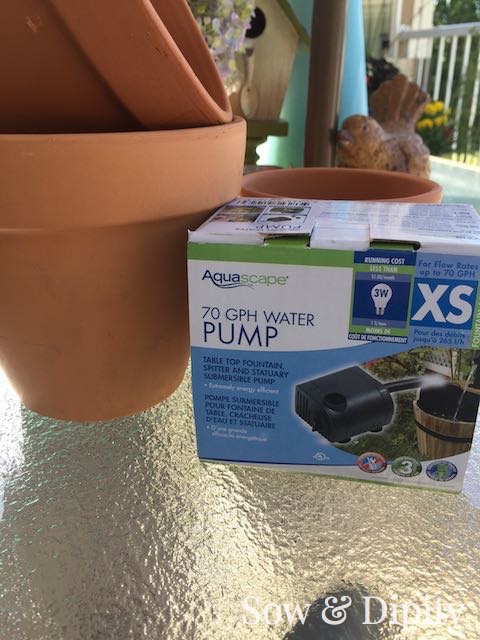
I used a 70 GPH pump since it can push water straight up to 2′. There is a smaller one of 50 GPH, but I recommend that you don’t go below 70… it was just enough push to make the water flow consistently for this 18″ high fountain.

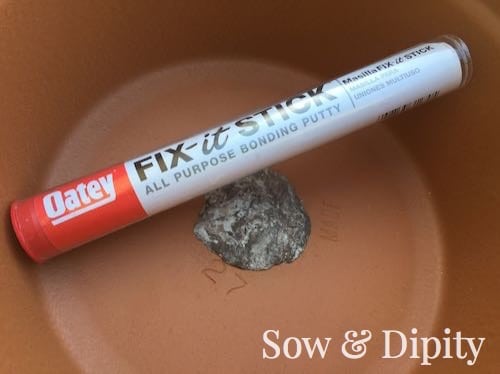
Plug the bottom pot’s hole with bonding putty and let dry 24 hours. Do this when you soak your saucers then everything will be ready when it’s time to put it together.
Assembly time. Let me first tell you what NOT to do.. I learned this the hard way. Don’t cut your tube until you know where you want it to sit inside the top pot. Test your water flow before you add any pebbles or stones. Once you add those, it’s impossible to keep them from slipping under the pot rims if you need to lift them to do any adjustments.

If your pump doesn’t seem to be flowing, you may need to flick it to remove air bubbles that may get stuck. Also, most of these little pumps (available at garden centers) have a small adjustment knob to control the flow rate. I got this pump from Art’s Nursery here in Langley, BC.

If everything seems to be flowing well, then place your cool DIY Terra-Cotta Fountain into it’s new home. You won’t want to move it again unless it’s necessary. Once you got it placed and turned on, THEN you add your decorative stone.
I used sea glass that I collect every time I go to the beach. If you somehow managed to remain relatively dry during this entire process… have a beer, you earned it.
If you are soaked from the elbows down with the occasional splash across the shirt, have a beer, you earned it.
This is just one of the dozens of cool outdoor DIY projects I made this season. Click on my Garden Crafts page to see more and if you don’t want to miss any of my gardenista projects… then subscribe!


Original article and pictures take www.sowanddipity.com site
No comments:
Post a Comment