
Leather Plant Hangers
I originally came across this style of plant hanger on Pinterest and knew I was going to make it! The planter is based on the art of Kirigami, which is a variation of origami that includes cutting of paper. It’s similar to cutting paper snowflakes; fold a piece of paper in 6 ths and make specific cuts to produce a design. But since we are dealing with a sturdier medium like leather, folding is not an option.
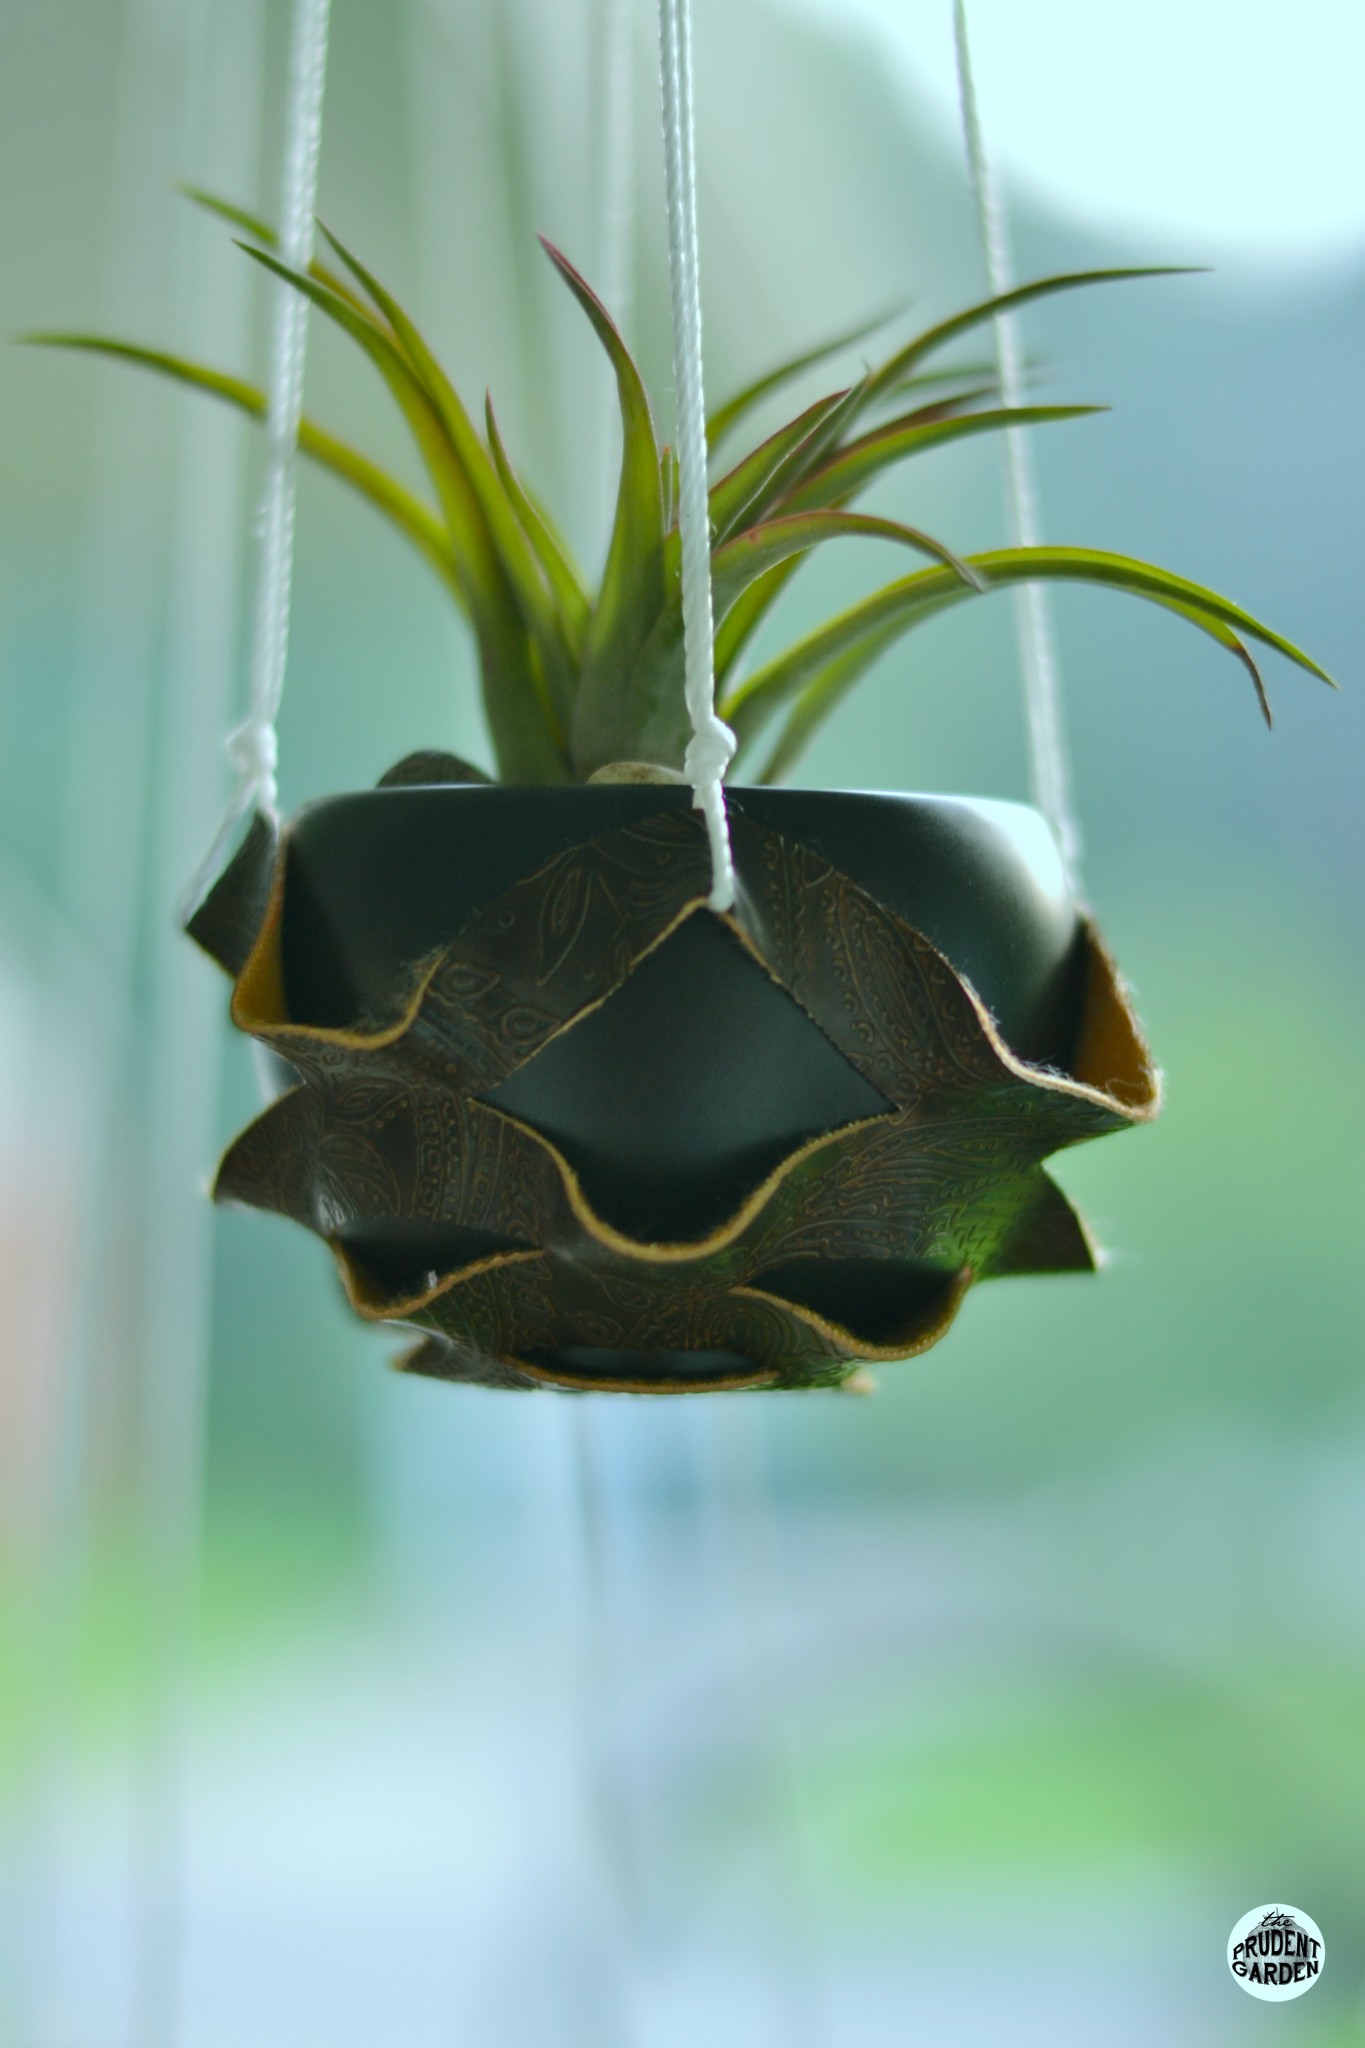
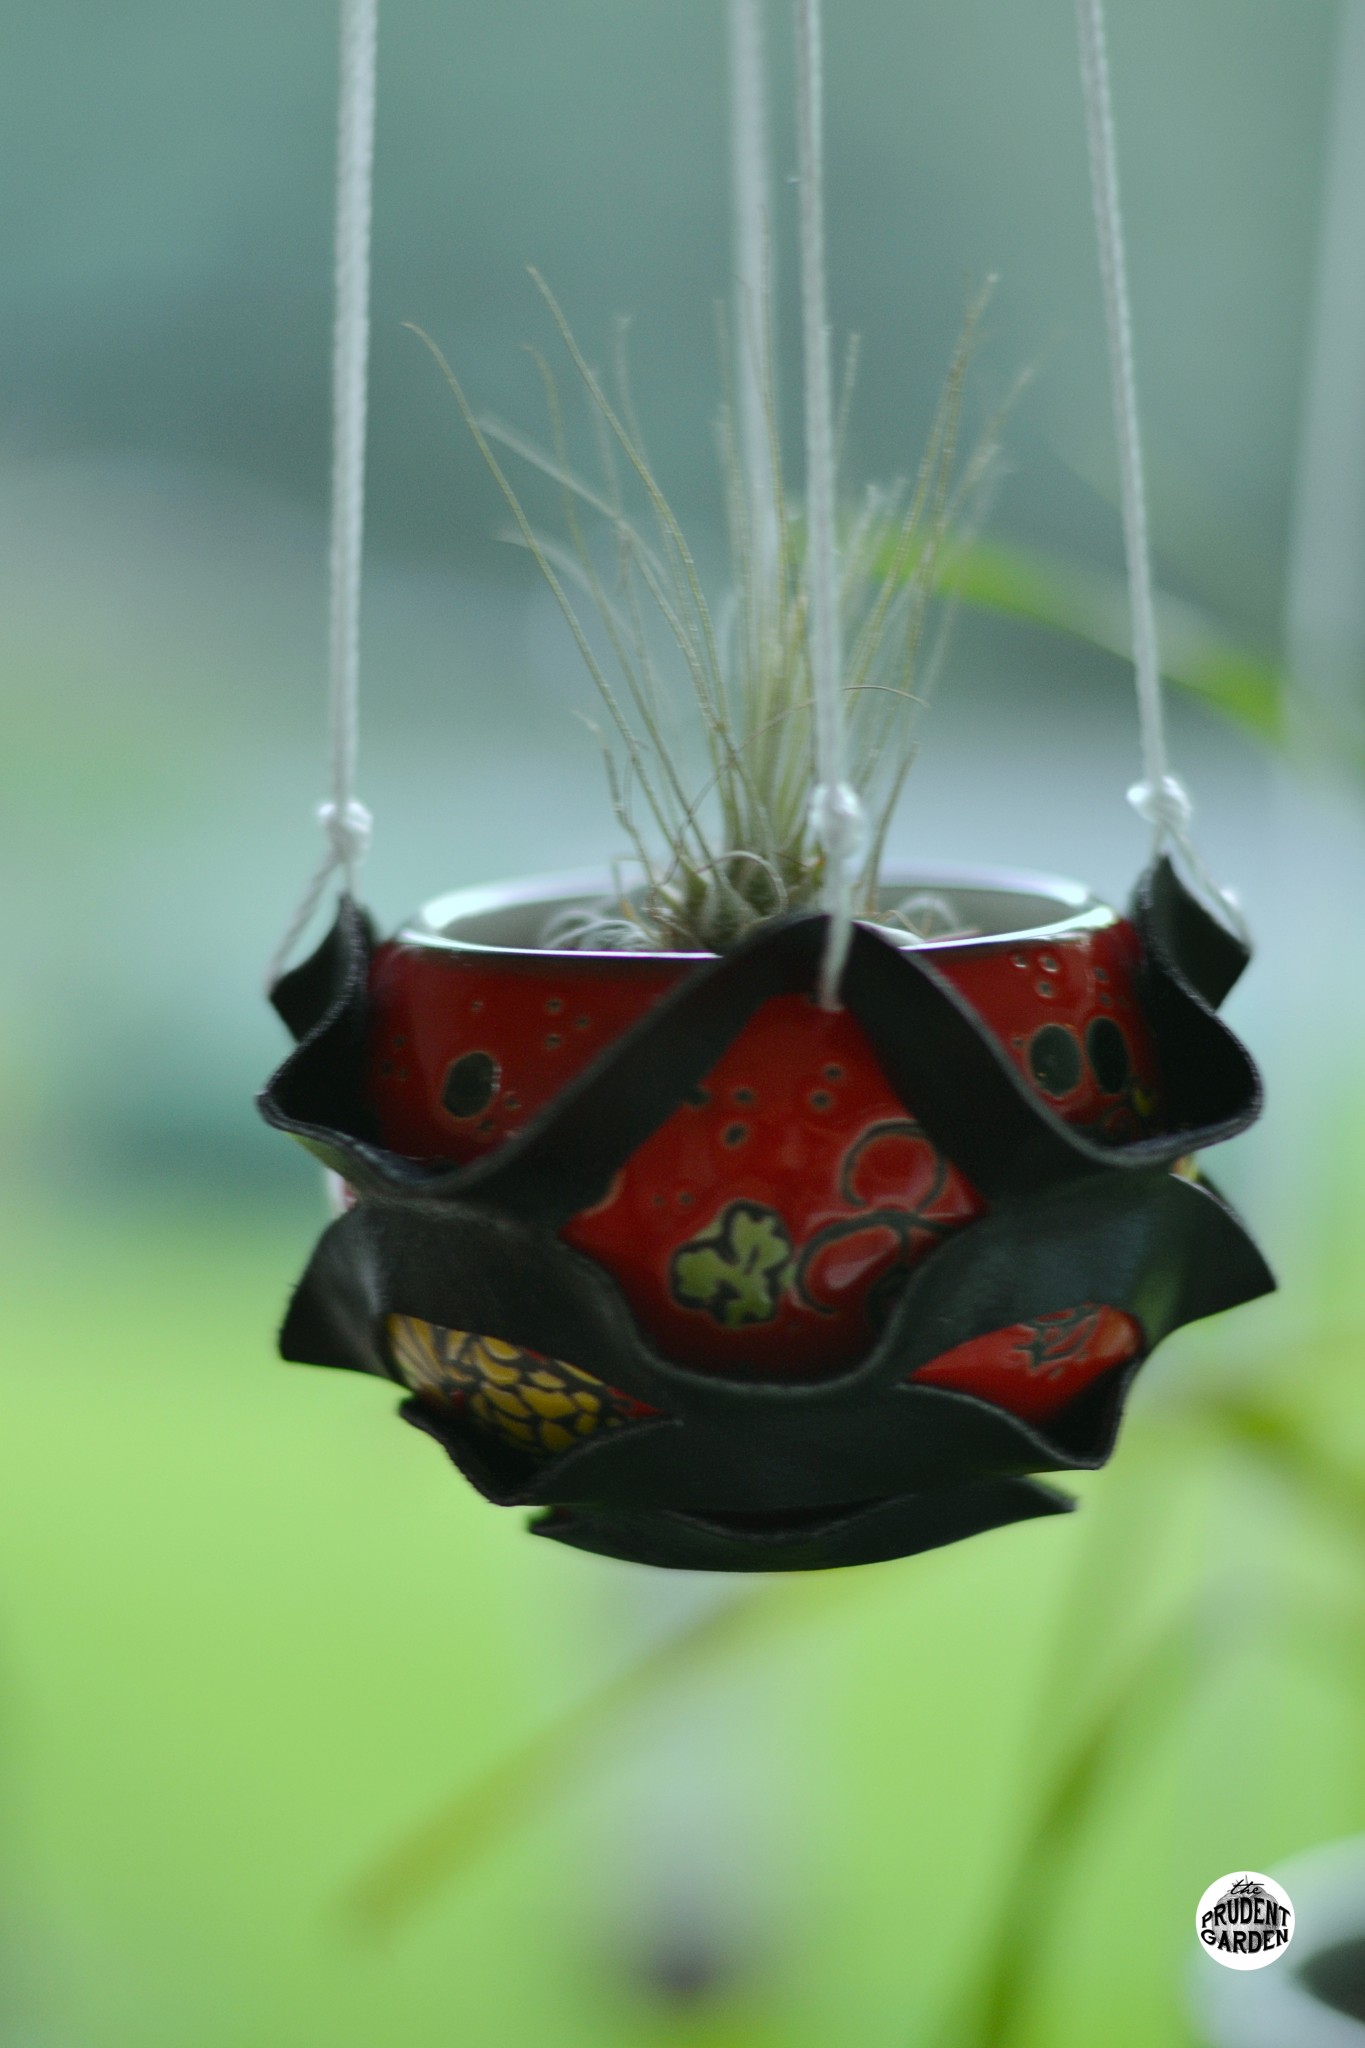
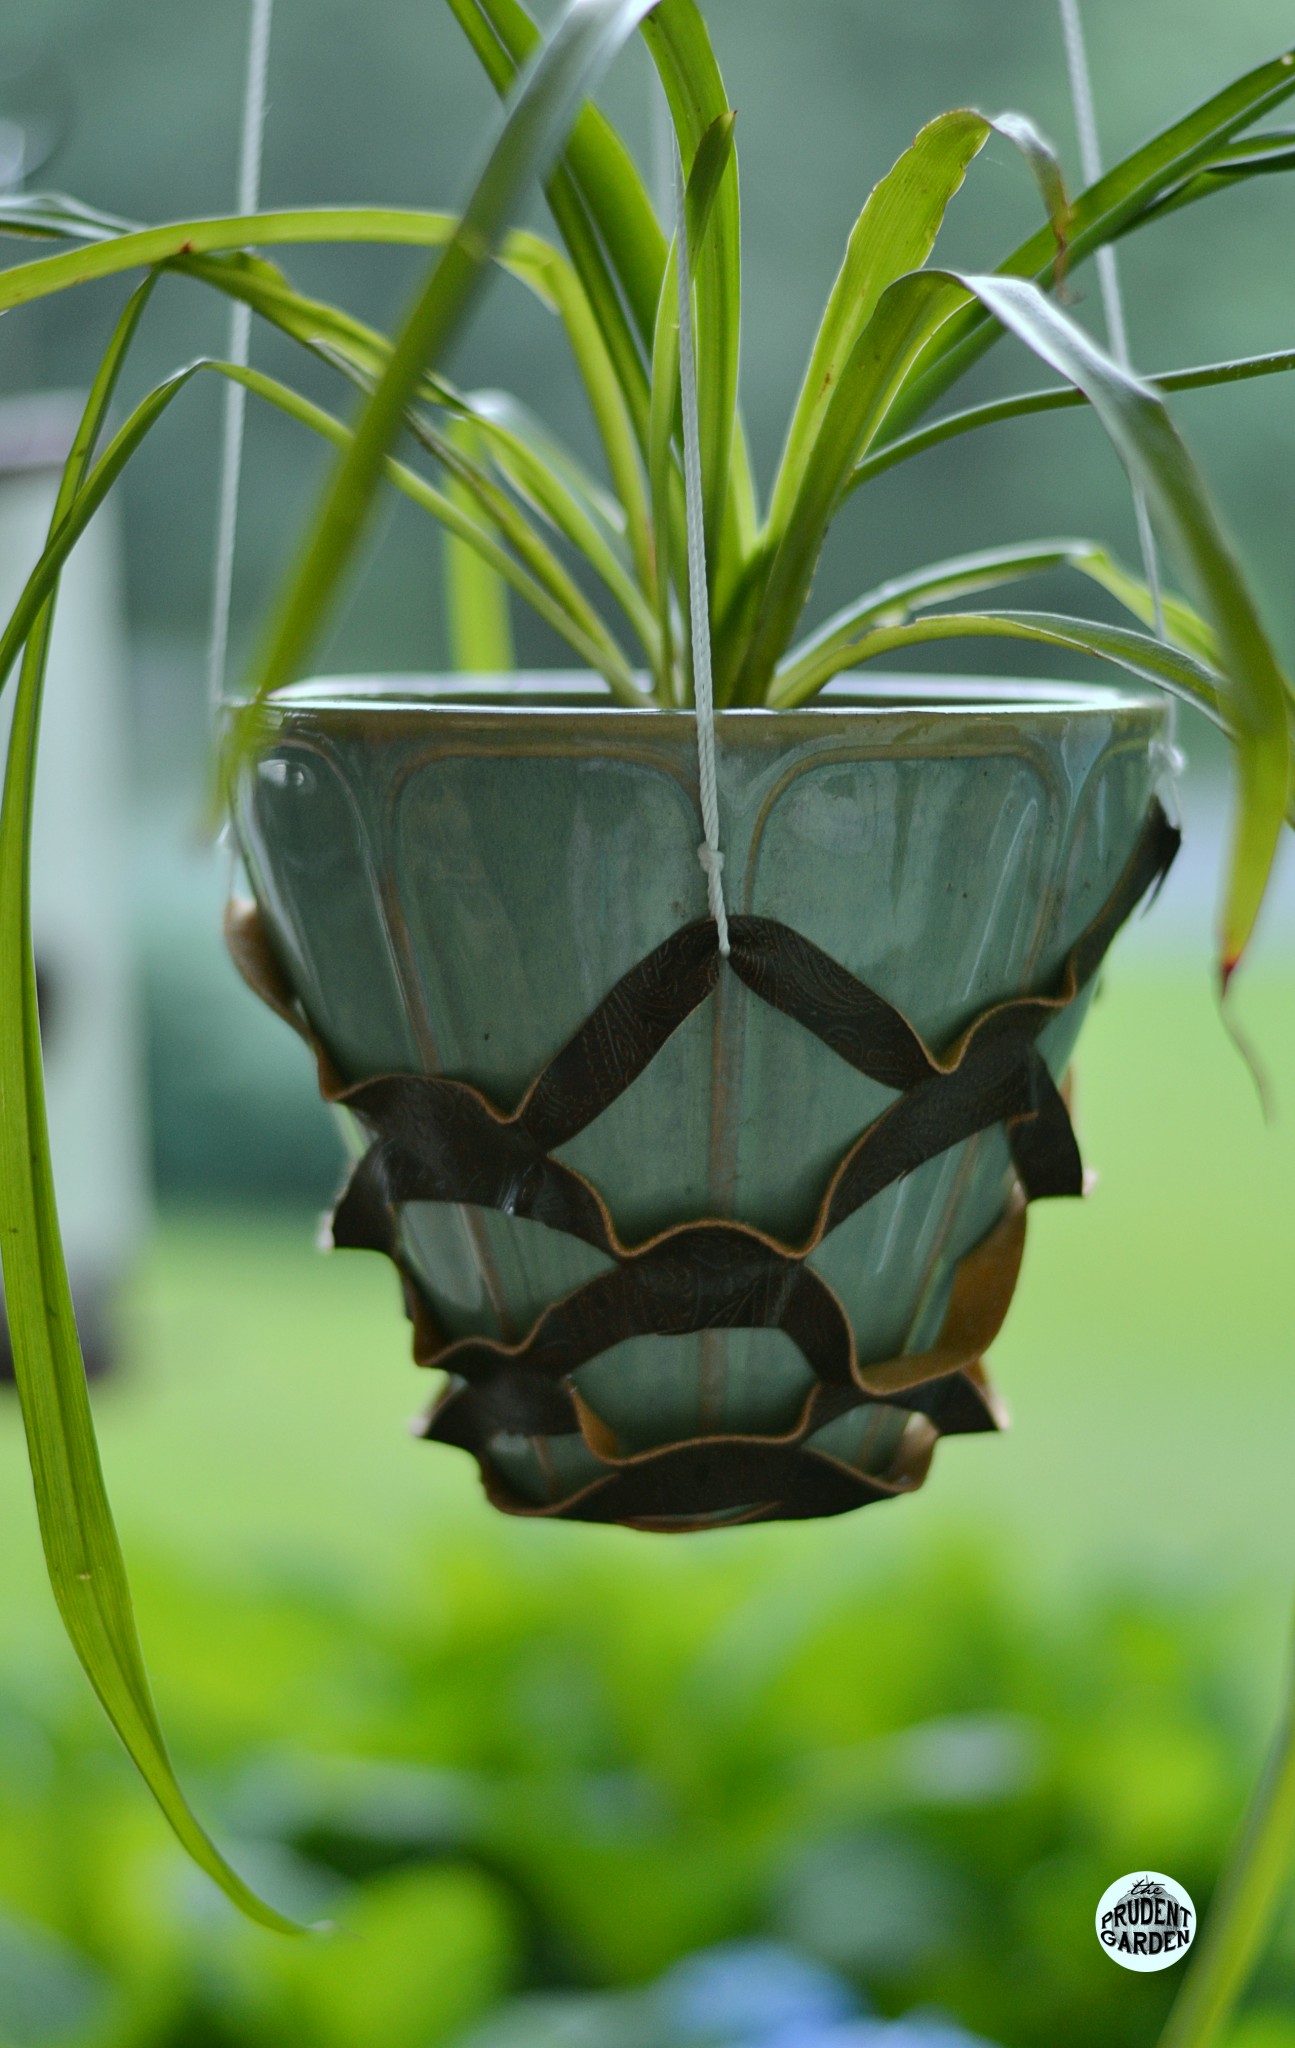
My hanger is based off of a tutorial I found on Design Sponge. The tutorial is done by a master leather craftsman and his planter is GORGEOUS! I wanted to make a simple version of the hanger using recycled materials I had. Using this template, here are the hanging leather planters I made:
Supplies:
- The container you plan to use (So, you can tweak the template to accommodate)
- A surface to cut on ( like a self-healing mat)
- Leather or Pleather (artificial leather)
- Utility Knife, Box cutter, or X-Acto knife
- Scissors
- Pencil
- Twine, leather rope, twisted mason line, or any type of string you have
- Tape
- Printed Template from Design Sponge
In my project I used the leather (the black one) from an old jacket my sister picked up from a thrift store in Baltimore for $5! It was a real black leather jacket, but ugly as all get out. I hacked it up into various pieces. The brown paisley pleather is a remnant for an upholstery job my mom had left over. Be creative when seeking out materials for this project. Don’t be afraid to eye up an old chair at the thrift store. I have recycled fabric for upholstery before. Also, if you plan to buy the fabric, check out Hancocks, Joanns, Walmart or Hobby Lobby’s fabric section. I wouldn’t bother purchasing a 12×12 piece of real craft leather at a hobby shop. It’s expensive. You’ll save money purchasing by the yard at a fabric store.

Step 1
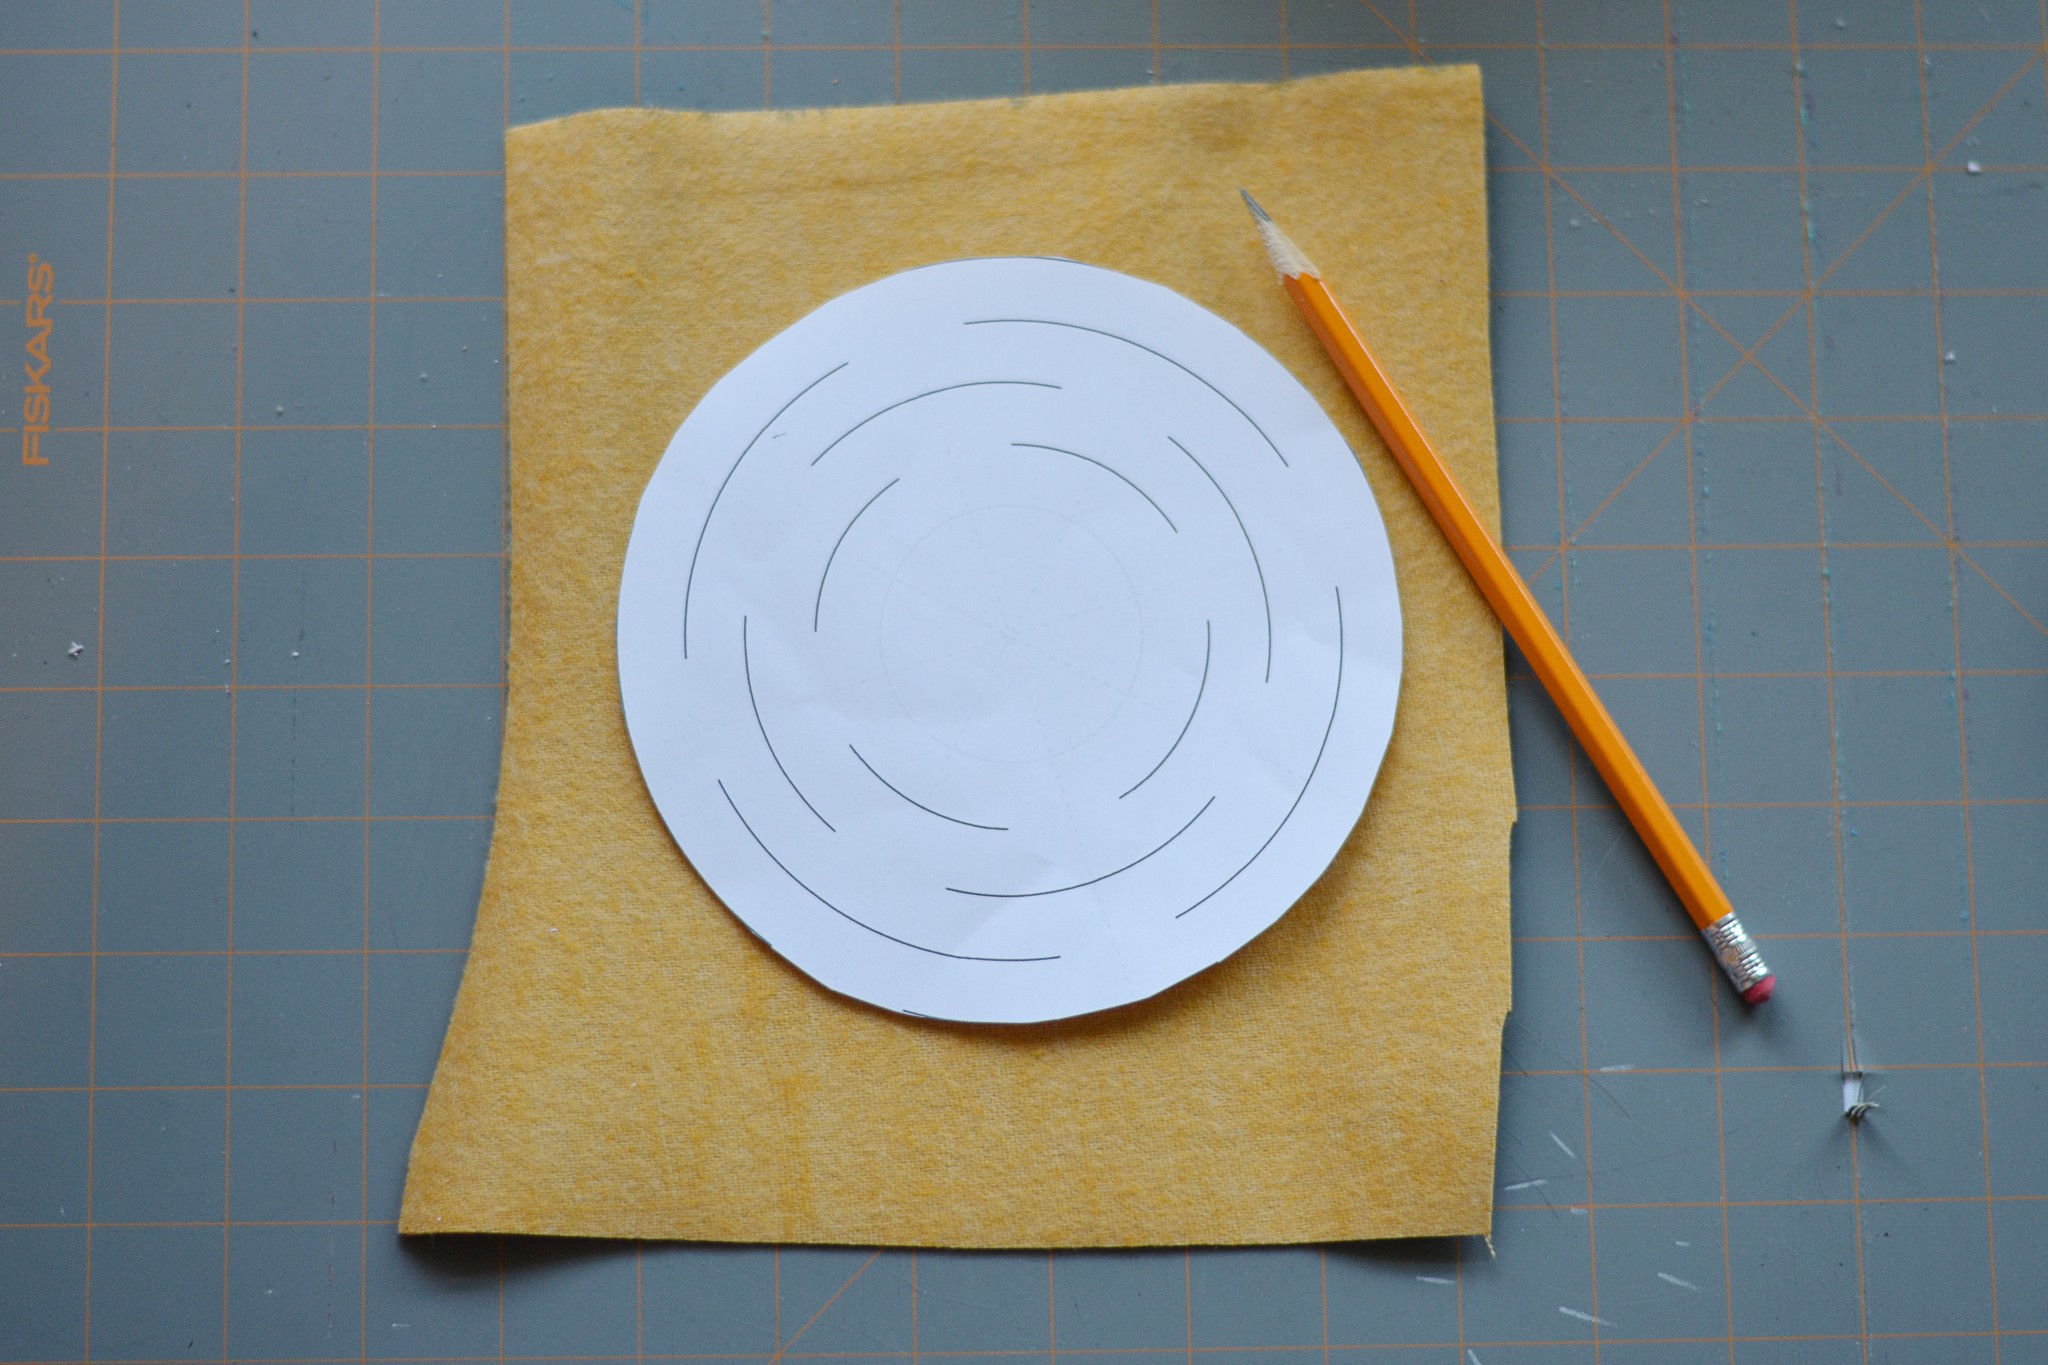
Cut out the template. I had to cut down the original template so the “basket” would fit around my tea cups that I used for my air plants. Lay the template on to the back side of the leather (pretty side down). Trace around the template with a pencil.
Step 2
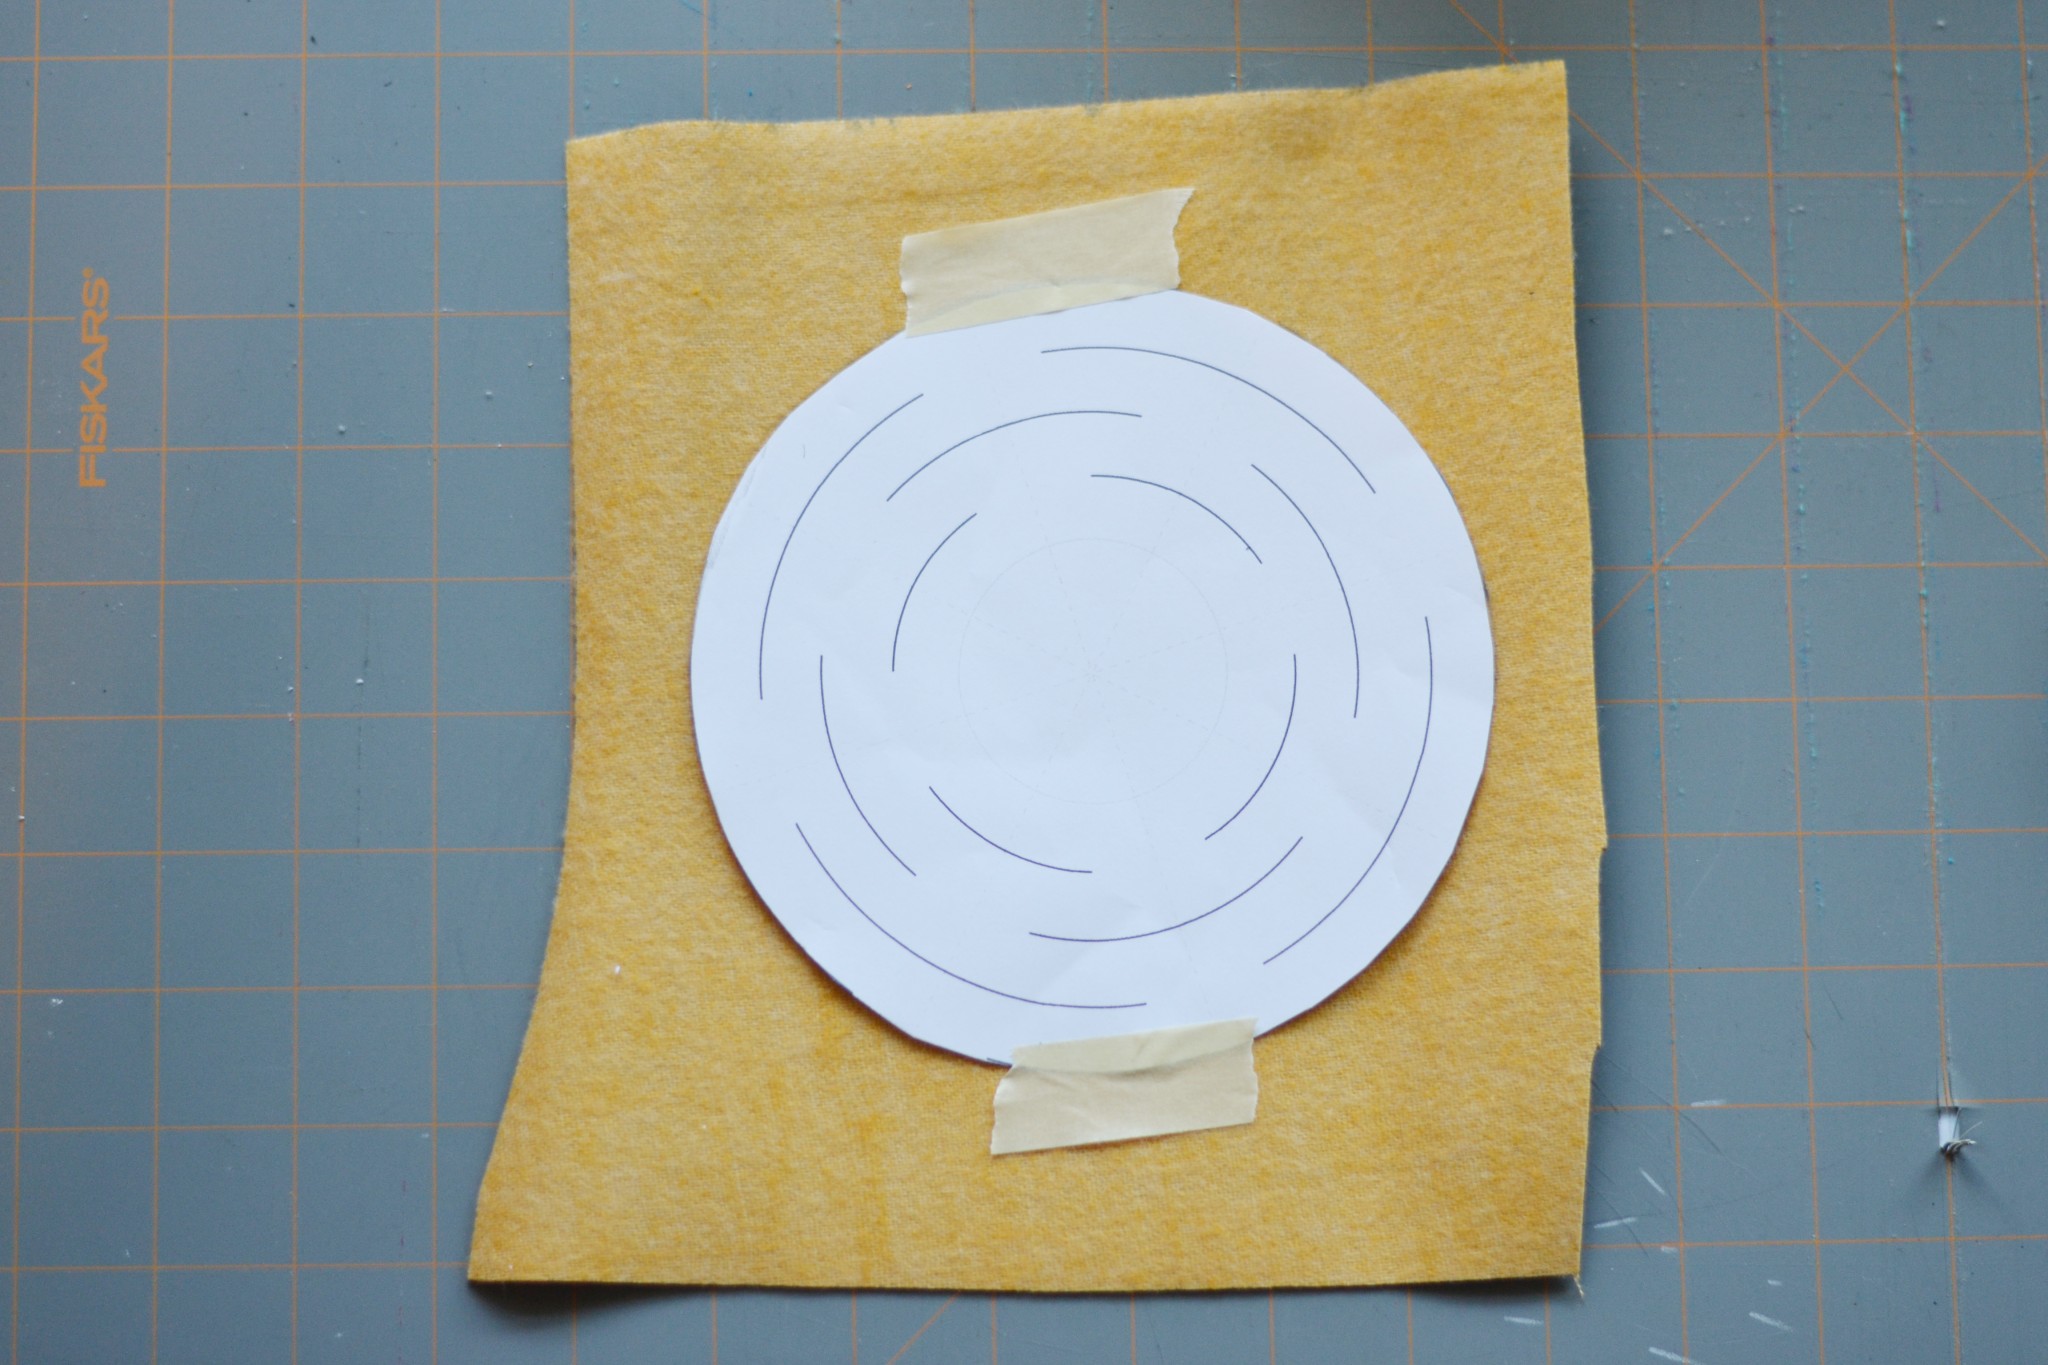
Tape the template down onto the piece of leather. This will hold the template in place while you cut.
Step 3

Cut along the lines of the template. Go slow. I had to slice through the paper first and then do a second pass to cut through the leather. Also, I added a section in the middle of the template to accommodate the base my small tea cup.
Step 4

Remove the template and make sure that all the “lines” have been cut through.
Step 5
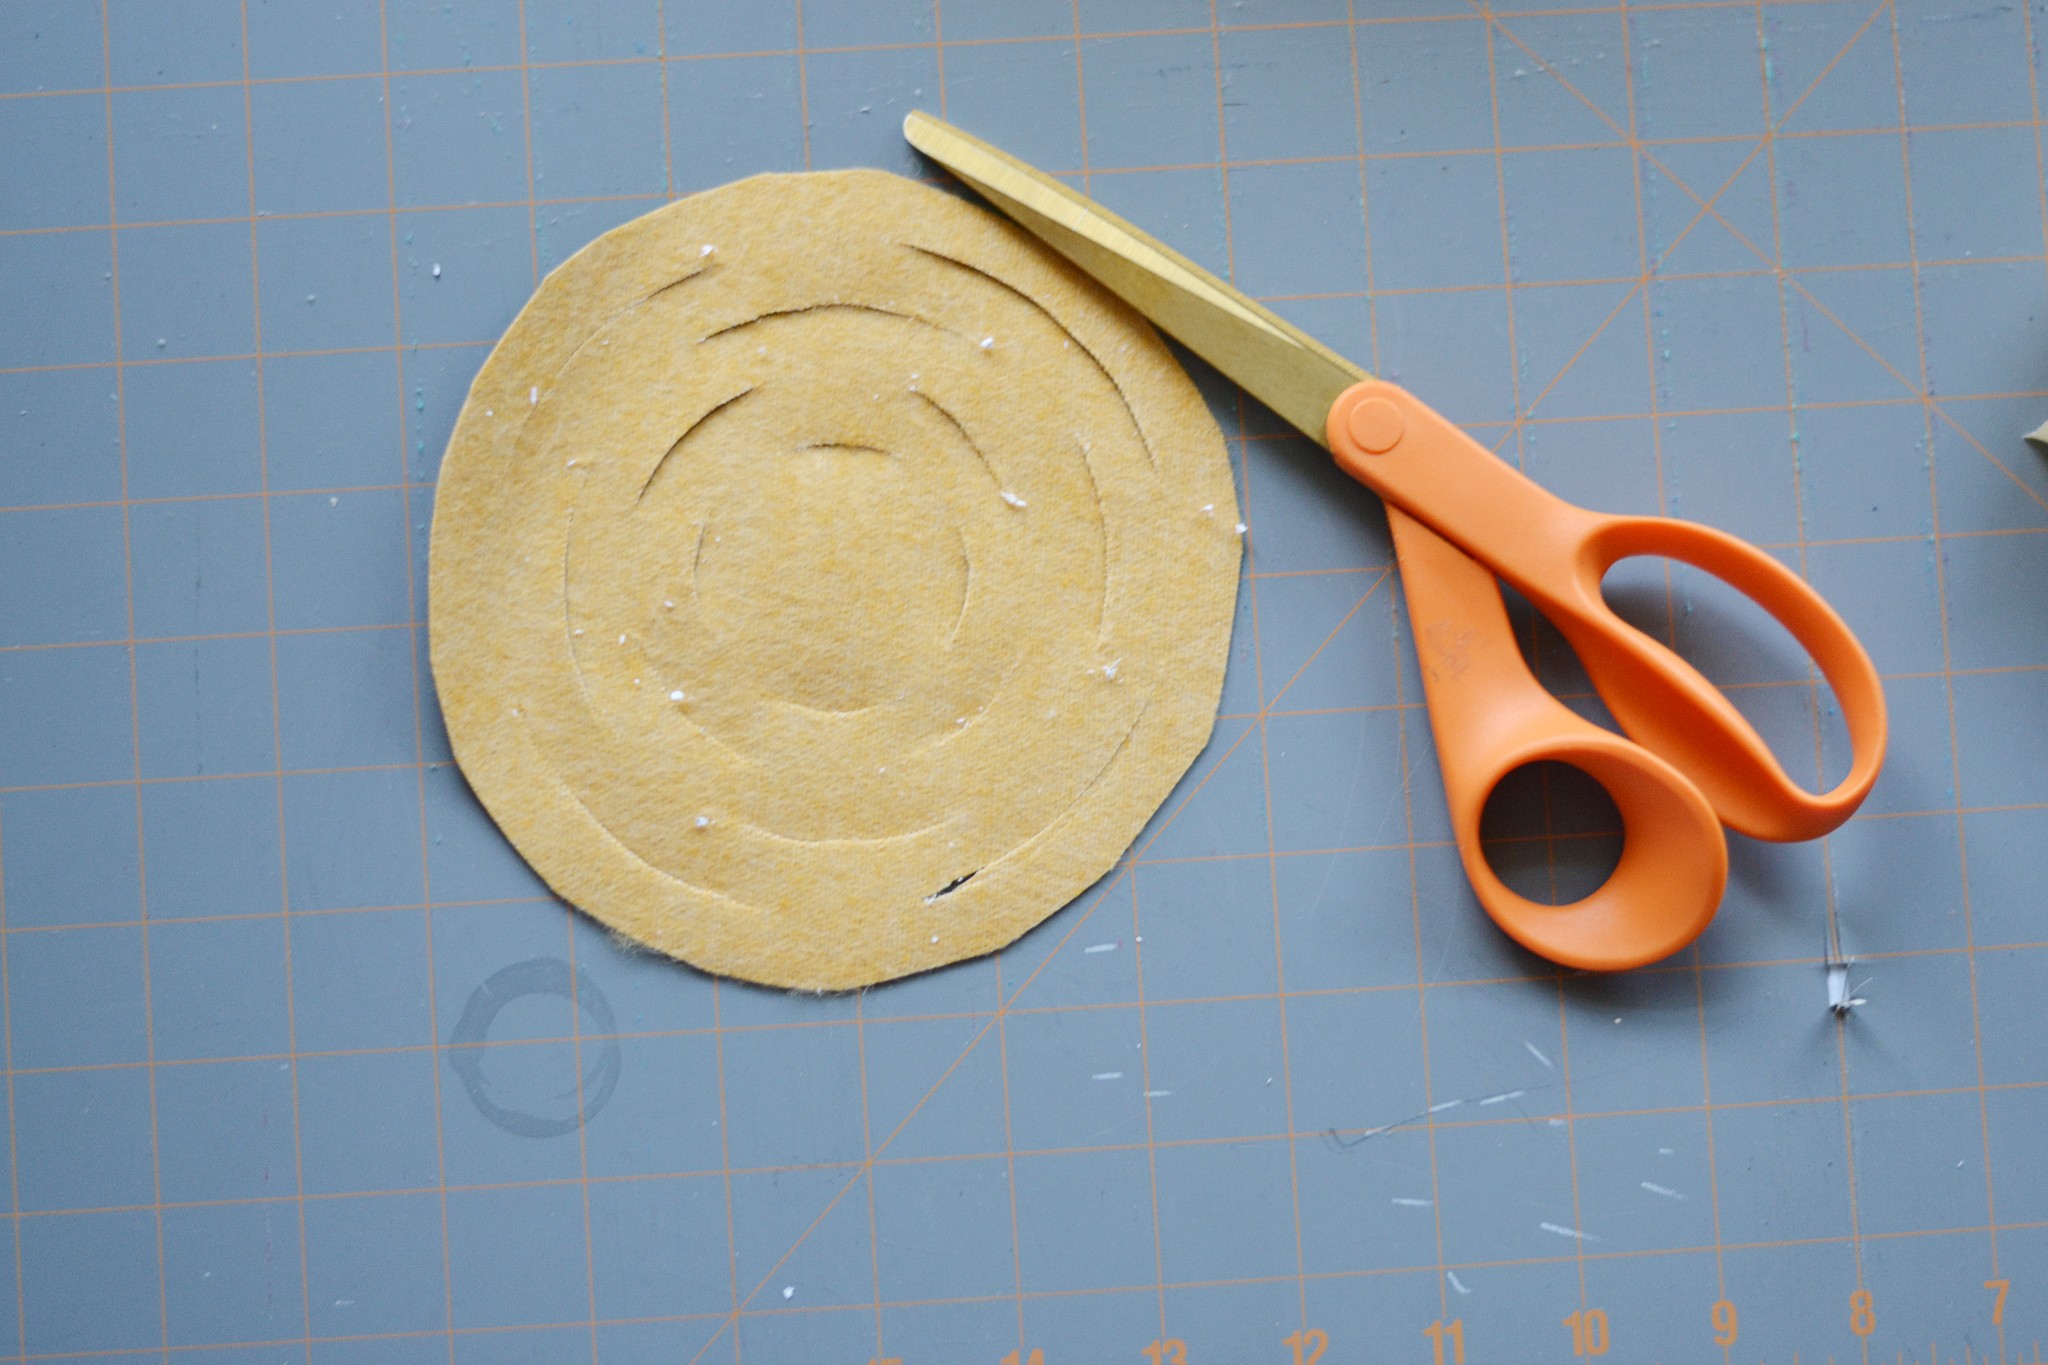
Cut around the circle you traced in step 1.
Step 6

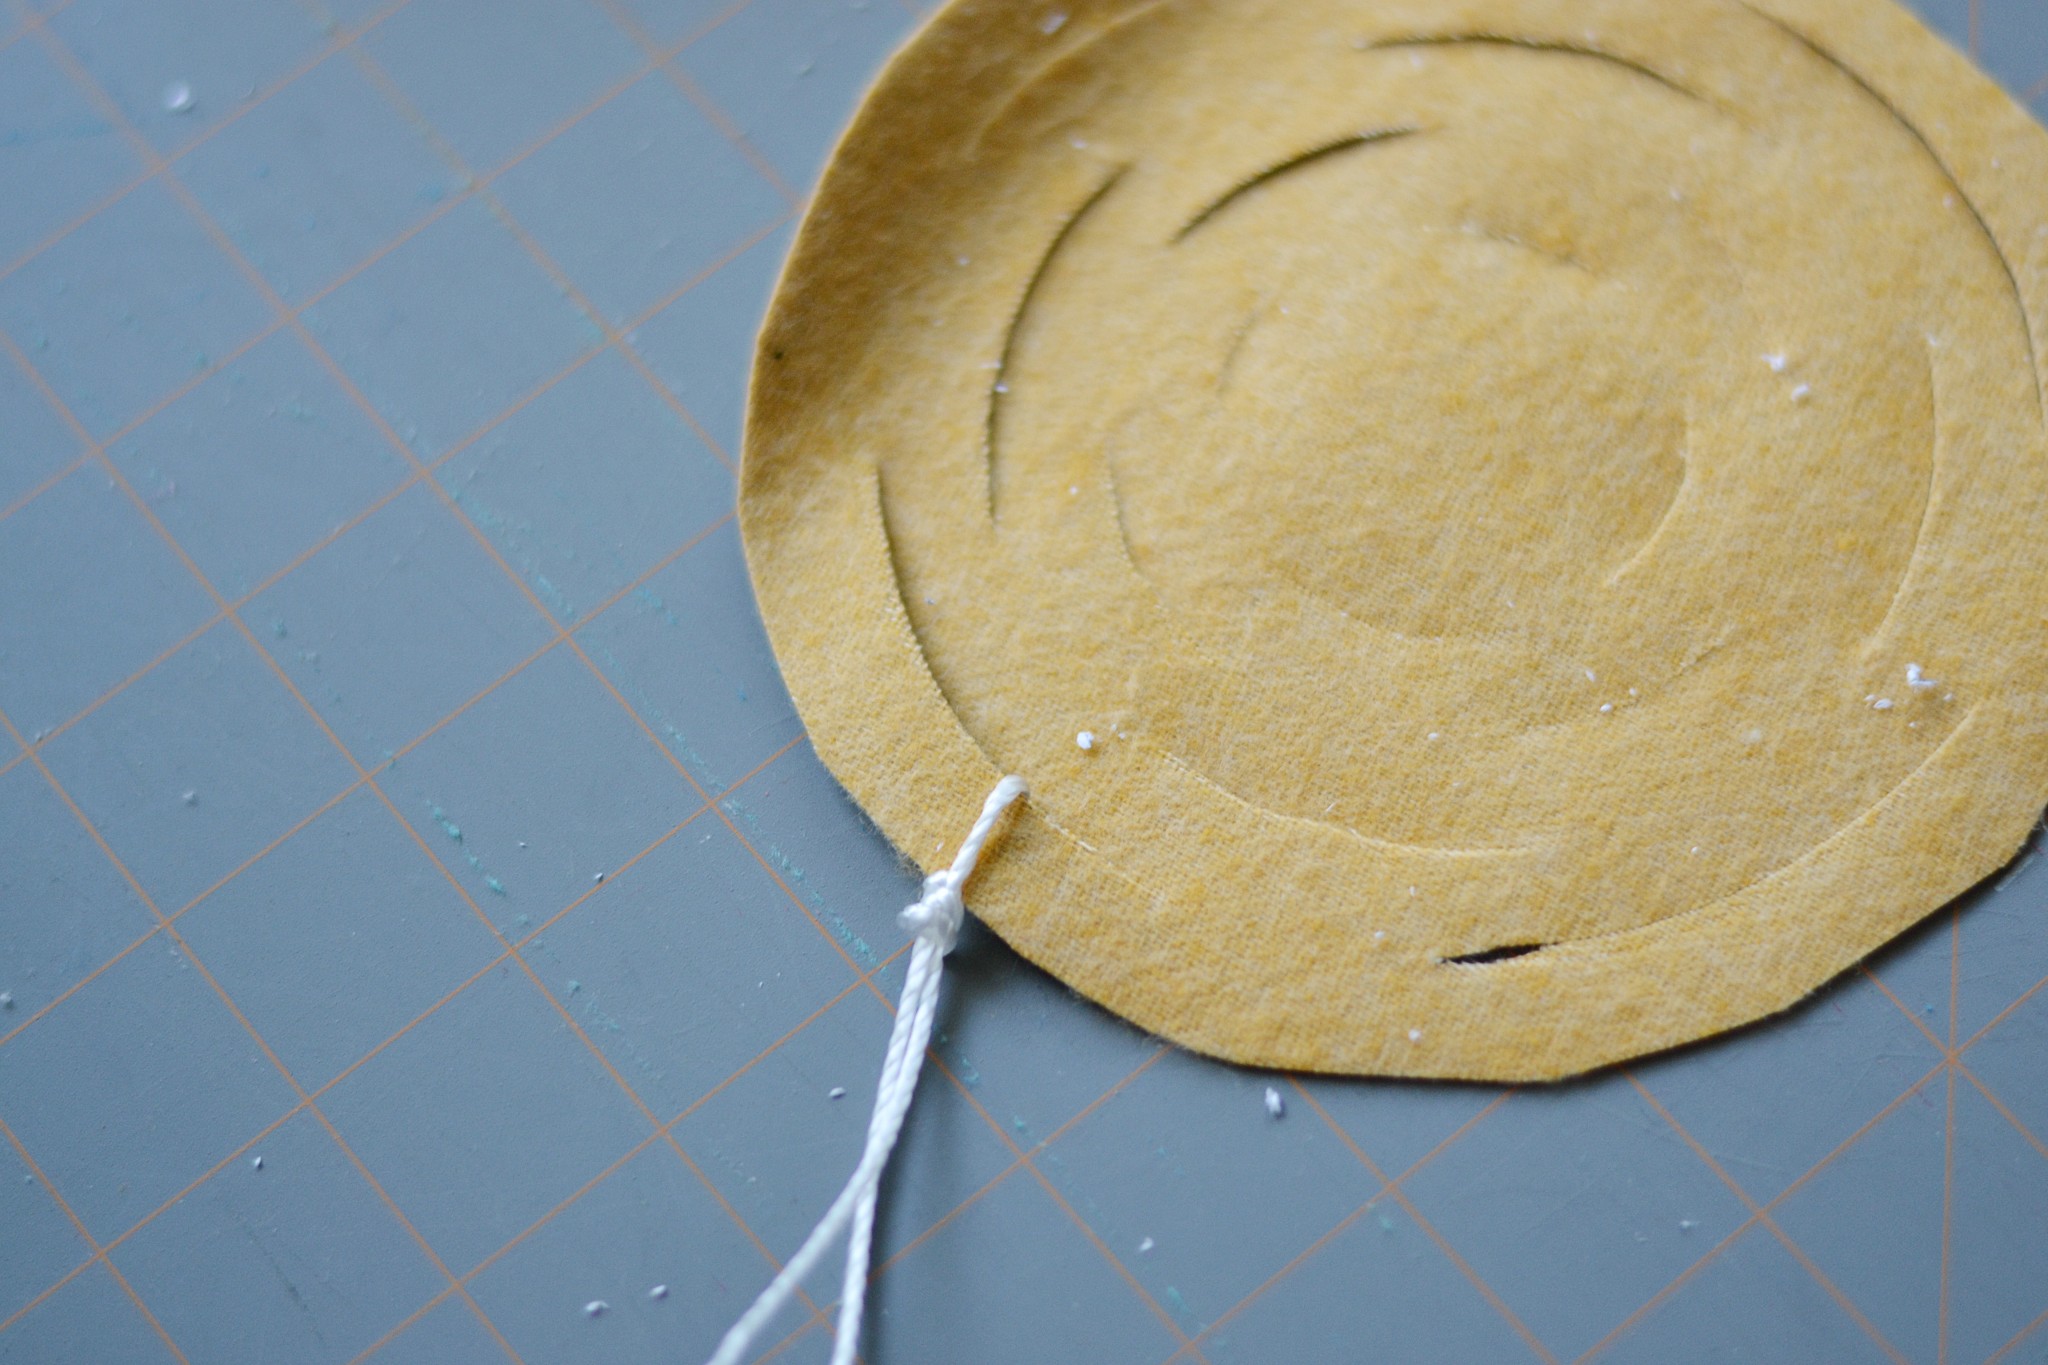
Cut 4 equal lengths of string. Thread the first piece of string through on of the “lines” you cut on the outer rim of the circle. Tie an overhand knot. Do this on all four sides.
Step 7
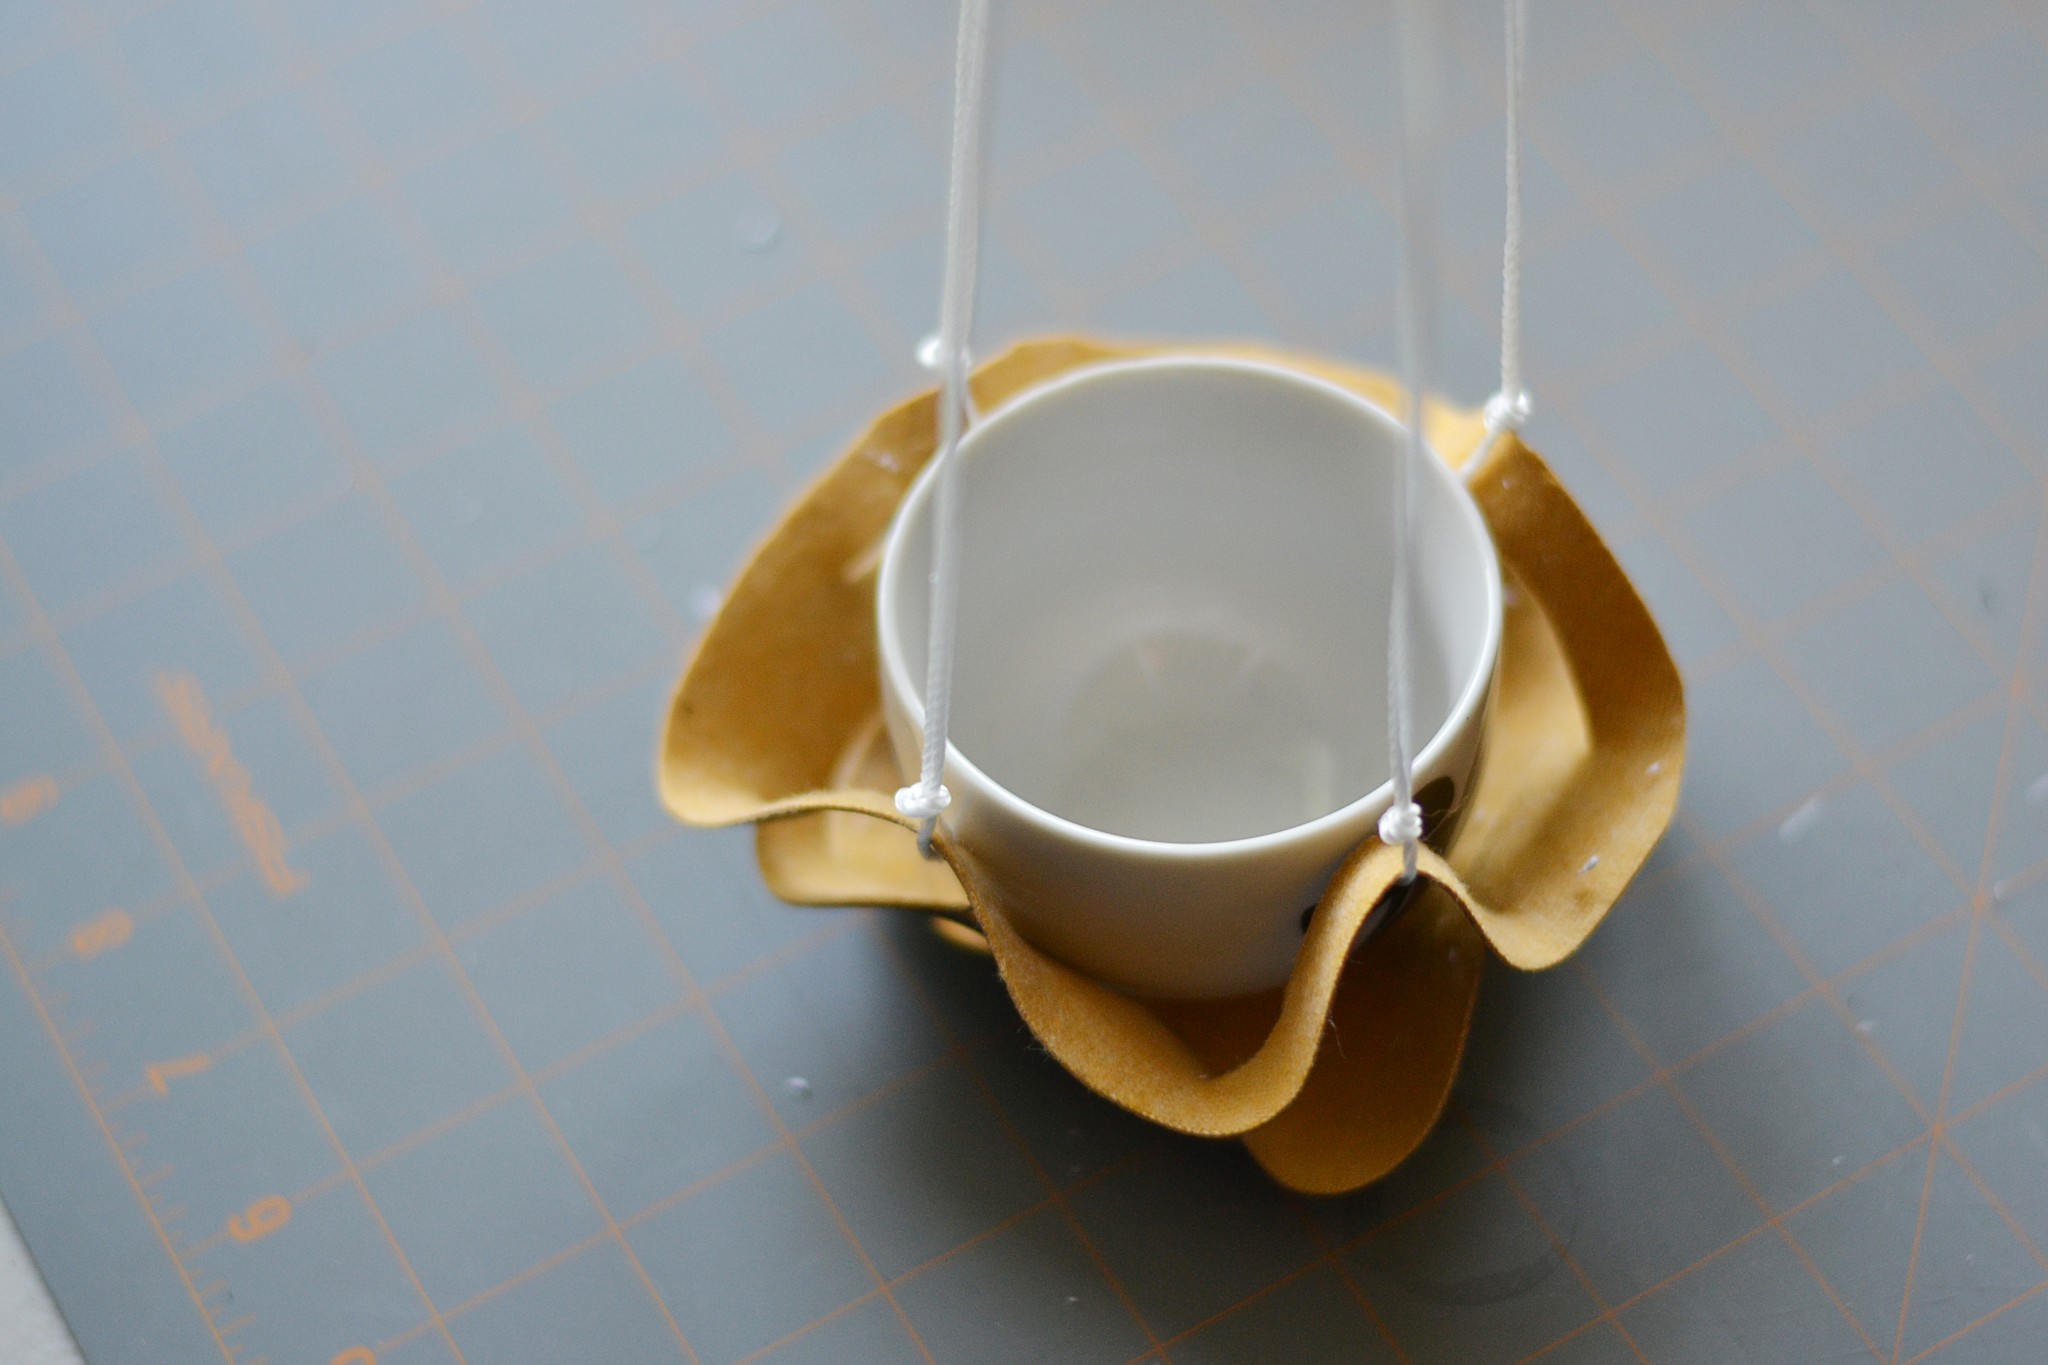
Add in your container. Gather all 4 strings and lift. Adjust the strings for balance if necessary.
Step 8

Once you have the length and balance set, secure the top end with a knot. I just looped the ends over and tied a simple knot. Since I used twisted mason line (which tends to be slippery) I tied two more knots underneath the main knot.
You can attach the rope by whatever method you prefer. I decided to tie the overhand knots so I can easily adjust the balance of my planters.
Notes:
Real leather stretches more than pleather. Keep that in mind when you decide how long you want your planter to hang.
Make sure your hanger can hold the weight of your FILLED planter before you hang it up.
Enjoy!
Original article and pictures take theprudentgarden.com site
No comments:
Post a Comment