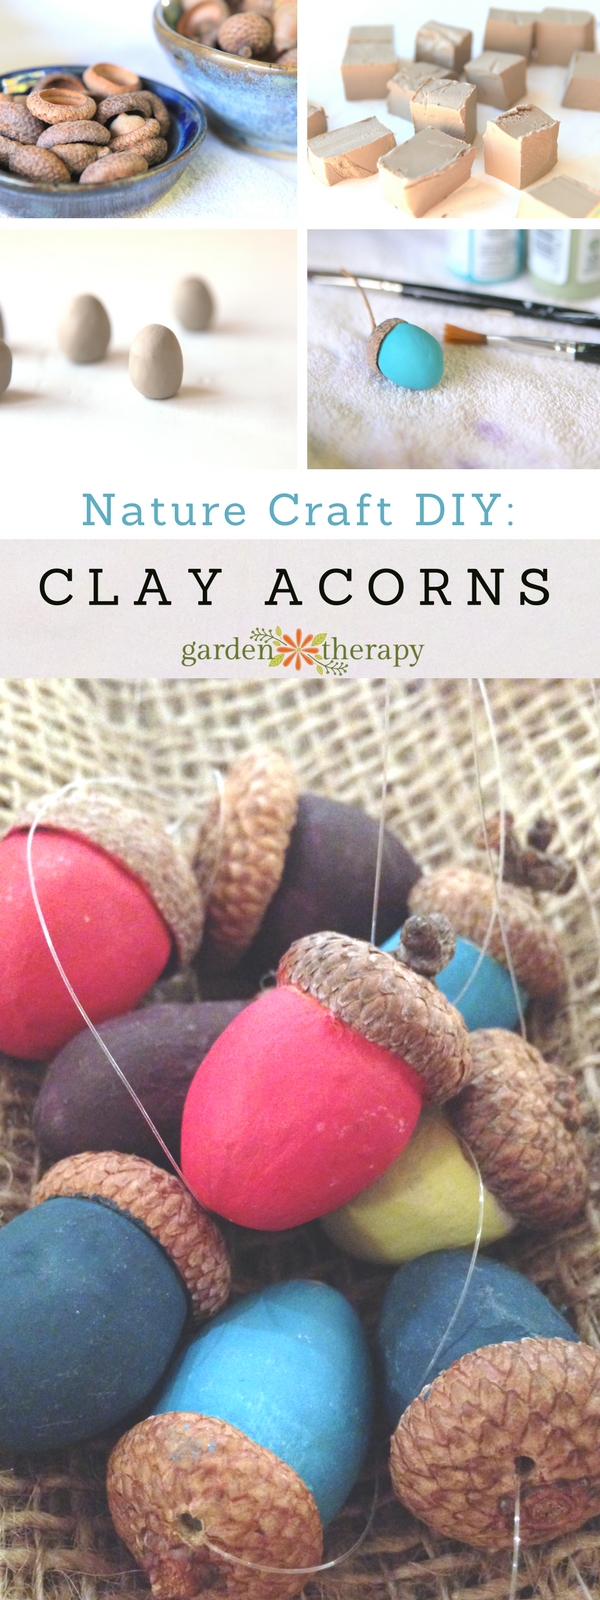
These clay acorn ornaments are made simply with a modeling clay that requires no special equipment to harden (yay!) and found acorn caps. An autumn walk in the woods or even a neighborhood street is all you need to collect the caps, then follow the steps of this DIY tutorial to make your own festive holiday ornaments perfect for Thanksgiving or even hanging on the Christmas tree.
I’m just nuts about acorn caps as a crafting material and have seen them used in so many different ways (thank you Pinterest!). Why is it that acorns are such an icon of fall? Perhaps because of the sheer number of them, making them easy to collect. Or perhaps it’s the sturdiness with similar qualities to wood (at least in a crafting sense). I think maybe it’s the squirrel in all of us, who loves to collect beautiful little treasures from nature walks and use them to adorn our nests.
Acorns are the nuts from oak trees and their relatives and are an important food source for animals and birds. If you have ever found a sprouted acorn or tree seedling in your garden beds, that’s most likely from one of the critters who has stashed it away in hopes of eating it someday down the road. Of course, this can be quite troublesome for gardeners who don’t want the beds dug up by tiny claws, but biological transportation is the only way these heavy nuts can get planted and grow into more mighty oaks.
I, for one, appreciate the squirrels for all they do to clean up the garden and streets for us, by caching food for the winter and also planting us some more trees. More trees that will grow more acorns and give me more crafting material. Thank you, squirrels!
To make clay acorns follow these DIY instructions.
Materials
- Dental floss
- Acorn caps
- Hot glue gun and glue sticks
Make it!
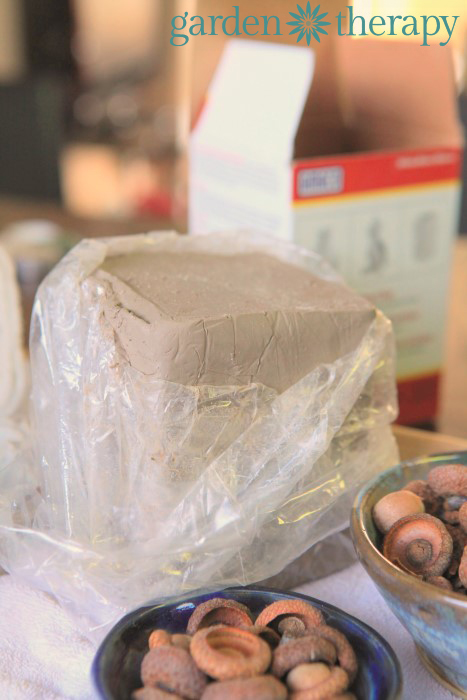
Start with a self-hardening air dry clay so that you don’t need high temperatures to set the clay. Use the dental floss to cut off a chunk of clay by winding the ends of the floss around your two index fingers with 8 inches of floss between them, then pulling the floss through the clay where you want to take off a slice (from the back of the clay block to the front). This will leave you with a slab of clay you can easily chop into small cubes.
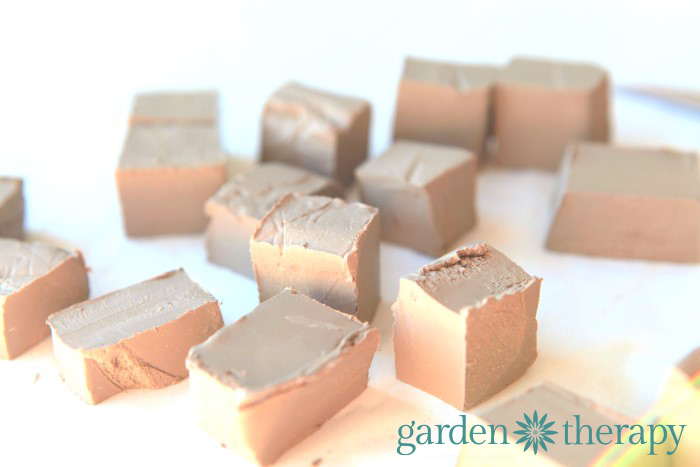
Cut the cubes in about the size of an acorn nut.
When the clay is dry, you can start fitting the caps to the nuts. I like to make many different sizes of clay nuts to fit the large collection of different caps I’ve collected.
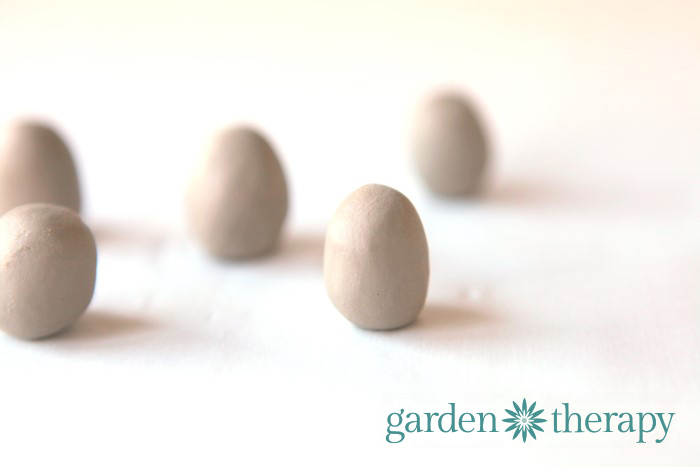
Roll the cubes of clay in your hands to acorn shape. Set them to dry on a flat surface covered by a piece of parchment paper. It may take up to a week for these to dry so plan ahead if you plan to make these as holiday gifts.
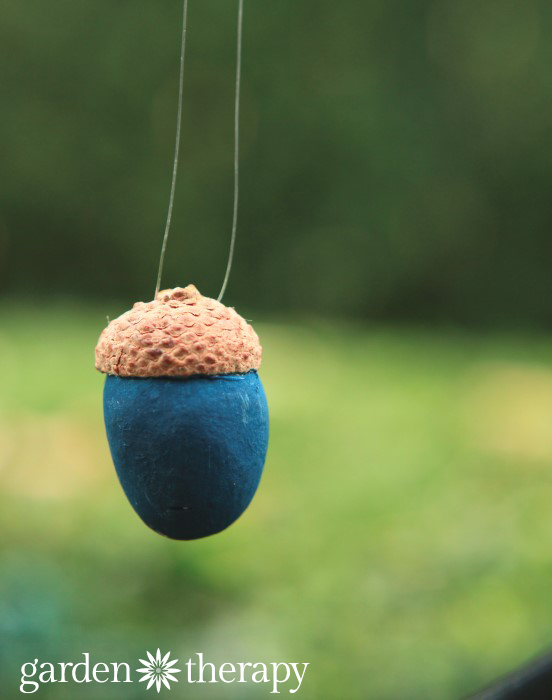
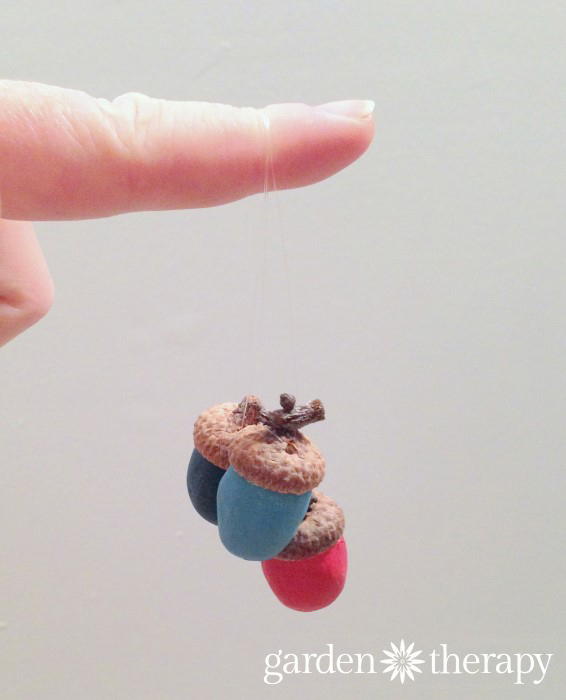
To prepare the acorn caps as ornaments they will need holes drilled for the fishing line to go through. I used a very fine bit to drill two holes on opposite sides of the stem. You could drill a larger set of holes if you prefer to use a ribbon or twine to hand the ornaments, but I like the look, or lack thereof, of fishing line.
Thread a length of fishing line through the two holes and tie in a secure knot on the inside of the acorn cap. Dab some hot glue on the inside of the cap and the knot to hold it in place. Add a bit more hot glue and secure the nut to the acorn cap.
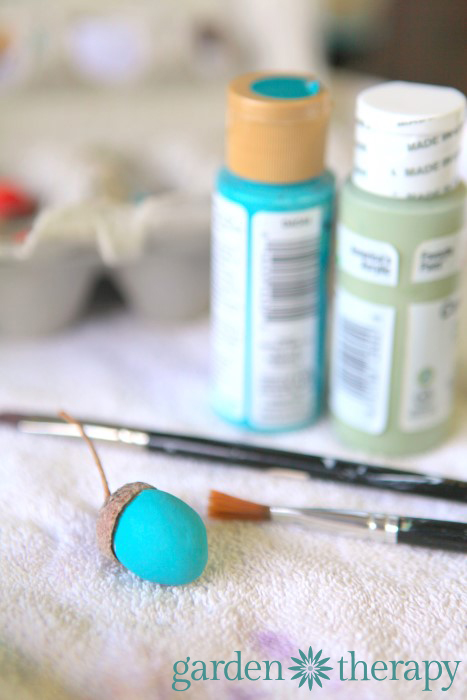
Now you can paint your clay acorn any color you want!
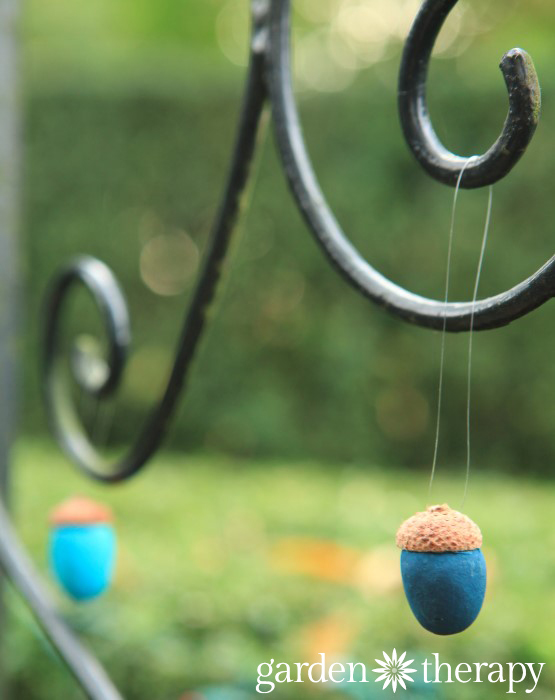
A basic craft paint will work just fine for this, but you can also add glitter glue on top of the craft paint or even just to the natural clay.
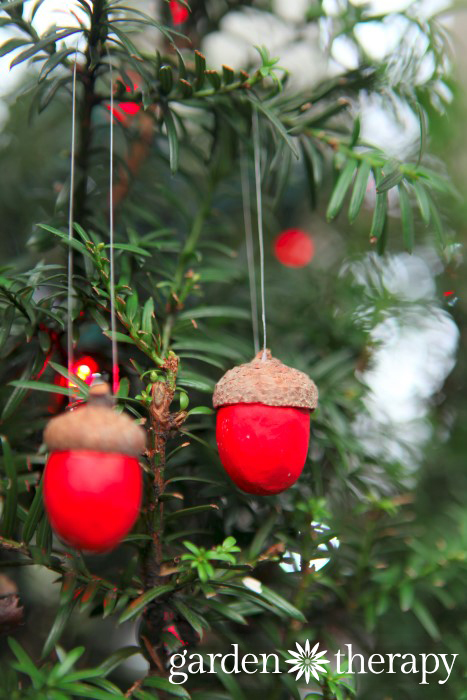
Now your clay acorns are all ready to use to decorate the house for the holidays or give as handmade holiday gifts.
Aside: I can’t say or read “clay acorns” without thinking of this guy! There, I got it out of my system. Whew!
Original article and pictures take gardentherapy.ca site
No comments:
Post a Comment