I tried to come up with a way to get the look without spending that kind of money. Here’s what I came up with ~ Horseshoe Fairy Doors. Horseshoe Fairy Door Materials
Recently, I saw some wonderful hand-forged fairy doors for sale and fell in love with them. The only problem was the price – $58 each!
A horsey friend had given me tons of used horseshoes. You can also check with a stable or farrier for used shoes or check out Tractor Supply Company or Amazon to purchase new ones.
At the hardware store, I bought a can of black spray paint, a package of 5/8″ x 2 3/4″ decorative hinges and 3/4″ decorative knobs. Wood for this project was reclaimed from a free wooden wine crate.
After popping the pins out of the hinges with a small nail and hammer, I laid out the project to see how it would look. It was going to be great!
It took about two hours from start to finish to make two doors. But, now that I have worked out the bugs, I could do them in less than half that time, and will.
Below are the directions to each of the steps to make your own Horseshoe Fairy Doors.
Start by using a pencil to trace around the horseshoe on your wood. A jig saw will make quick work of cutting the doors out. Lightly sand the edges of your door cutouts so there are no splinters. Then mark “planks” on the doors with a ruler and pencil. A box cutter knife was used to score the lines on these doors for a wooden board effect. You can skip this step entirely if you want a flat door with no markings.
Gel stain from another project was used to stain the fairy door cutouts. Gel stain is easy to use since it doesn’t run and drip like other stains. Just take a small dollop on a rag and rub it on, working it into the lines cut on the doors. Apply more than one coat if you want a darker intensity of color.
Step # 3 ~ Stain the fairy door cutouts
Next, spray paint the horseshoes and hinges. Because I didn’t have any on hand, I had to buy a can of spray paint which will last through many more projects. Black was my color choice, but any color would be fun! I do have some purple and yellow spray paint leftovers and might experiment with more colorful doors next.
Step # 4 ~ Spray paint the horseshoes and hinges
The final step is to glue the pieces of the Horsehoe Fairy Door together. I used E-6000 industrial strength adhesive that I had left over from another project. Just make sure the glue you use is weatherproof and recommended for outdoor use.
Step # 5 ~ Glue the Horseshoe Fairy Door pieces together
These Horseshoe Fairy Doors found homes outside in our garden, but would look very cute indoors too. So, even if you don’t have a garden, a fairy could come live at your house!
Horseshoe Fairy Door
I spent a total of $9.77 making two fairy doors. At less than $5.00 each, I can afford to make lots more fairy doors for our garden. And won’t they make terrific gifts for my gardening friends?
Horseshoe Fairy Door Colorful Horseshoe Fairy Doors Horseshoe Fairy Door by Our Fairfield Home & Garden
Jacki Cammidge is a participant in the Amazon Services LLC Associates Program, an affiliate advertising program designed to provide a means for sites to earn advertising fees by advertising and linking to amazon.com. Other links on this site may lead to other affiliates that I'm involved with, at no extra cost to you.
As one of the most rustic and rugged crafts you can imagine, hypertufa has taken the gardening world by storm.
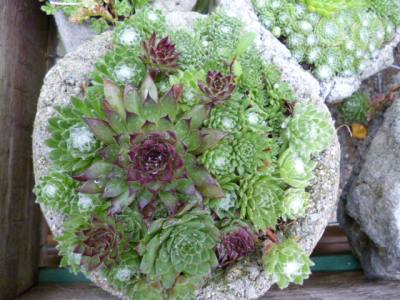
There are many recipes used for hypertufa projects, and most work very well to make a rustic hypertufa trough, functional (or plantable) hypertufa bird bath, and many hypertufa pots for your favorite hardy succulents.
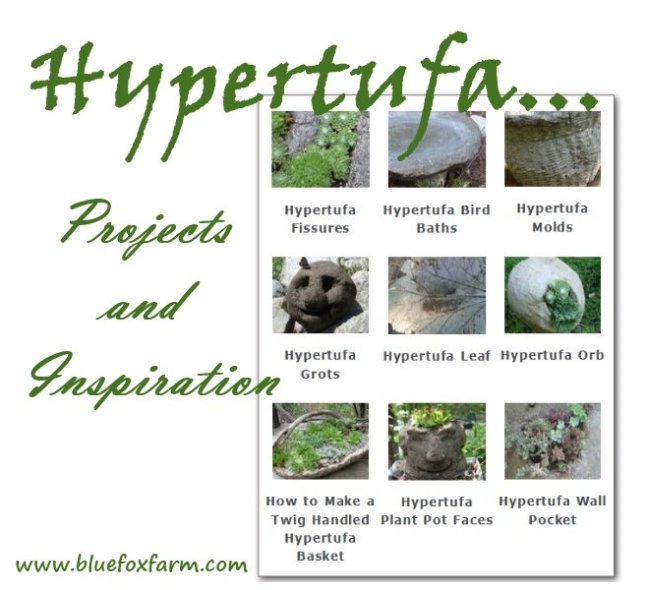
Hypertufa - Projects & Inspiration...
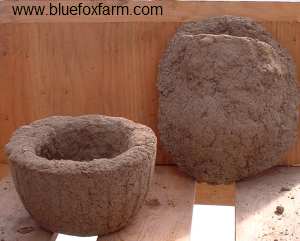
This mixture of cement powder, peat moss, sand and perlite is an easy choice for hypertufa projects that pay big dividends in the garden when you plant the result with some great garden plants.
Display them on a rustic bench or potting table for an eclectic grouping, along with some twig planters, terracotta clay pots or other containers.
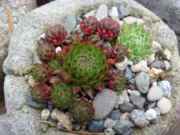
Fill with succulent plants, top with some lava rock or pebbles to hold the soil in place, and voila! Rustic country garden decor.
Hypertufa projects run the gamut from tiny jewel like pinch pots to troughs and paving stones.
See more about making hypertufa pinch pots; these gemlike planters are so appealing and unique, planted with a grouping of tiny hardy succulents, which thrive in the great drainage and seem to relish the 'tooth' of the rough surface.
Pinch Pots, a handful of hypertufa, molded into a tiny pot ...
Many garden accents can be made with this rustic form of faux rock, and aged with a mixture of sheep manure and buttermilk to promote the formation of moss and lichen; they are indistinguishable from the real thing.
Hypertufa is actually derived from the real rock, called ‘tufa’, a soft limestone that many alpine plant specialists have used for years as a planted focal point for succulents and other rock garden plants.
Realizing the potential for making other containers and troughs for their favorite plants, they devised a method and many recipes to make their own hypertufa.
Planted with rare hardy succulents such as Rosularia, Jovibarba and Orostachys, as well as other tiny alpine plants they make special displays for your xeric garden.
Rugged and Rustic Hypertufa Projects
Check out these Hypertufa Projects:
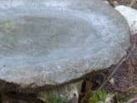
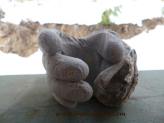
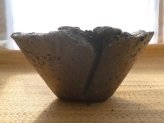
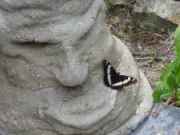
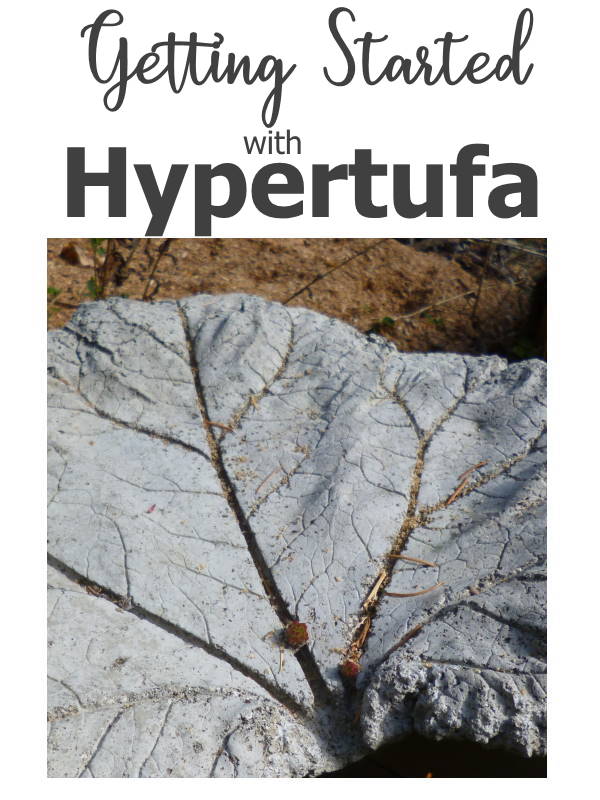
Hypertufa Fissures Hypertufa Bird Baths Hypertufa Molds Hypertufa Grots Hypertufa Leaf Hypertufa Orb Hypertufa Hand Grasping Hypertufa Plant Pot Faces Hypertufa Textures Draped Hypertufa Hypertufa Grumpy getting a kiss from a butterfly... Hypertufa Pinch Pots
For my garden, I can’t think of a better style of container material than hypertufa.
Somehow, it goes together with hardy succulent plants like a hand in a glove, and with a match like that, you can’t ever have enough planters, troughs or pinch pots made from hypertufa.
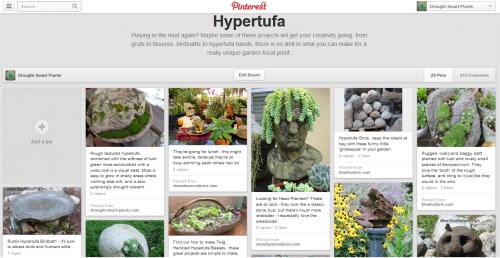
Follow the Hypertufa board on Pinterest Getting Started With Hypertufa - sign up here! Original article and pictures take www.bluefoxfarm.com site
Jacki Cammidge is a participant in the Amazon Services LLC Associates Program, an affiliate advertising program designed to provide a means for sites to earn advertising fees by advertising and linking to amazon.com. Other links on this site may lead to other affiliates that I'm involved with, at no extra cost to you.
Making funky and fun garden art is a knack. I'm always finding things that can be taken to the next level, or designing something from scratch.
Save
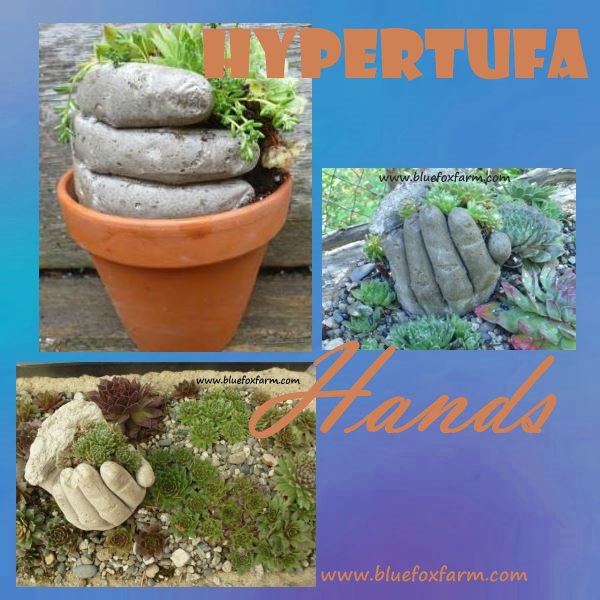
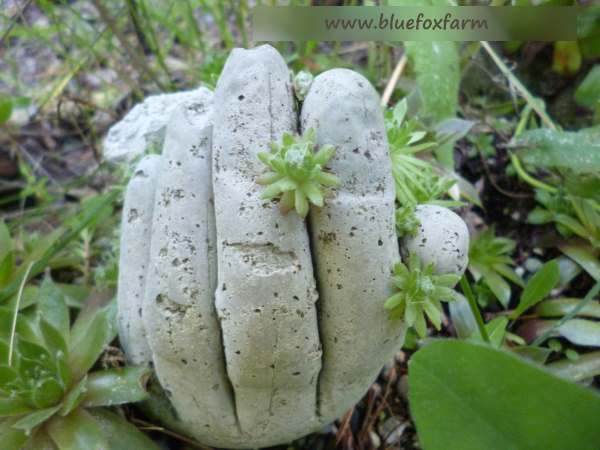
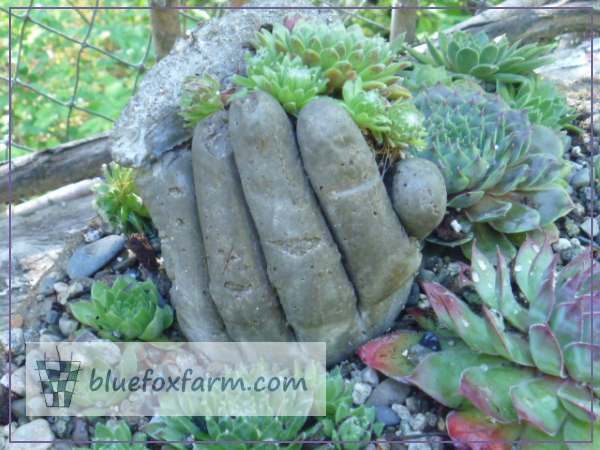
There are lots of ways that the hypertufa hands can be displayed, depending on what you use to form them.
These are either draped over a round item such as a bottle, or formed and left to harden inside a plastic plant pot.
Because I save everything, I have a lot of choices, from plastic containers like yogurt or cottage cheese containers, to clay pots.
This is one time that being a hoarder pays off.
As they weather, the moss will grow in the crevices, and eventually, in time, lichen could be happy there too.
These don't need any special winter care, except to keep them dry if possible.
There is nowhere for water to collect, which could freeze and crack, but they could break if they are immersed in water.
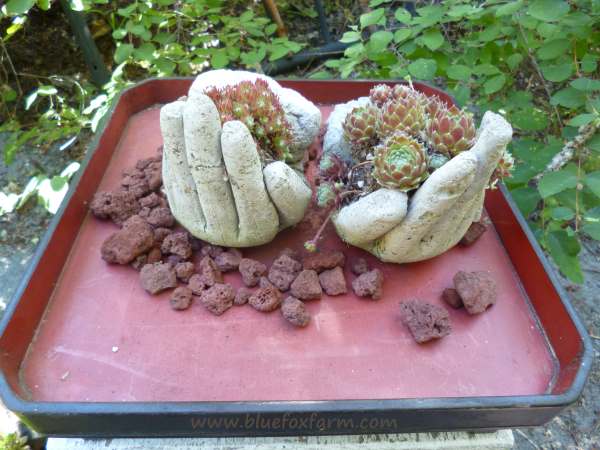
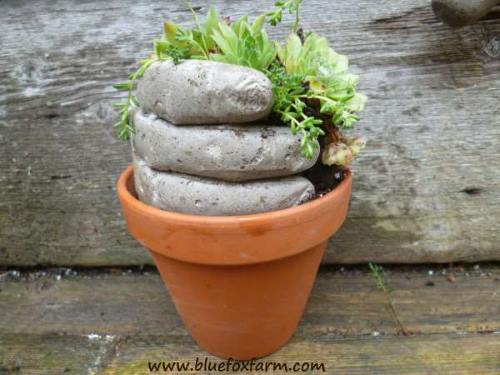
Think whimsy; display them in a small terracotta pot, with a handful of plants like a bouquet, or group them in a tray. Grasping for straws...
The original hypertufa hand - where it all started. This one catches the imagination and gets everyone fired up!
The Original Hypertufa Hands How to Make Fingernails for Hypertufa Hands
Make your own, and see what happens!
More from the sister site, Drought Smart Plants...
Find out more about the How to be Creative Guide or sign up below - it's free! Original article and pictures take www.bluefoxfarm.com site
How to make a natural twig star using pieces of sticks and string
Nineteen ladies braved snow and ice to meet me and my friend John “Dog” Callister for last weekend’s Natural Christmas Wreath workshop. The idea behind the day was to learn how to weave a willow ring, and then decorate it with foraged greenery, dried fruit, and other natural ornaments. There’s a video at the bottom of this piece showing the DIYs in action.
One of the ornaments John Dog showed us to make was a simple twig star. All you need is five sticks and something to hold them together. Once made, the star can go on the wreath or can be a decoration in its own right. This lovely nature craft is easy enough for youngsters too!
Simple Twig Star
Making a twig star is quick, easy, and inexpensive. All you need is five pieces of relatively bendy twigs that are the same length and approximately the same thickness. My star’s sides in this piece are 9.5″ long.
You’ll also need some medium to bind them together. This could be small rubber bands, string, or florist wire.
Step 1: Matching the ends
Begin by taking two twigs and locating which ends are thicker and thinner. Bind the two twigs together so that one thick end is connected to one thin end. Doing this for each attachment point will give the star more stability.
Attach them so that the right twig is on top of the left twig. Pull the twigs apart about thirty degrees to create a point before moving on to step two.
Step 2: Add the third twig
Add the next twig on, making sure that it’s the top-crossing twig at the attachment point. Each new twig you attach should be placed on top of the last one.
Adjust the position of the third twig so that the angle inside matches the angle at the top of your star. The third twig should also lie on top of the first twig as pictured.
Step 3: Weaving Under & Over
Weave the fourth twig through the twigs forming the star’s top point. Weave under and over and attach it with string afterwards. It might be easier to look at the photo below.
Step 4: Adding the last twig
When adding the last twig, it’s also easier to do the weaving first and then tie it in. Keep in mind:
Thick end to thin
Upper or lower placement is dependent on how the last twig was attached
Weave under, then over
Natural Willow Workshop
Watch the video below to see how to make this star, as well as the basics of making a willow ring and wreath. I make weekly videos over on my YouTube channel so head over there to subscribe. If you enjoyed this nature craft, you might want to look at some of the other ideas on Lovely Greens too.
Original article and pictures take lovelygreens.com site
Tutorial showing how to use natural materials to create a simple willow wreath
Making a wreath requires very little in the way of materials and equipment and will take you only about an hour to complete, start to finish.
Willow rings involved creating a circle and then weaving more switches into it. You can make them as thick or thin as you’d like and once made they’ll last for years. Best of all, you can decorate them each winter as an inexpensive and natural Christmas wreath.
Willow comes in a wide range of colours and textures
Each year on the Isle of Man John ‘Dog’, and fellow willow enthusiast Kevin, offer basket weaving and Christmas decoration classes. This year, they’re also offering classes on how to make St. Brigid Crosses, star wands, and willow Christmas wreaths.
There are many types of willow and they come in a wide range of colours and textures. The important thing to remember in choosing the one for your projects is that you can choose any and all of them. It’s completely up to you and your preference. You can find willow that’s deep red and shiny, dusky green-grey, or even matte black. The image above shows a selection of willow that John ‘Dog’ brings to his courses for students to use.
How to make a Willow Christmas Wreath
Materials needed
5-10 Willow switches approximately 5-6′ long and 1/4″-1/2″ in diameter
Fresh greenery from the garden – sprigs of pine, cedar, fir, and/or foliage from other evergreens
Raffia ribbon (optional)
Dried fruit (optional)
Christmas ornaments (optional)
You’ll also need Secateurs to cut the willow and string or florist wire to attach any decorations and greenery to the ring.
Making a wreath requires very little in the way of materials and equipment and will take you only about an hour to complete, start to finish. The willow used for this project came from John ‘Dog’ and he sourced it from a friend’s property. Growing willow on your land can help drain boggy areas and can also provide you with a regular and sustainable source of firewood.
If you can’t source willow and greenery from your own land, you might be able to find them at a local florist or tree surgeon. Another idea is to get in touch with local farms and the stallholders at Farmers Markets. Even if there isn’t any for sale at the stall, it is more than likely that you’ll be able to find a course through the resourceful folks at the market.
Decorate your home with this beautiful and natural willow Christmas wreath...handmade by you! It's an easy and quick project that will leave you with a stunning decoration fit to decorate any stylish home #Christmas
1. The artistry of a wreath lies in the willow frame which will take the most time to make in this project. It’s fairly simple though once you get the hang of it. You begin by taking one of your willow switches and gently bend it to train it to want to go in a circular shape. Be gentle when ‘taking the Spite’ out of it, as it’s called, since you don’t want the willow to break or kink.
Decorate your home with this beautiful and natural willow Christmas wreath...handmade by you! It's an easy and quick project that will leave you with a stunning decoration fit to decorate any stylish home #Christmas
2. Twist your switch into a circle shape just over twelve inches in diameter, or really as large as you’d like to go. The trick here is to twist from the end of the thicker part so that the extra willow that’s left hanging outside of the circular shape is thinner and more pliable.
Weaving this leftover piece of willow around the initial circular shape will hold the whole thing in place. Reach your arm through the center of the wreath and grab hold of the very end of the willow you want to pull through. If you try to pull from other parts of the shaft then it’s possible your willow will bend or kink and you want to avoid doing that for cosmetic reasons. Pulling the end of that switch back through the center of the wreath again and again will naturally twist it around the circle and create the basis of the wreath.
Note: you will likely have extra willow that won’t tuck into the frame at the end. Don’t worry about this and just let it stick out for the time being. You’ll trim all excess willow at the end.
Decorate your home with this beautiful and natural willow Christmas wreath...handmade by you! It's an easy and quick project that will leave you with a stunning decoration fit to decorate any stylish home #Christmas
2. Take the second willow switch and set the thicker end approximately six inches back from the thickest end of the first switch. By setting, I mean inserting it from the back of the wreath and pulling slightly so that the existing frame holds the new switch in place.
Hold the switch in place with one hand, then reach with your second through the opening in the center of the wreath and grab the very end of the new switch. Pull it through and continue this pattern all around the wreath until nothing more can be pulled through.
Decorate your home with this beautiful and natural willow Christmas wreath...handmade by you! It's an easy and quick project that will leave you with a stunning decoration fit to decorate any stylish home #Christmas
5. Decorate your willow frame with fresh greenery by simply tucking the ends in between the shafts of willow. I’ve also used raffia ribbon and some gold sprayed pine cones and Christmas ornaments to finish the wreath with simple, yet classy accents.
Tutorial showing how to use natural materials to create a simple willow wreath
If using fresh greenery, the wreath will survive longer when outside in the cold, such as hung from a door or gate. Indoors it won’t last as long so if you’d like to decorate for inside the house, consider using dried materials or even artificial leaves and decor.
Original article and pictures take lovelygreens.com site
Buying a handmade willow basket can be very expensive. On the other hand, making your own will cost you little more than your time.
My two natural willow baskets are as beautiful as they are functional. I admire them every day in the house and when there’s wild edibles or apples to be collected, they serve the task perfectly. My friend John “Dog” Callister made the baskets for me and after using them I wanted to learn how to make my own.
A two year old willow basket
The last of the videos in the series is the one I think you should begin with. It shows what the basket looks like over time and how I use it to collect apples. It’s interesting to see how the bright yellow willow we began with changed to a russet but the soft grey held its colour.
The video follows with the last steps to finishing off a handmade basket including attaching the handle.
An Introduction to Basket Weaving
This is a sit-down casual chat with John “Dog” to discuss how much time and willow it takes to make a basket. It takes him just over an hour to make a small basket but students in his classes will take 2-3 hours.
Be prepared with 100 pieces of willow when you go into making a basket — it really takes that much!
Part 1: How to Weave a Willow Basket
This part outlines how to create the base of the basket. Tools you’ll need to create a basket include secateurs, a weight, needle nose pliers, and a fid.
Part 2: Building the sides of the basket
With the base complete, the second part continues with attaching the uprights and creating the sides of the basket. Finishing with a simple weave at the top, you’ll move on to part 3 to complete the project.