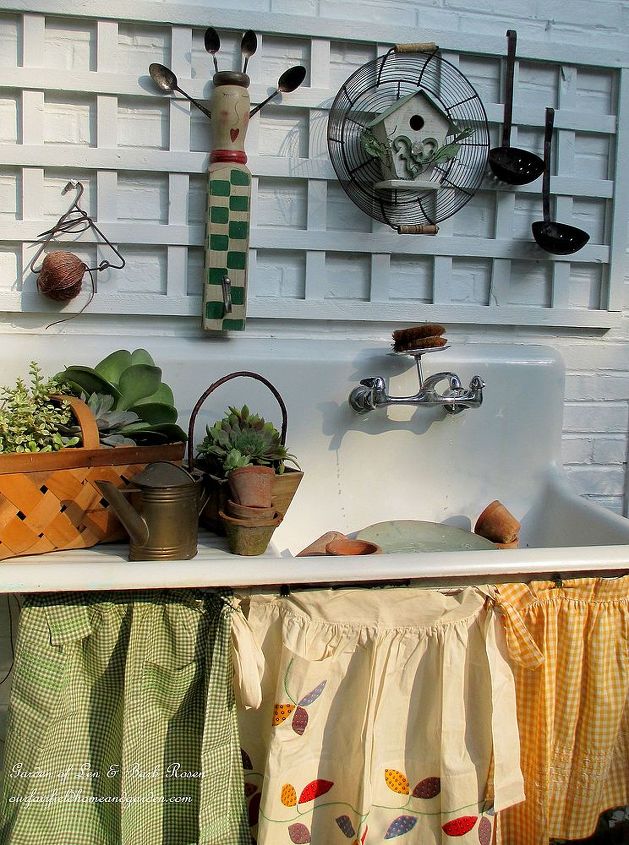
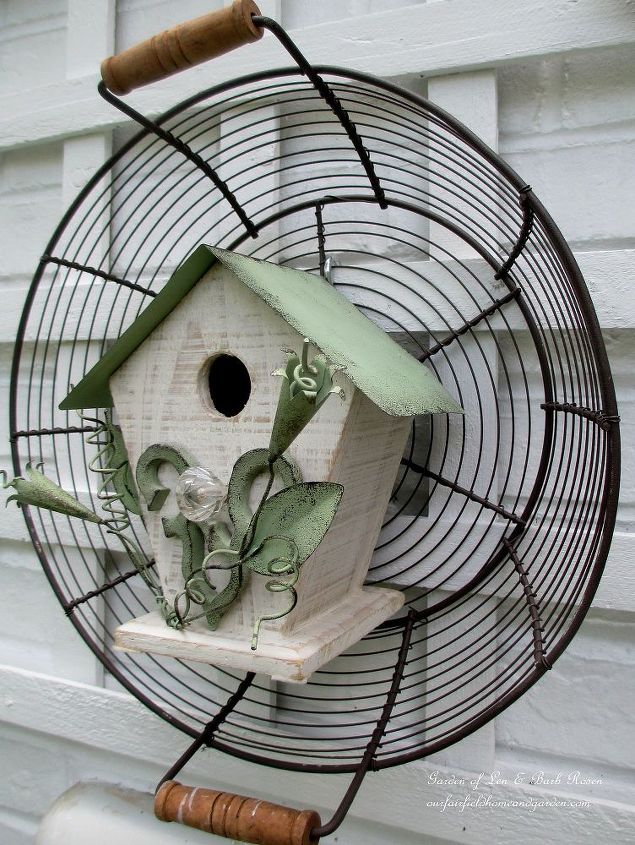
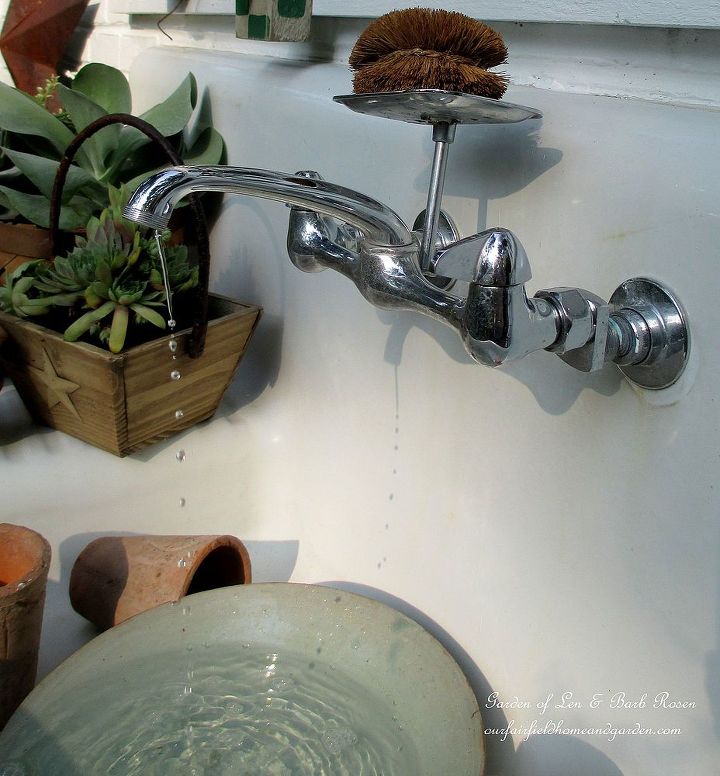
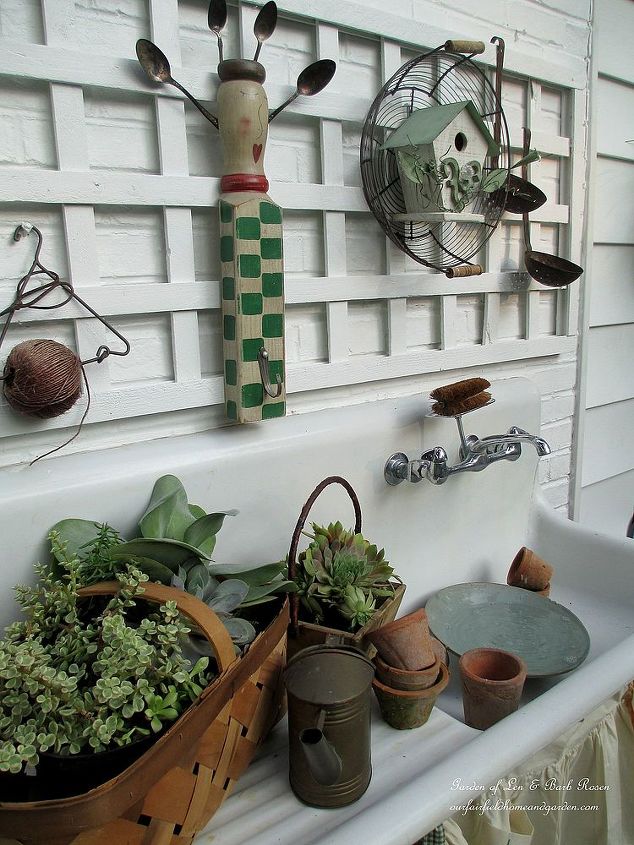
Can I just tell you how much I love our vintage potting sink? I dress her up for the seasons and special holidays and, as I come down the garden path and she comes into view, I smile every time. You see, my sink is a girl !
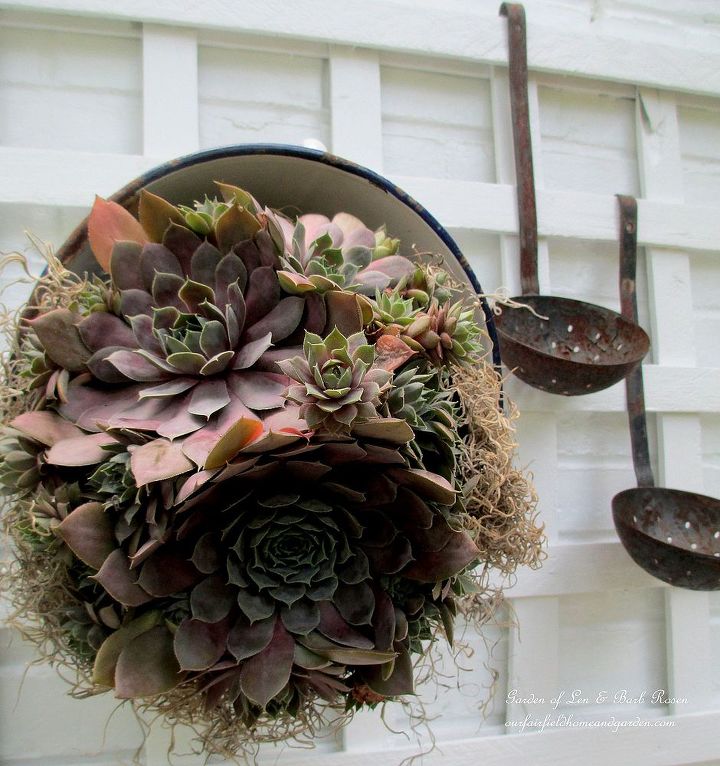
Three cute gingham and applique half-aprons found at yard sales create the sink skirting which conceals a five-gallon bucket and recirculating pump housed there. Since we are having quite a heat wave, I moved heat-tolerant succulents from other spots in the garden to be this month’s stars. She's fresh as a daisy in her gingham and ready for the summer days ahead.
Something I’ve been planning on growing for many years is ornamental gourds. For some reason they fascinate me. They have such a wonderful shape and when dried can be used for many creative projects. I especially like the Lagenaria or hard skinned gourds.
When to Harvest Gourds
Easy to plant and easy to grow, gourds are similar to pumpkins. Your gourds will grow green on the vine and turn to tan or brown as they dry out. An added bonus is the large beautiful pure white flowers that bloom at night. When you notice that the stems have dried out and turned brown it is time to harvest your gourds. This will most likely be late summer or early fall. They must be harvested before a frost or they will simply rot.
How to Dry Gourds
Drying gourds is a lengthy process as they take a long time to cure and dry. Once the outside has dried it can take up to six months for the insides to dry. After harvesting wash your gourds with soap and water and air dry. Rub each gourd with a bit of rubbing alcohol. Place them in a well ventilated area away from direct sunlight for about 1 week. The outer skin will harden and change color. Move to a dark well aired area and place a single layer on a screen or hang. Do not allow the gourds to touch each other as this will promote rot. Leave drying for about 6 months. Check your dry gourds regularly and throw away any that are decaying as they will only infect the others. Turn every couple of weeks so all sides are aired. Should you notice a bit of mold on the outer skin try wiping it away with a soft cloth dipped in bleach.
Crafting with Gourds
When totally dry your dried gourds will be hard and seeds will shake inside. They are now ready for you to use and become decorative gourds. If there is a bit of peeling on the skin you can use a bit of light sandpaper to polish it off. You can carve them for ornaments or birdhouses and feeders. Try hand painting gourds, waxing or shellacking. It’s all up to you so be creative. I enjoy water color and acrylic painting and plan to decorate my gourds that way. Visit Turning Gourds into Art for a tutorial on how to paint gourds. A few will also be turned into bird feeders for the winter months next year. You will most likely have more than you can use so create home spun gifts with the rest.
Share on Pinterest
(Some photos are from Pixabay / JamesDeMers / StillWorksimagery / Jazzyfresh / Steinchen)
The clear plastic pockets inside a photo album are great for organizing seeds into. Providing that the packets aren’t too thick, you can slide them in and out easily and the clear plastic makes them easy to browse. If you have a lot of seeds, you could even have seed albums for salad crops, herbs, roots, brassicas, etc.
This tutorial shows how to recover an old photo album in fabric so that it’s a just a little bit prettier. You could of course omit this step though and just store your seeds in a ready-made album.
Use an old photo album to create a clever seed packet organizer! Cover the album in fabric for a finishing touch #crafts
The Fabric
To start the project I purchased a ‘Fat Quarter’ of fabric, which turned out to be far more than I needed. To fix the fabric to the album covers I used ordinary spray mount though I’m sure any glue that’s suitable for both cloth and paper will do. In all, the project took about half an hour and I’m pretty excited with how the new seed book looks.
I think that an ordinary album might be trickier to use for this project because seed packets are thick when stacked one on top the other. Using a spiral bound album is far more practical when creating a seed album since it can help create space.
Spiral Binding
The trickiest part of the project for me was deciding how to approach covering the line of holes along the spine. In the end I decided to forget trying to cover them at all since it seemed like a mission and the chances of the fabric fraying around the holes is pretty high.
My solution was to turn the front and back sides of the album covers inside out so that the Cheetah design faced inwards and the visible part of the spine was black. Running the fabric right up to the holes but not covering them worked well and I was relieved to skip the ordeal of cutting out and pinning back fabric for every single hole. Though of course, carry on if you’d prefer to do so.
Step 2: Cut two pieces of fabric – one for each of the covers. Leave an extra 2-4cm of margin for the top, bottom and one of the sides. I only used 2cm in this project since I’m trying to save as much of the remaining fabric for another idea but I’d recommend a little bit more to make things easier. You’ll also notice that the edges of the fabric below are zigzag.
This is because I cut the fabric with pinking shears which can help minimise fraying at the edges. Though to be honest I don’t think it’s a big deal if you cut the fabric this way or just with ordinary scissors.
Use an old photo album to create a clever seed packet organizer! Cover the album in fabric for a finishing touch #crafts Original article and pictures take lovelygreens.com site
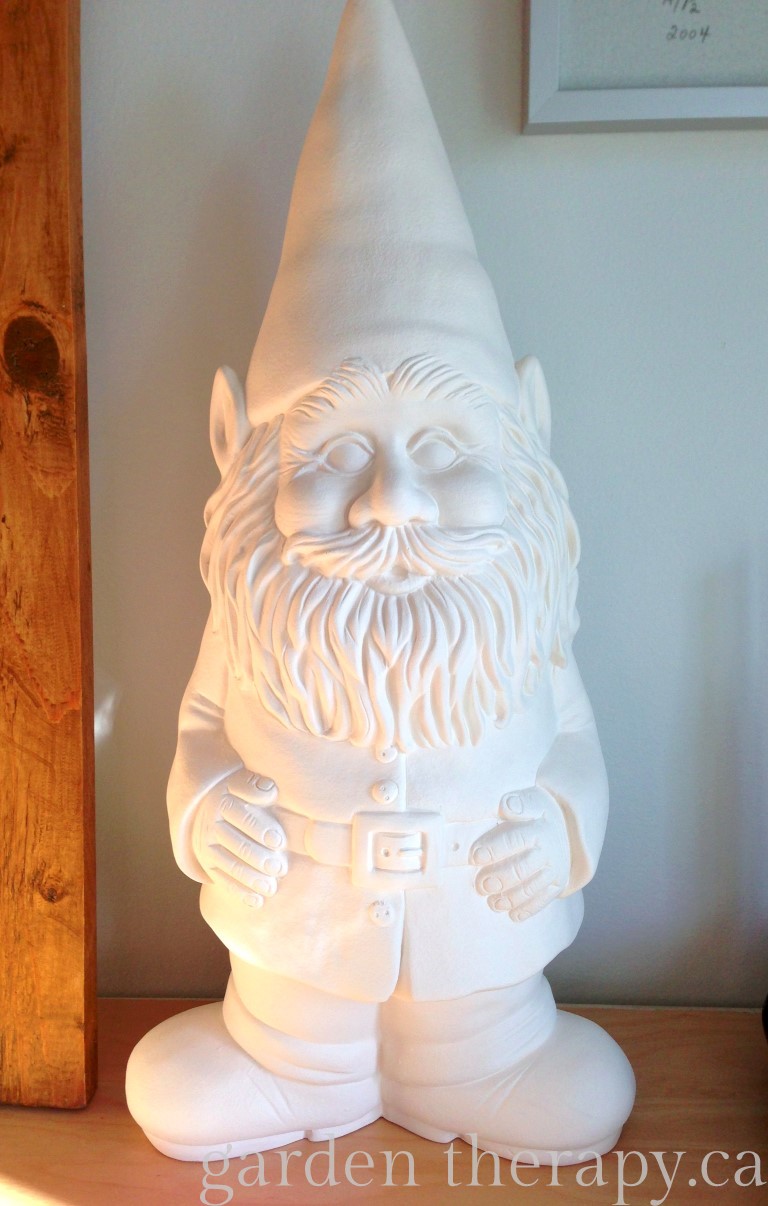
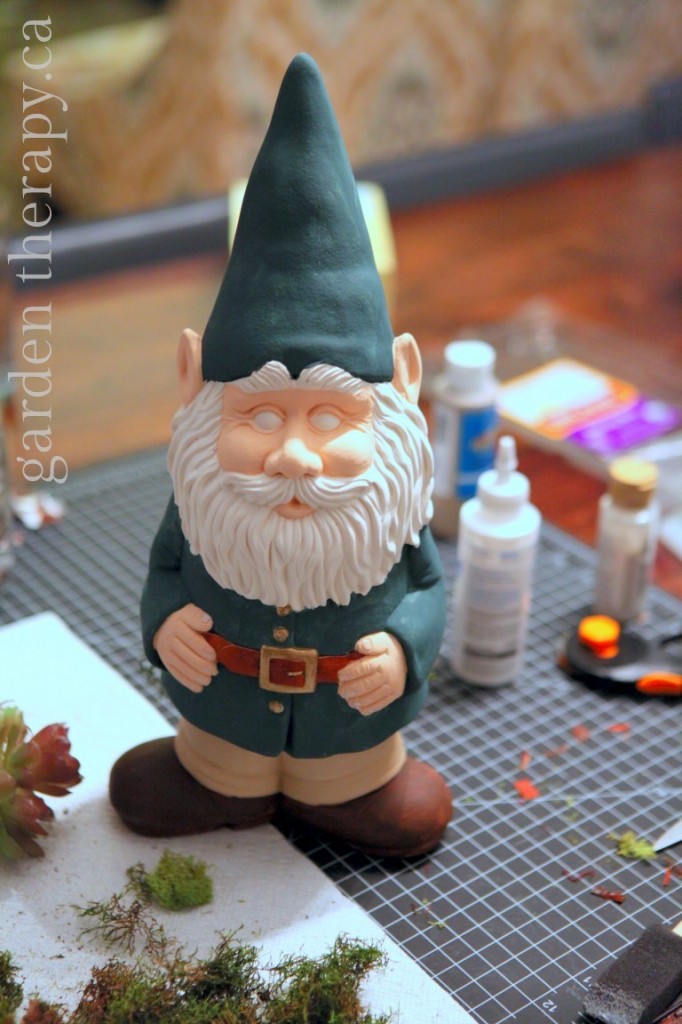
Today I’m going to show you just how I transformed this:
Ceramic Gnome Before
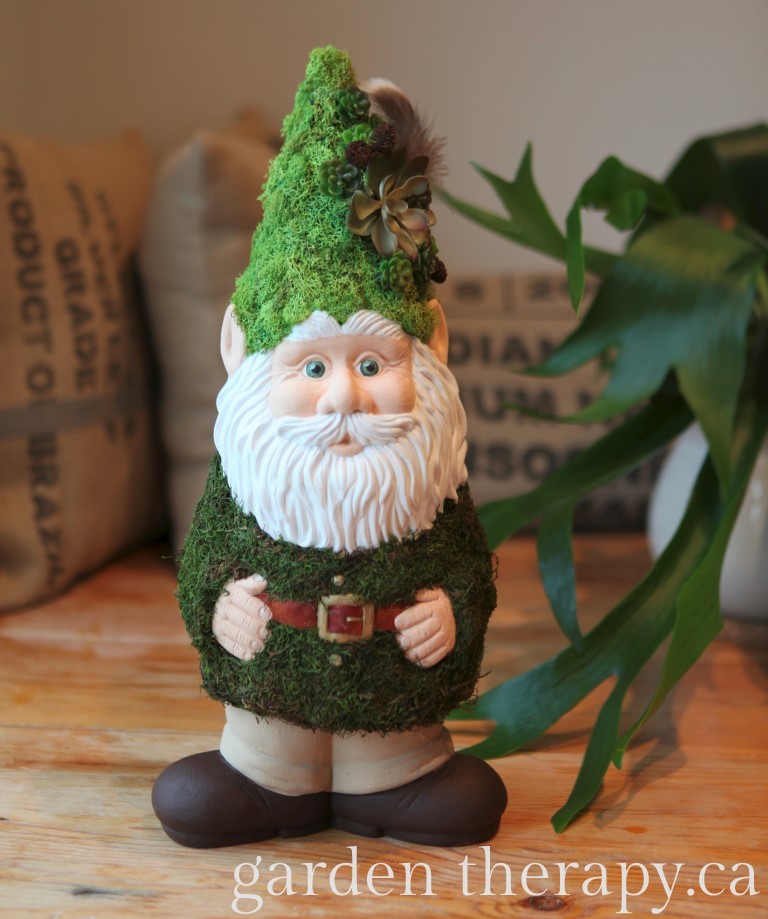
into Woody:
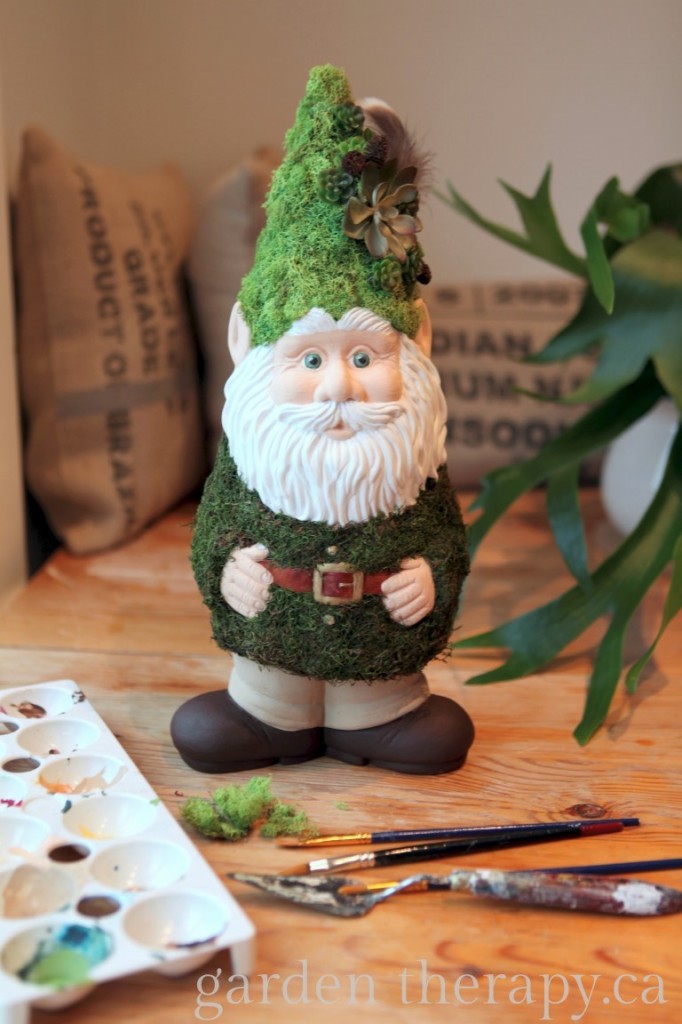
BC Home and Garden Show's Better Gnomes and Gardens Feature Garden Therapy Submission - Woody
“Woody” lives deep within the forest where he escaped to in 1994 when he went “off the grid”. He keeps his squat, stout figure by wrestling the rabbits at Jericho beach. His moss coat and lichen hat were knit by a garden gnome collective who tired of him looking like he was on his way to Wreck Beach and decided to take matters into their own hands. Woody sports an owl feather in his cap and a belt made from squirrel leather that he tanned himself.
To create his woodland look I first gave him a good coat of paint. (Sorry about the creepy zombie gnome eyes!)
Painting the Ceramic Gnome
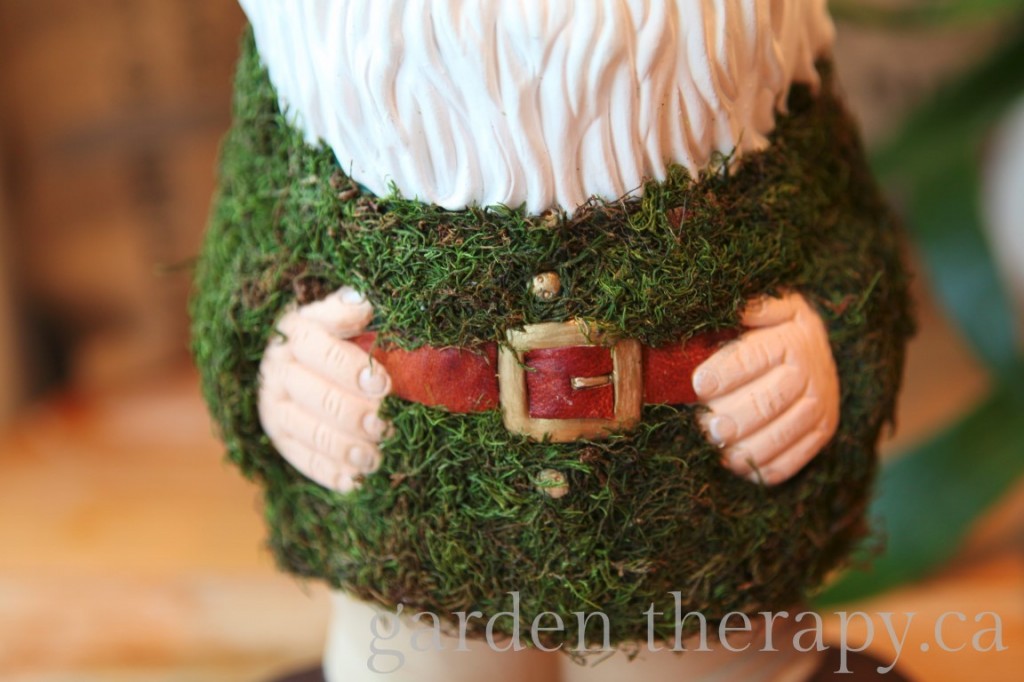
I used leather for his belt. I cut out the shape to fit and used a hot glue gun to attach the pieces.
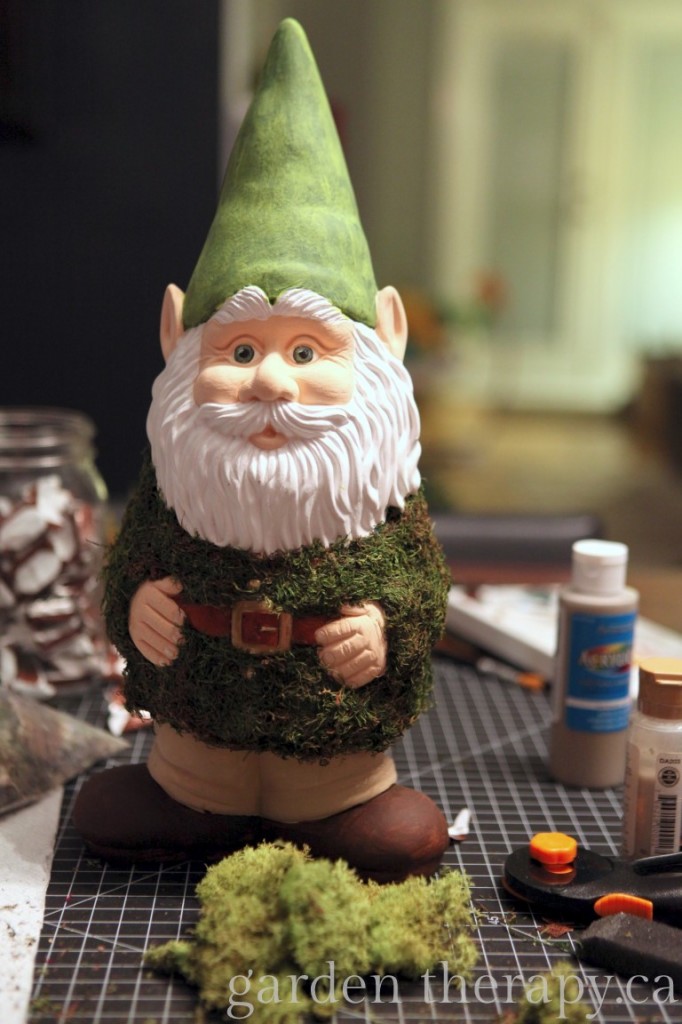
Then I worked on mossing up his coat. I collected moss from a tree just down the street from me. It was drying on the tree so it came off quite easily and was already the final deep green colour it will stay. It was pliable as it hadn’t quite dried up yet so it wouldn’t have been more perfect for this project. It was very easy to mould onto the ceramic: I painted some white glue on with a brush and pressed the moss on to Woody. A couple of layers later and his jacket was completely covered.
Moss Gnome Coat
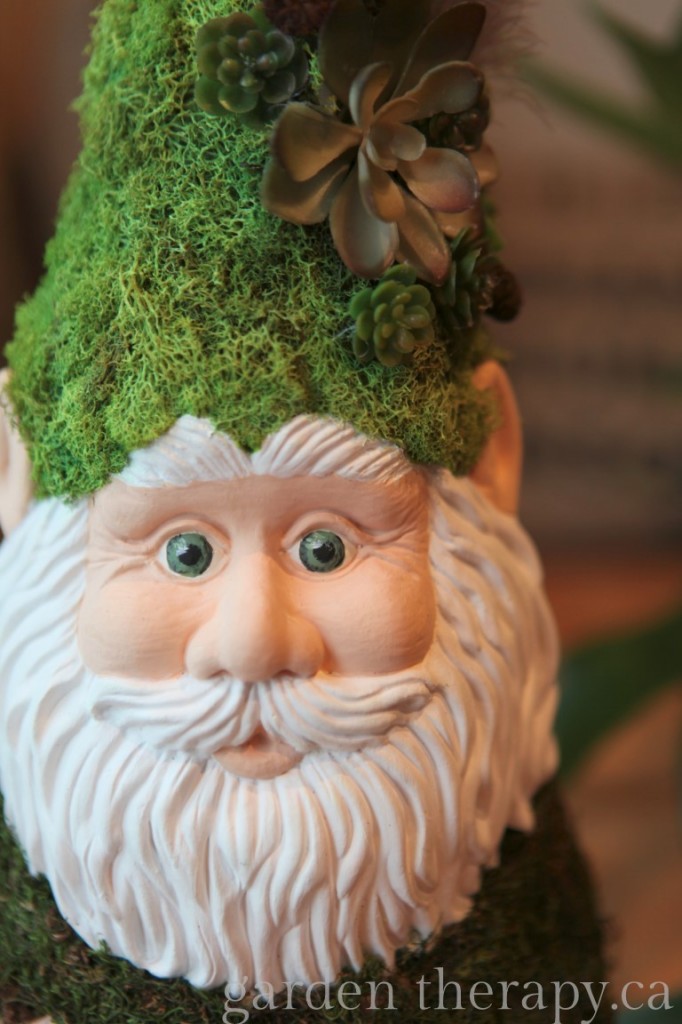
The same process was used for his lichen hat. I hear you over there…”but that’s reindeer moss?!” It may be commonly called moss but it is actually a type of fruticose lichen, Cladonia rangiferina. I bought this particular bunch of it, which was dyed bright green, at a craft store.
Decorating Gnome for the Home Show
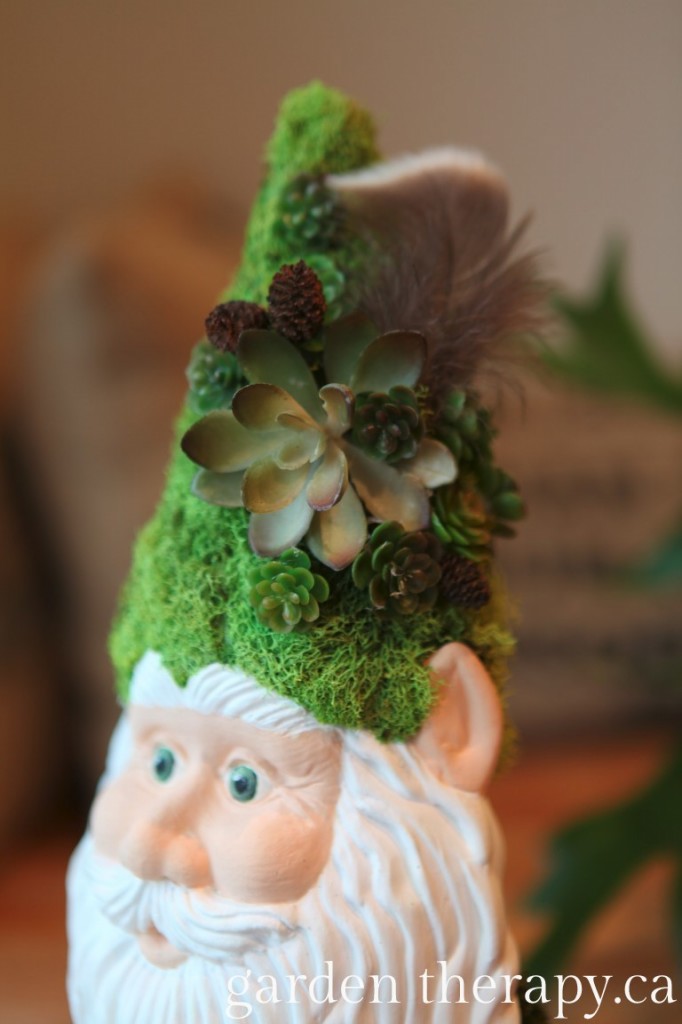
Plastic succulents, mini pine cones, and a snowy owl feather I collected from Boundary Bay, were all hot glued on to his cap. I really (really) wanted to add air plants instead of the plastic succulents but I wasn’t sure where his journey would take him from here. I know I would be diligent with watering the plants, but would his adoptive parent? Hard to know. Against my nature as an organic gardener, I went for a few little plastic succulents, in an effort to make Woody as low maintenance as possible.
Gnome Hat with Lichen, pine cones, succculents and an owl feather
I hope that if you are in the area, you will take some time to go visit Woody and make a bid on any of the gnomes. Sole Food is a great cause and I was happy to be involved.
Woody the Woodland Gnome with Moss Coat and Lichen Hat
Save
Original article and pictures take gardentherapy.ca site
Hurry - once it's sold this opportunity will be gone!
Besides being memorable, .com domains are unique: This is the one and only .com name of it's kind. Other extensions usually just drive traffic to their .com counterparts. To learn more about premium .com domain valuations, watch the video below:
Turbocharge your Web site. Watch our video to learn how.
Improves Your Web Presence
Get noticed online with a great domain name
73% of all domains registered on the Web are .coms. The reason is simple: .com is the where most of Web traffic happens. Owning a premium .com gives you great benefits including better SEO, name recognition, and providing your site with a sense of authority.
Here's What Others Are Saying
Since 2005, we've helped thousands of people get the perfect domain name
Excellent, it was great to start with new domain so quick
Huge domain was easy to use, they followed through on what was promised and allowed us to finance our domain purchase over time, instead of outlaying all the cash up front. Great service! - Josh, 10/4/2017
OffTract.com
Own this domain today
Our Price: $1,895 (USD)
Original article and pictures take offtract.com site