Want to have some inexpensive, fun garden accents? Go Kitchen Kitschy using Dollar Store items and used culinary accessories in your garden! On a recent trip to our local Dollar Store, I let my imagination run wild and picked up $12 worth of goodies from the kitchen aisle. Bright-colored plastic and metal, these purchases will add color and last a long time, too.
Next came a good rummaging through our kitchen cupboards to dig out little-used items for some repurposing. Now I was ready to make some garden accents!
First, let me show you the fun I had with my Dollar Store finds!
Dollar Store Spatula Garden Marker ~ just write on it with indelible ink marker! Dollar Store Spatula Plant Marker ~ red, perfect for the tomatoes! Tiered Funnel Planter with a fairy on top! Just stack and fill the funnels in a flower pot! Fly Swatter Plant Markers ~ the centers are canning jar labels! Dollar Store Fly Swatter Flowers ~ the centers are drink coasters! Dollar Store Spatula Garden Accents ~ just stick them in the dirt! Dollar Store salt & pepper shakers, a glass condiment jar and a paper doily make a lovely floral arrangement for indoors or out! Dollar Store Cookie Cutter Fence Accents Cookie Cutter Birdhouse ~ just glue them on!
What to do with candle holders you don’t care for or use? Why, put them in the garden of course! This pair of asparagus candle sticks are marking where our newly planted asparagus are so I don’t accidentally dig them up! Pretty and useful, too. Root around in your cupboards and use what you have!
Asparagus Candle Holders as a garden accent with newly planted asparagus! Kitchen Man made from a collection of pots, bowls, colanders and measuring spoons! How fun!
Or maybe you tend towards vintage garden accents. Old pots and pans, cookie cutters, pie birds, baskets and kitchen utensils can be had for a song at thrift shops and garage sales. Add them to your plantings or group them for instant interest in your garden.
Pie Bird Garden Accents Pie bird as a garden accent! Vintage wire basket & tin cookie cutters for a hanging vine Roasting Pan Planter with kitchen fairies! Succulents planted in a vintage colander from another post ~ click here to see more! Cooking Pot Herb Garden from an earlier post ~ click here to see it!
See what my friends The Garden Charmers came up with using kitchen items for garden art!
The Garden Charmers Charming Kitchen Utensils in the Garden Original article and pictures take ourfairfieldhomeandgarden.com site
Are you sick of winter yet and craving some color? Check out the links at the end of the post from the Garden Charmers on our group link up
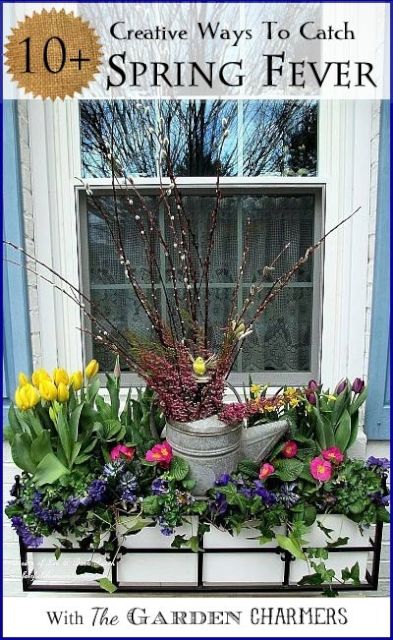
10 Ways to Catch Spring Fever.
Here’s my way to kick-start your spring garden now while you wait for those bulbs to pop up.
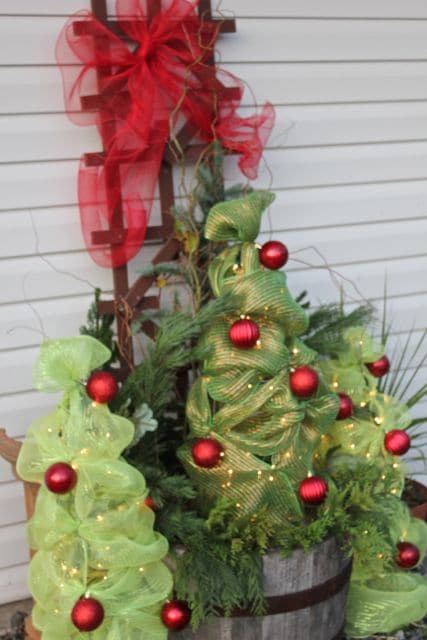
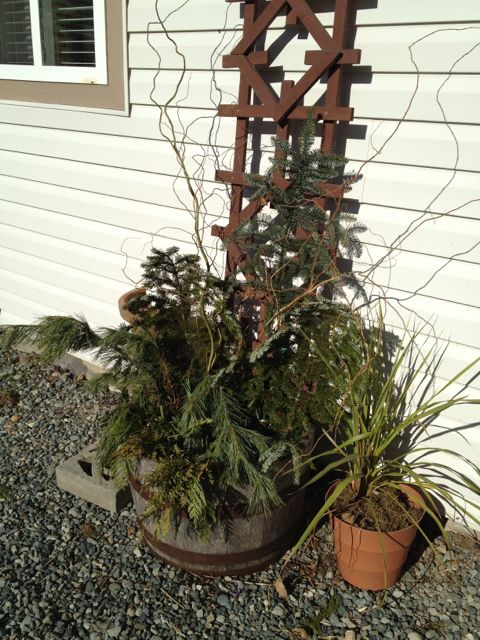
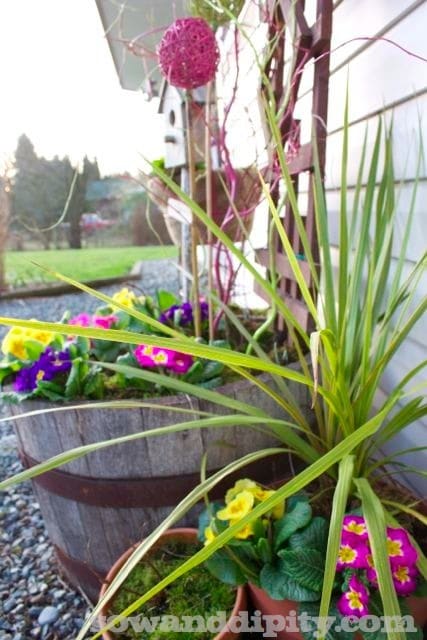
I put away all the outdoor Christmas decor right after New Years, but I left the greens in the planter for some color and to protect the bulbs. After the Tomato Cage Christmas tree’s were removed though, it looked pretty bleak… so I’m happy to add some much needed color to this area.
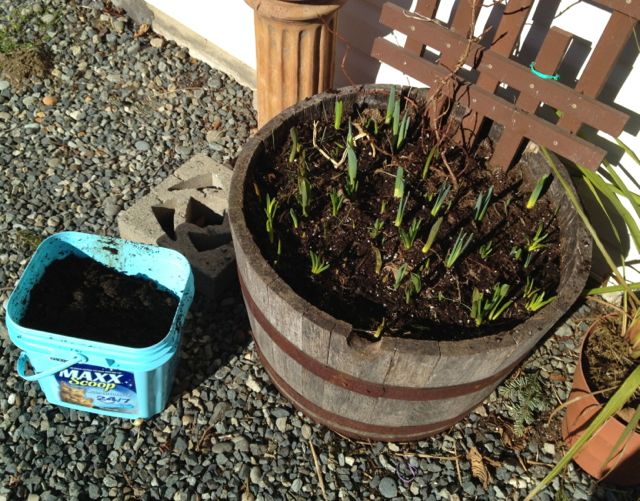
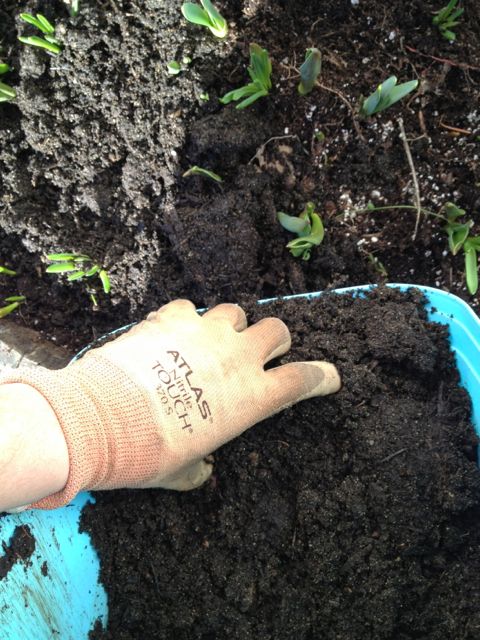
The cleanup revealed that all the bulbs are coming up! So I thought I’d top up the planter with some compost. Yes, that’s a kitty litter bucket! They are perfect for use in the garden, they are strong, durable and have a handle. They’re way better than most garden buckets out there,
Re-Use – Re-cycle – Re-purpose
I just have to show you a close-up of my compost….look at how rich and fluffy that is! Amazing how this was just a pile of kitchen scraps and yard waste a few months ago.
I am the maker of dirt, hear me roar!
This planter is ready, now let’s get our fillers……
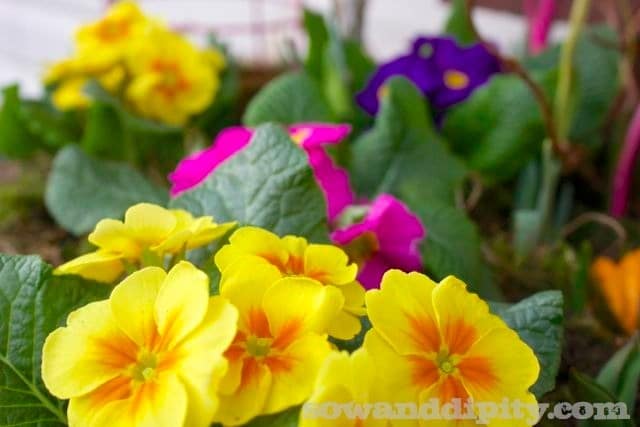
I went to Art’s Nursery here in Port Kells just down the road from me to grab up some primulas. I love this nursery, the staff is super, they have a cute gift shop and the overall layout is easy to navigate. They carry all the bulk landscape materials too…I can pop in and grab a truck load of garden soil or mulch when ever I need it.
Primrose have a lovely scent, even my best buddy Cooper couldn’t help hanging off the truck seat to breath in their heavy fragrance…. he couldn’t stop sniffing them all the way home as a matter of fact!
Here’s the deal, I try to make do with what I have on hand. I could have gone crazy buying viola’s, dusty miller, skimmia’s etc. But I have a bunch of bulbs in there and I’m just looking for a splash of color to last a couple of weeks. So…..
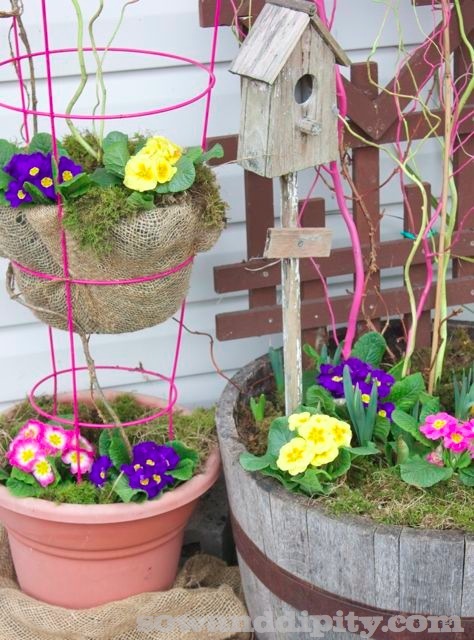
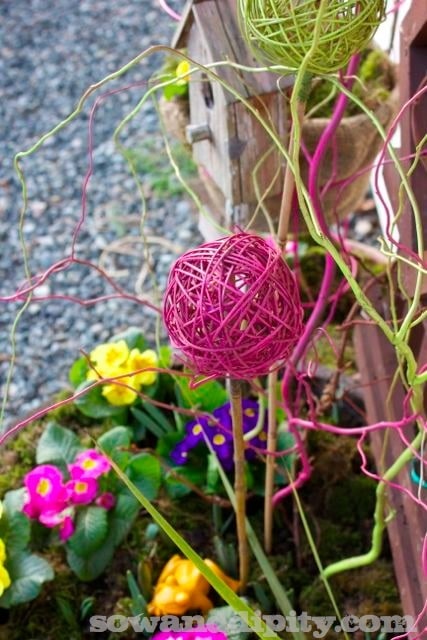
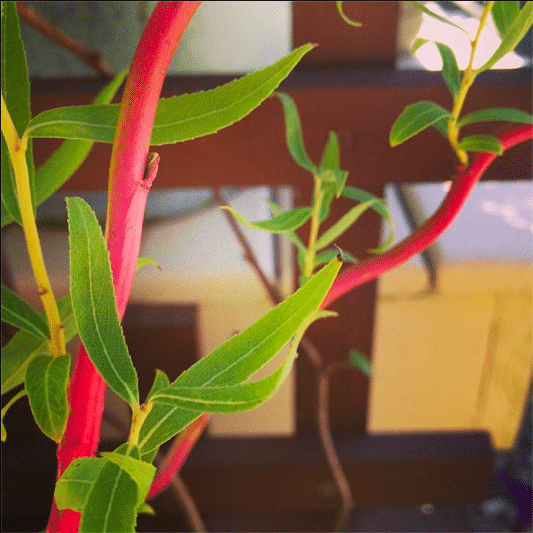
I re-used the curly willow branches from the winter display and spray painted them in bright green and pink. A couple of Dollar Store wicker balls make instant planter picks with a coat of paint then stuck onto bamboo stakes.
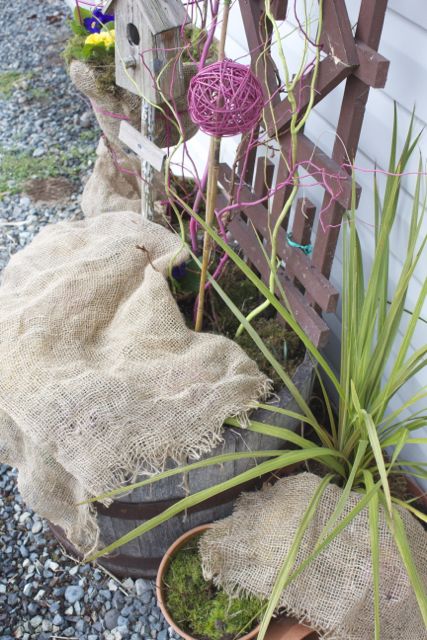
I decided that my hot pink tomato cage makes a perfect second tier in a planter when you drop a pot into it….so I covered the pot up with burlap and popped some primrose into it to add some vertical color.
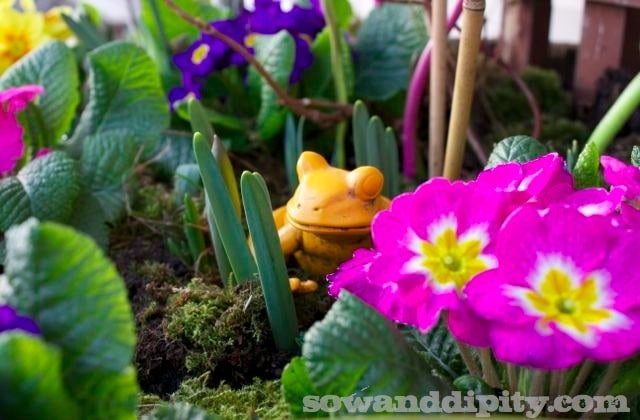
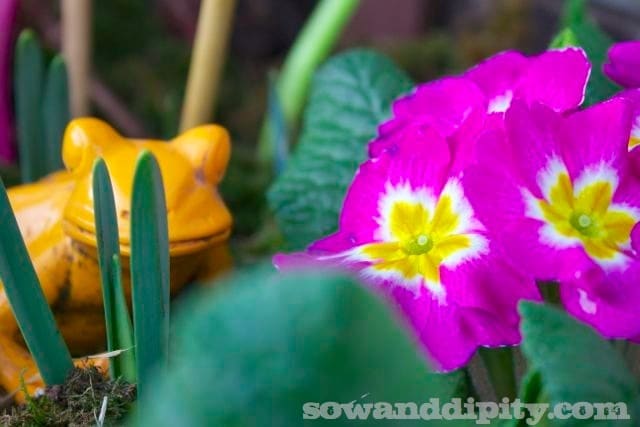
My garden has little critters, mushrooms and oddities hiding in it….like this little yellow froggy who gets to hang out in this planter for spring.
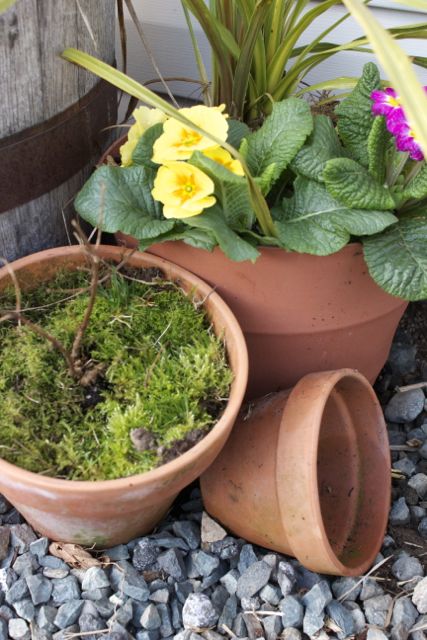
Flowers, moss and terracotta….just a few of my favorite things! You don’t need to go crazy filling every pot you have to make a great display, just use a little soil and some fabulous green moss for instant color. I even left the stem of the now dead plant from last summer in one pot and added moss, it just looked like it belonged there.
Here is my moss rant….listen up!
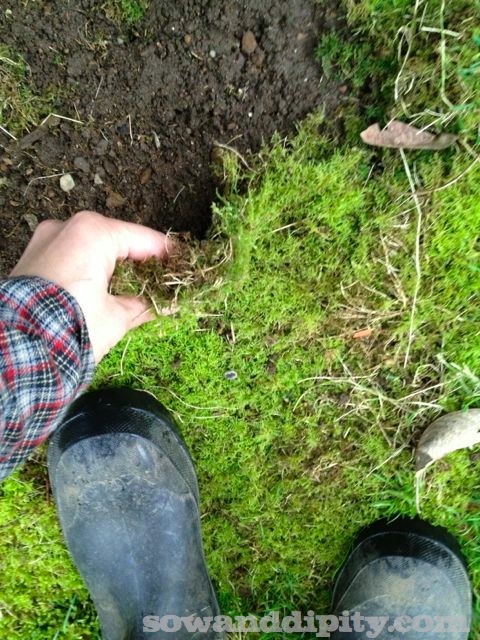
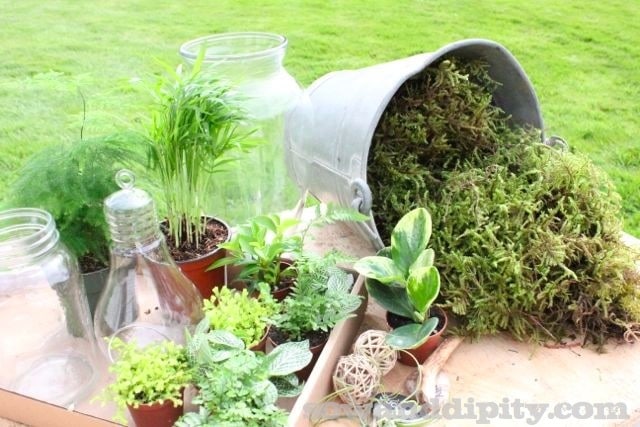
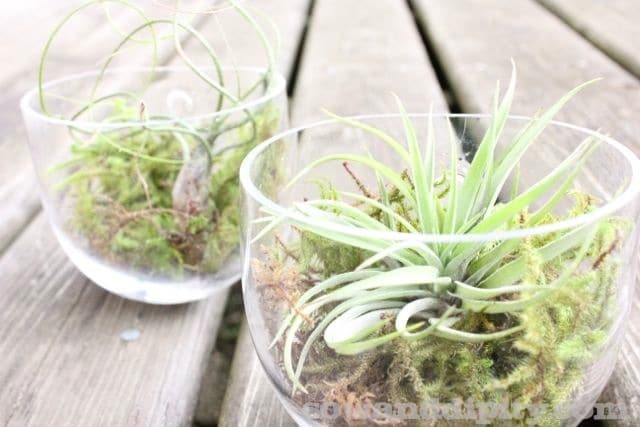
Why o’ why must we kill it? I actually encourage it’s growth and harvest it all year long from my very own garden! I use it to line my hanging baskets, to retain moisture in my planters in summer, for making terrarium’s and for all my outdoor crafts.
My day job is a manager at a garden centre, I advise people all day long about what to plant, organic practices etc. Here in the Pacific Northwest we are blessed with this spongy green carpet and yet people often want to know how to destroy it.
I always say…. “So you’re looking to have a nice green yard, yes? Something that is low maintenance, blocks out weeds, easy to grow….hmm…..” Makes no sense to me to kill it when you can harvest and use it. None at all!
Moss rant is now over
keep calm and garden on
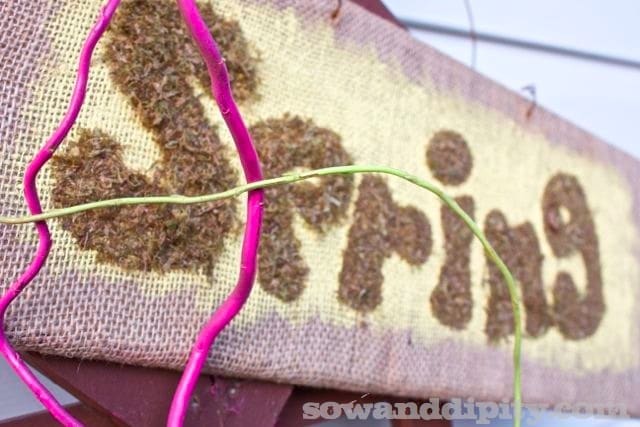
Here’s the first sign of spring sign I did for this vignette, it’s a cute addition and it’s completely handmade with simple or recycled materials. I hung it on the trellis I made a couple of years ago to add height to this display.
As you can see, I pretty much created this whole project from re-purposing and recycling items I had on hand. Look around your garden shed and think of ways to make something old new again!
I pulled apart the moss to loosely cover the planter as to not interfere with the emerging bulbs. They will soon become part of the display changing it’s appearance over the next couple weeks to make it look even more fabulous’er.
And because it’s a tad….just a tad…. bit early, I cover my pretty primulas with a burlap blankie every night. Often we get mild temps in February only to be reminded that it’s still winter in March. The fact that this display faces south and is under an eave will help protect it too.
Well, I hope that will help kick-start your spring garden. Now back to shopping for seeds and dreaming about warmer days to come.
**** Update ****
Turns out my curly willow branches had some life in them! As of July 15th, these stems decided to put on some leaves. The fresh green against the pink is amazing.
Not a new species… just a bonus
Be sure to check out everyone’s posts for spring inspirations!
10 Ways To Catch Spring Fever With The Garden Charmers
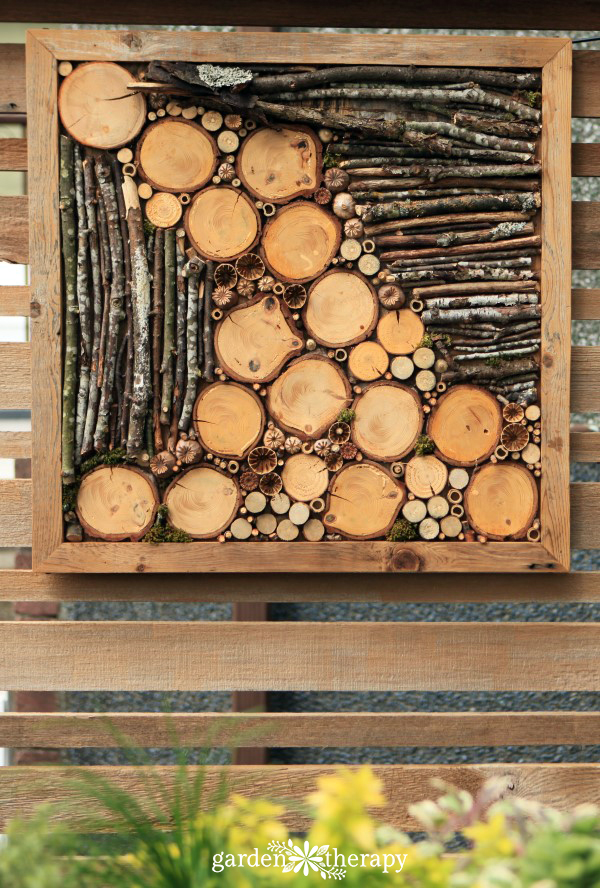
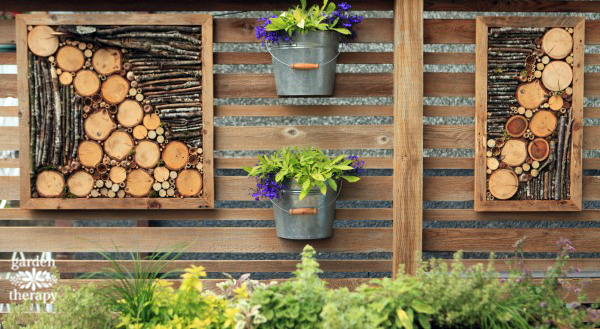
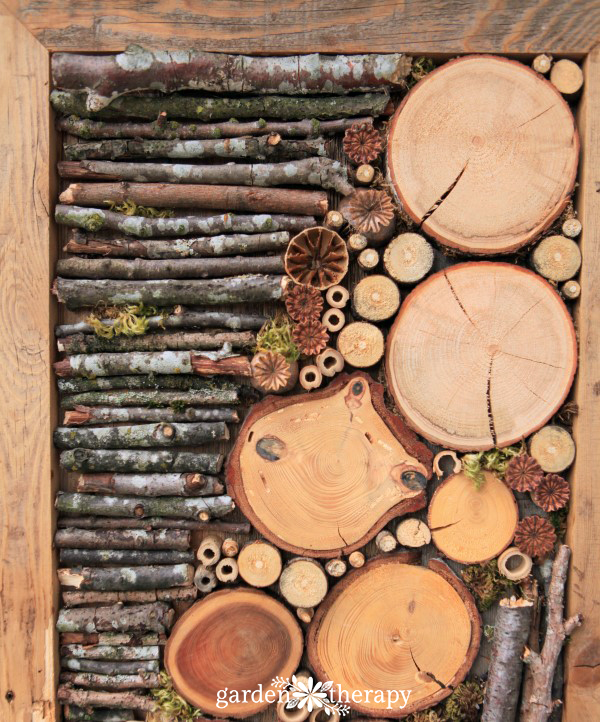
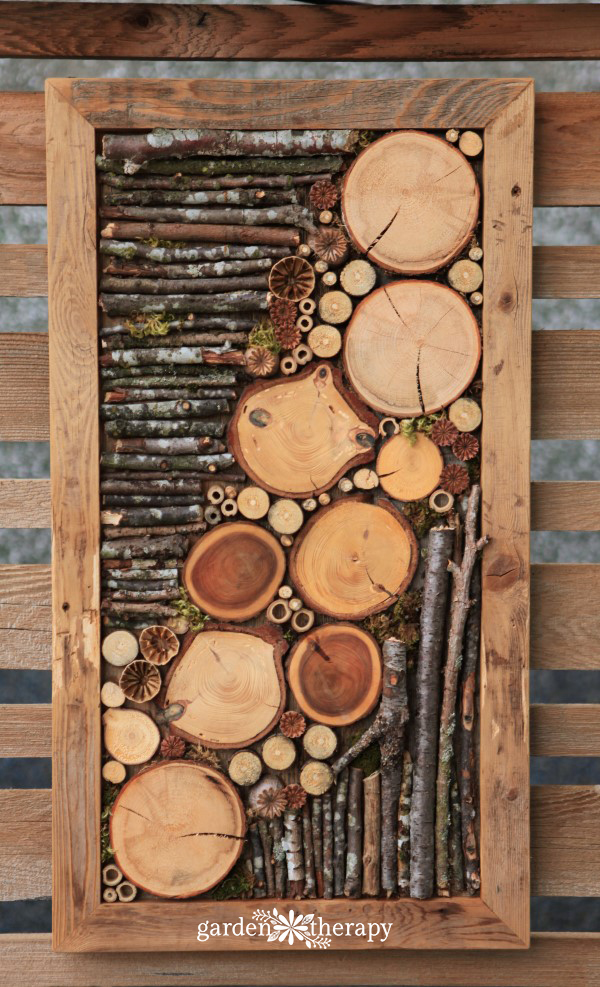
If you have an eyesore of a fence, or even just want to add some deck decor, this Bug Hotel Fence Art is the perfect fit! Natural and found elements such as branches, seed heads, bamboo, and moss are set in a wooden frame as four-season art. With materials collected from the garden it looks right at home as the backdrop to the outdoor dining area.
I’m a huge fan of decorating outdoors. Since I’m also a huge fan of supporting beneficial insects, it seemed like the right idea was to create a pleasing bug hotel that also doubled as artwork. If you’re looking to make a proper bug hotel, head over to this post and see how to make a structure that’s deep enough to support all sorts of different insects like solitary bees, lacewings, ladybugs, and more.
This artwork has all the elements of a bug hotel but it doesn’t have a lot of depth. It has a few holes and crevices that little bugs could nestle into for a winter’s nap but its main intention is to decorate the fence and create a backdrop to the outdoor dining area.
Materials
Wood frame*
Sticks, branches, seed heads, bamboo, moss, and more.
Hand saw
Table saw
Make it!
To make your own bug hotel inspired artwork, first things first: head out and collect materials. Look for materials from your garden or surrounding neighborhood and you will have an original piece that is truly art imitating life.
Choose straight branches with interesting lichen and mosses on them. Find some large branches that can be cut into slices. Look for wood that has interesting marks, insect holes, and other tracks that will add a little bit of character to the art piece.
To assemble this artwork you’ll first need a frame that is weatherproof and can last outside throughout the seasons.
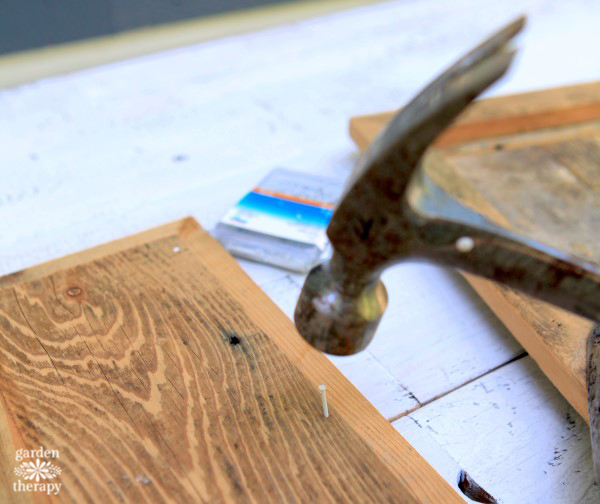
*The frame I used for this project was custom made out of reclaimed barn wood. I’m working on creating a PDF for how to build the frame and will post it here when it is completed. In the meantime, you can purchase a wood frame and use wood glue and nails to attach a frame backing cut from a piece of plywood.
After you have built the frame, now you can get creative in designing the art!
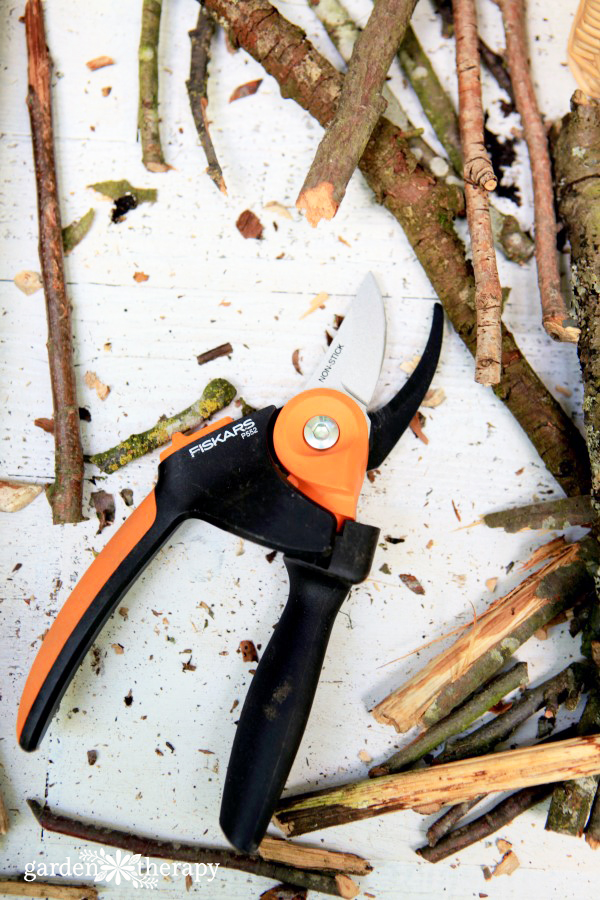
Arrange all of your materials and get a powerful pair of pruners that can handle the job of cutting through thick branches. Otherwise, you will have to saw every single piece of wood for this project and it will take a lot longer. I used these which I was sent last year for fall clean up and removing suckers from trees.
The other elements like bamboo reeds and poppy seed heads were hand sawed to get them to just the right shape.
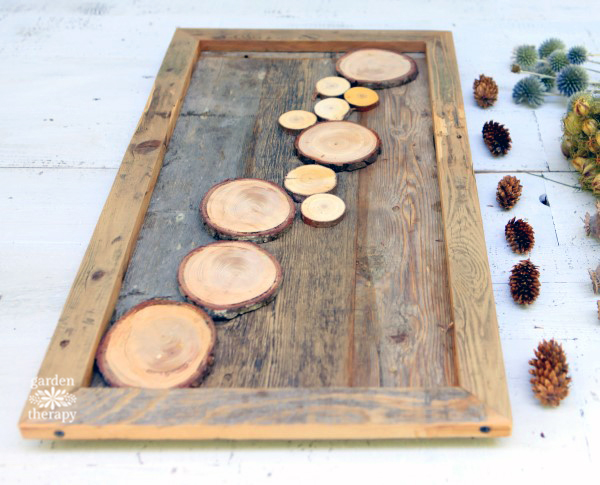
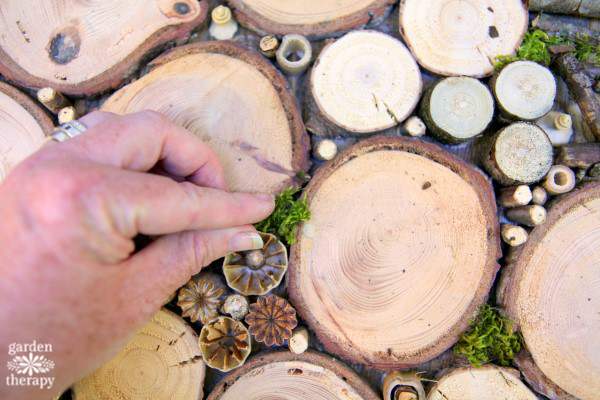
Once you have all of your elements cut, begin to lay out your design. I started by creating a wave of cut wood slices diagonally across the frame. I then filled in more space on the edges with cut branches. The tinier pieces were put in afterward in a random pattern that added more detail and decoration.
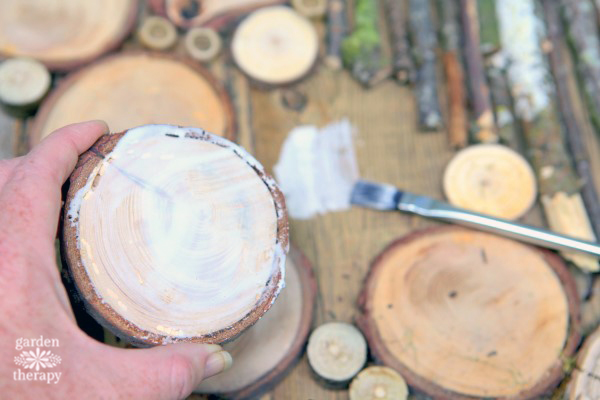
Glue all of the elements down using wood glue. This is best done by lifting them up one at a time, adding the glue to the back and then setting them back down. Wood glue is wonderfully adhesive and will affix the elements to the wood backing in only an hour.
Finish up by adding some moss into any open spaces or corners that look like they could benefit from a little bit of green.
After all the elements are glued, there’s no need to seal or varnish the artwork. Unfinished wood is also more inviting to bugs looking for a place to snuggle in for the winter.
If you are not interested in having this as a home for insects but are more interested in protecting the wood from any discoloration, brush on a coat of water sealer to protect the finish of the wood.
Original article and pictures take gardentherapy.ca site